Obstacle setup, Scoring setup using TextMeshPro, and Game Manager implementation
This is Part 2 of a three part tutorial series on how to create a Hyper Casual game. Please make sure you have followed Part 1 of the tutorial and completed it before starting this part. The link to the previous tutorial is here.
Source Code Files
You can download the tutorial source code files here. All the project files are located in the main folder. The asset folder contains additional intermediate files that were used during the process of creating the game sprites.
This part of the tutorial was made in Unity version 2018.2.13f1, which was the same version used in the previous tutorial.
BUILD GAMES FINAL DAYS: Unlock 250+ coding courses, guided learning paths, help from expert mentors, and more.
Add a Prefab Folder to the Project
We need to create a new folder in the project and name it “Prefabs.” We will be adding game objects to this folder that we will be instantiating later on in the tutorial.
Obstacle Creation
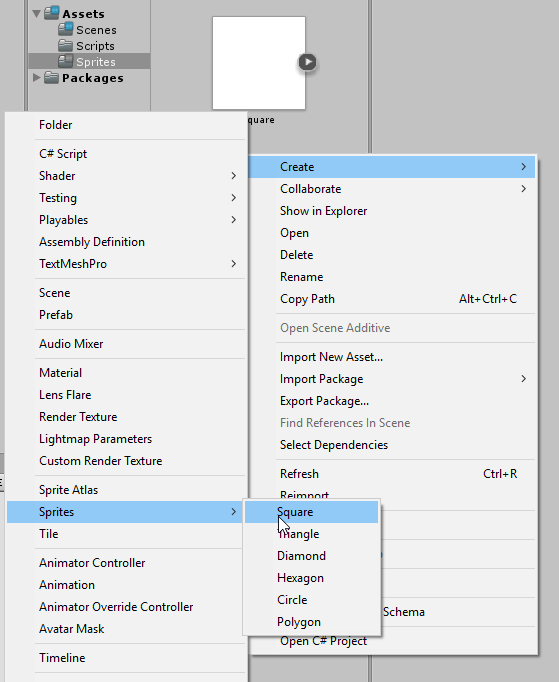
Begin by creating the first obstacle. This obstacle is going to be a square. Go ahead and create an empty GameObject, and reset the transform component after creation. Rename this GameObject to “SquareObstacle.” We must now create the square sprite we will use for an obstacle for the player to avoid during play. Right click in the Sprites folder and Choose: Create>Sprites>Square.
Make the Square a child of the “SquareObstacle.” Add a 2D box Collider component to the square. Set the Is Trigger checkbox to true on the square.

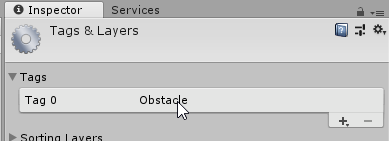
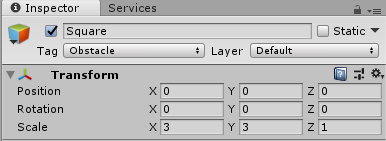
Create a new tag called “Obstacle” and tag the Square as “Obstacle.”

Next up is adding the On trigger function to the player script so that we can detect when the player collides with this square obstacle. Go ahead and open up the Player script, we are going to add the OnTriggerEnter2D function to the Player script for the collision detection. You can add this function under the PlayerInput() function already in the script. We are going to set up a Debug statement as well inside this function so that we can test out the collision detection and make sure the player is indeed entering the trigger of the Square obstacle. It’s common practice to make your debug statements make sense so that when you are testing your projects out and debugging multiple aspects of a project you can easily tell what is exactly going on, this also helps others working on your project too, if you so happen to be working on a project with multiple team members. So for this Debug statement we are going to simply put “I have collided with the Square.”
 private void OnTriggerEnter2D(Collider2D other)
    {
      Debug.Log("I have collided with the square!");

    }
Once you add this function and debug statement, make sure to save the script and you can go back into the Unity Editor and hit the Play button to test this out. If you see that the Debug statement is firing in the Console then our function is working and collision detection is also working properly.
Game Manager Creation and Setup
Create another empty GameObject and add it to the scene, reset the transform component and name it “Game Manager.” Create and add a new script called “GameManager” to the Game Manager object, move this script into the Scripts folder in the project so we keep our project organized. Open the Player script up, we need to get reference to our GameManager script in the Player script. Create a GameManager variable and name it gameManagerObject. Get reference to the object inside the Awake function, save the script.
  GameManager gameManagerObject;

  void Awake()
    {
        PlayerRigi = GetComponent<Rigidbody2D>();
        gameManagerObject = GameObject.Find("Game Manager").GetComponent<GameManager>();
    }
Open the GameManager script and we need to create a public “GameOver” function in this script. This function needs to be public so that we can access it from other scripts. Add a Debug statement to this function and put “Game Over!” Save the script.
 public void GameOver()
    {
        Debug.Log("Game Over!");
    }
Create a private PlayerDeath function in the Player script. Call the GameOver function in the PlayerDeath function. We will then be calling the PlayerDeath function inside the OnTriggerEnter2D function; essentially what will be happening is that whenever our Player GameObject collides with an obstacle this will cause the GameOver function to fire.
private void OnTriggerEnter2D(Collider2D other)
    {
        PlayerDeath();

    }
void PlayerDeath()
{
gameManagerObject.GameOver();
}You may also now remove the Debug statement “I have collided with the Square” from the OnTriggerEnter2D function if you like: This will free up messages in the console, so that it doesn’t get too crowded when we are testing further debug statements, and since we know the collision detection is working and we added the “Game Over!” Debug statement to the Game Over function it’s unnecessary to keep it.
Save the script and test out the script changes in the Unity Editor by hitting Play in the Unity Editor; make sure the Debug statement in the GameOver function is firing in the console.

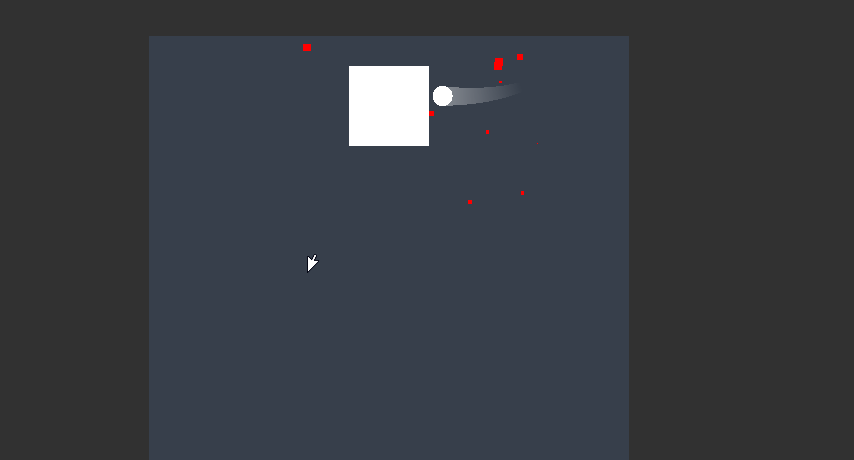
Adjust the scale of the Square obstacle Game Object by increasing the X and Y values to 3. Save the scene and project.
Player Death Effect Creation and Implementation
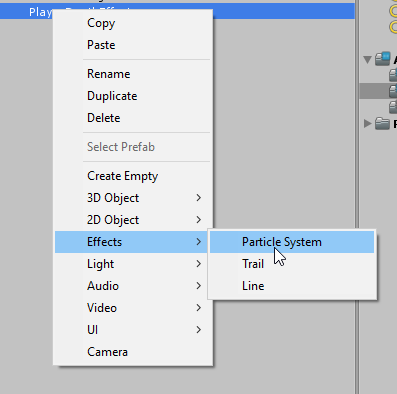
Create an Empty GameObject rename it to “PlayerDeathEffect.” Reset the transform component in the inspector. Click on the PlayerDeathEffect object in the Hierarchy and add a particle system to it.
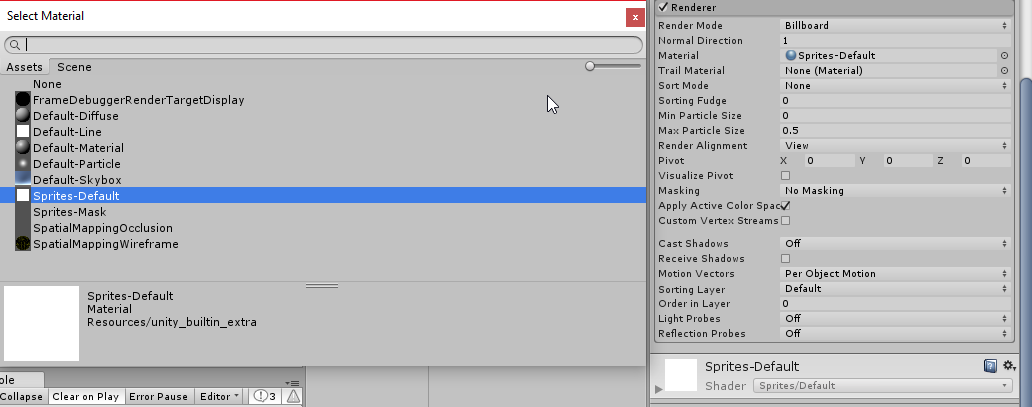
The Particle System should now be a child of the PlayerDeathEffect game object. Now we need to adjust some aspects of the newly created particle system on the PlayerDeathEffect game object. Change the Material on the Renderer component to Sprites Default.
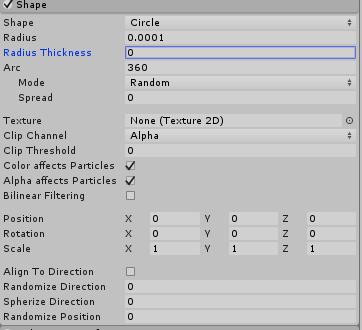
Now on the Shape component of the Particle System we will change it to Circle. Change Radius to 0.0001 and the Radius Thickness to 0.
Change the Start Size to 0.1. Change the Start Lifetime to 1. Change the Start Speed to Random Between Two Constants, and make these values 0 and 50.
Now check the Size Over Lifetime box on the Particle System. Click on the Open Editor button on the Particle System component in the Inspector window. You will see another window popup:
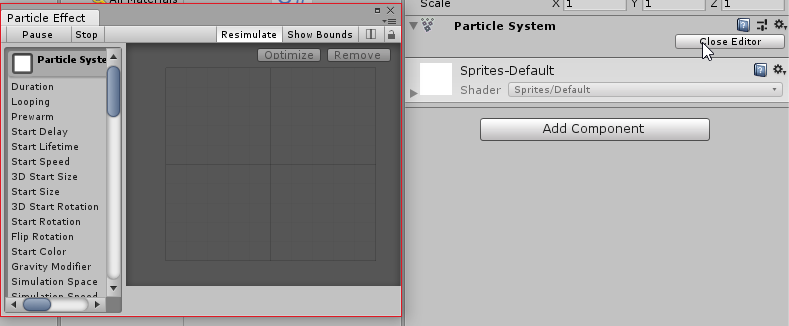
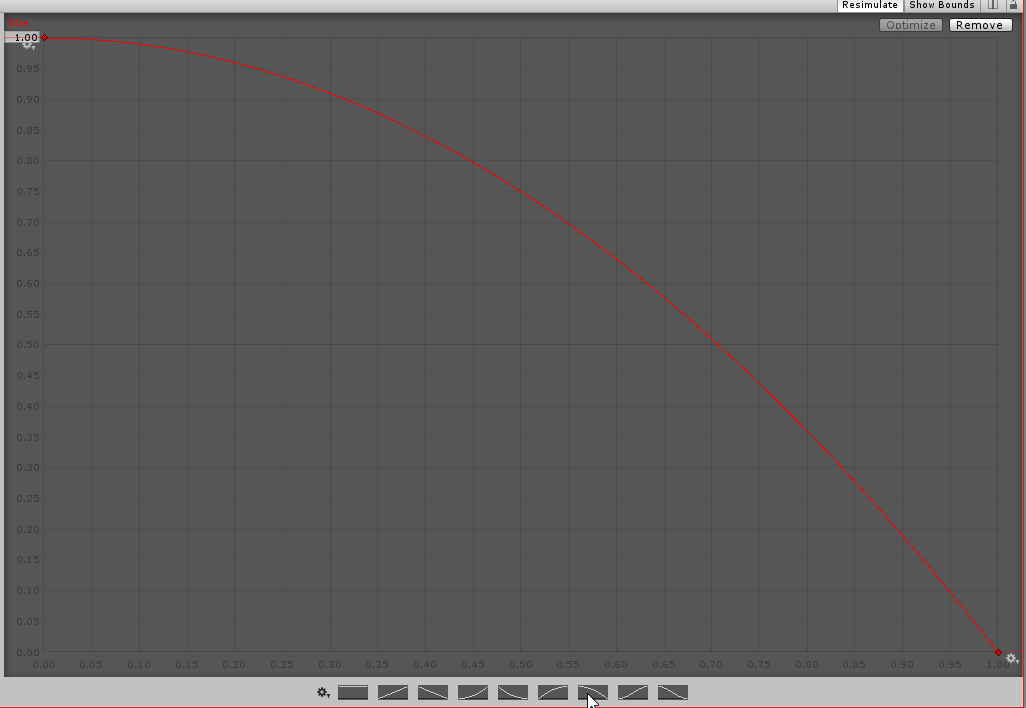
Feel free to adjust this window size to whatever makes you comfortable to work within. Now make sure you select the Size portion of the Size Over Lifetime component on the Particle Effect itself.
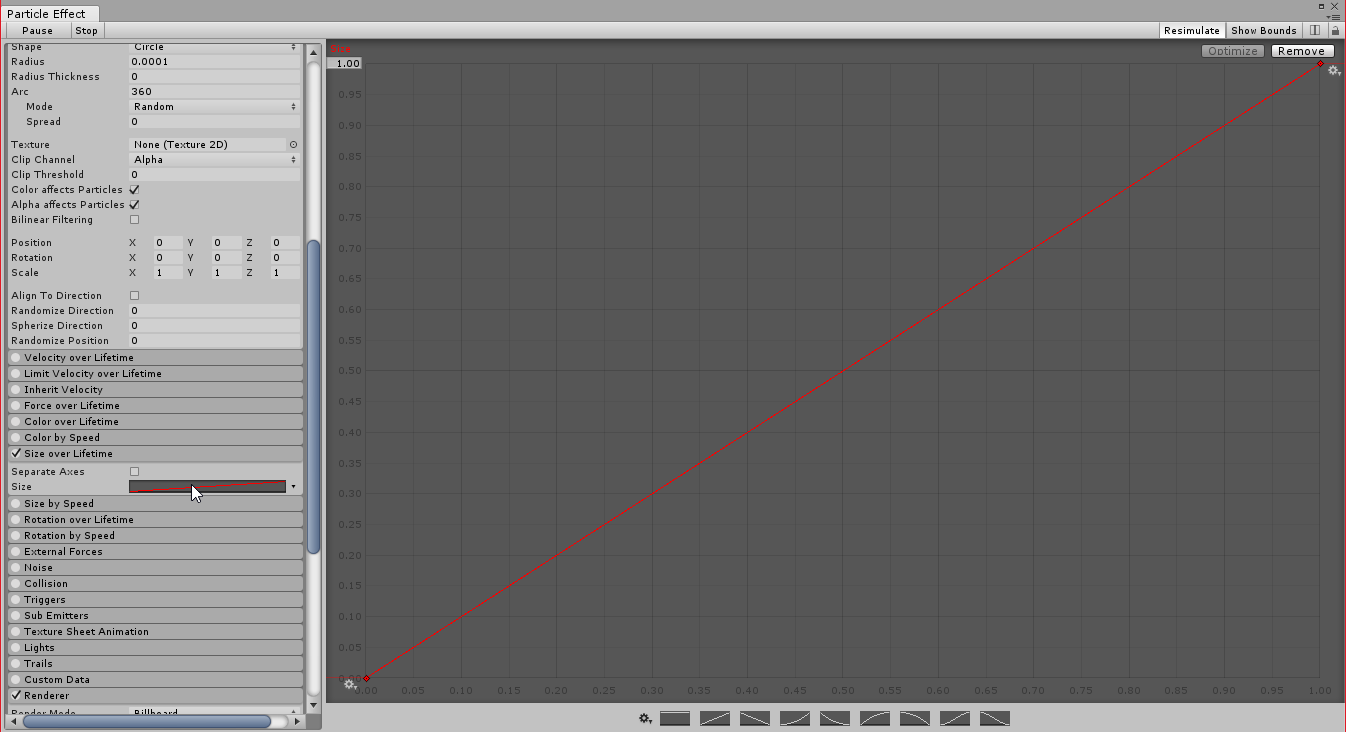
We are going to select the 7th option at the bottom of the window from the left side.
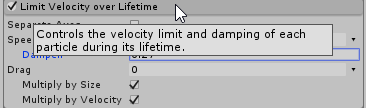
Check the Limit Velocity over Lifetime and adjust the Dampen to 0.27.
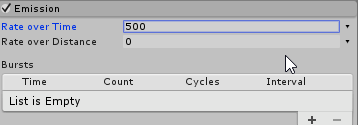
Then adjust the Rate Over Time to 500 under the Emission parameter.
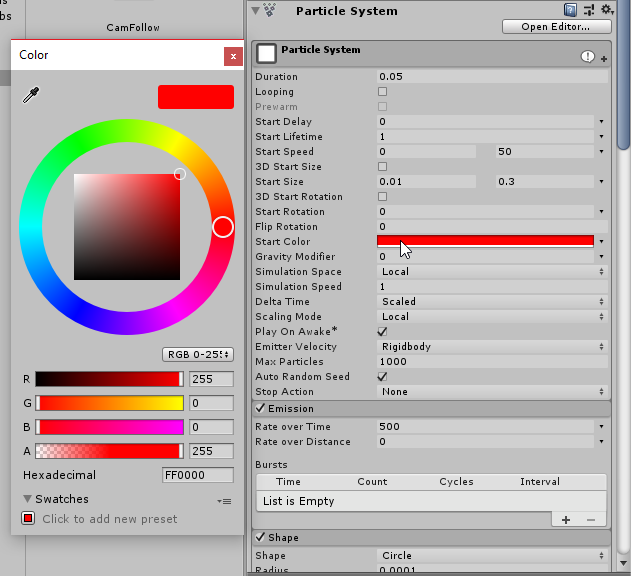
Change the Duration to 0.05 and make sure Looping is not checked on the Particle System component. Set the Start Size to Random Between Two Constants and make the first value 0.01 and the second value 0.1, and change the Start Color to Red.
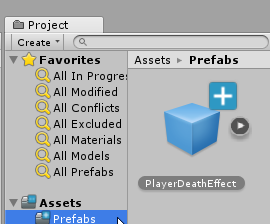
We need to create a prefab of the PlayerDeathEffect by selecting the game object and dragging and dropping it into the Prefab folder we created at the beginning of this tutorial. Save the Scene and Project.
Instantiation of the PlayerDeathEffect
Open up the Player script, add a Public GameObject variable and name it “deathEffectObject.” We are going to Instantiate the PlayerDeathEffect so that when the Player dies the Particle System we have added plays upon collision on an obstacle during game play, but also visually appears at the point of collision, we can use the Quaternion.idenity parameter to do this. We also need to make sure we Destroy the effect after about 0.5 seconds so that effect is removed from the scene and hierarchy so that it doesn’t hog our resources and slow the game down any. We will be instantiating the PlayerDeathEffect inside the PlayerDeath function in the Player script.
public GameObject deathEffectObject;

 void PlayerDeath()
    {

        Destroy(Instantiate(deathEffectObject, transform.position, Quaternion.identity), 0.5f);
        gameManagerObject.GameOver();
    }
Save the script and go back into the Unity Editor. Here we need to select the Player gameobject in the hierarchy and select the PlayerDeathEffect under the player script where we now have the spot open since we made the variable Public in the script.
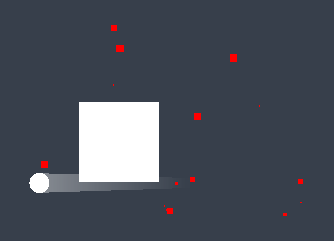
Once you have added the PlayerDeathEffect Prefab to the PlayerDeathEffect component of the player script in the Inspector window you can then delete the PlayerDeathEffect game object from the scene since we are now instantiating the Particle System upon collision w/ our square obstacle. Save the scene and the project and hit the Play button, you should now see the particle effect play upon collision with the square obstacle.
Handling Player Death and Stopping the Player Movement
Open the Player script, add a new function called “StopPlayerMovement” this function is going to completely stop the player game object from moving once the function is called. Call this function inside the PlayerDeath function, but we need to make sure the StopPlayerMovement function is called after the Particle Effect is played upon collision, but we also need to execute the StopPlayerMovement function before the GameOver function is called. We can do this by calling the StopPlayerMovement function between the two other functions in the PlayerDeath function.
void PlayerDeath()
    {
        Destroy(Instantiate(deathEffectObject, transform.position, Quaternion.identity), 0.5f);
        StopPlayerMovement();
        gameManagerObject.GameOver();
    }
void StopPlayerMovement()
    {
        PlayerRigi.velocity = new Vector2(0, 0);
        PlayerRigi.isKinematic = true;
    }
What we are doing in the StopPlayerMovement function is setting the velocity of the Player game object to 0, and then we are setting the rigidbody that is attached to our player to kinematic. A kinematic rigidbody is not affected by gravity and forces, like the Dynamic rigidbody, which is what it was originally set to. Essentially these two lines of code in the StopPlayerMovemnt function are giving us complete control over stopping the player from completely moving once it collides with an obstacle.
We now need to create a private bool called “playerIsDead and set the initial value to false. We will be setting this bool to true inside the PlayerDeath function.
bool playerIsDead = false;

void PlayerDeath()
    {
        playerIsDead = true;
        Destroy(Instantiate(deathEffectObject, transform.position, Quaternion.identity), 0.5f);
        StopPlayerMovement();
        gameManagerObject.GameOver();
    }
We also need to create an if statement to check if the bool playerIsDead is equal to true in the FixedUpdate function, and then return.
private void FixedUpdate()
    {
        if (playerIsDead == true) return;
        PlayerInput();
        PlayerMovement();

    }
Go ahead and save the script and test the changes inside the Unity Editor. The player game object should come to a complete stop and remain right where it stopped when it collides with the square obstacle.

Font Asset Creator and Displaying the Score to the Player
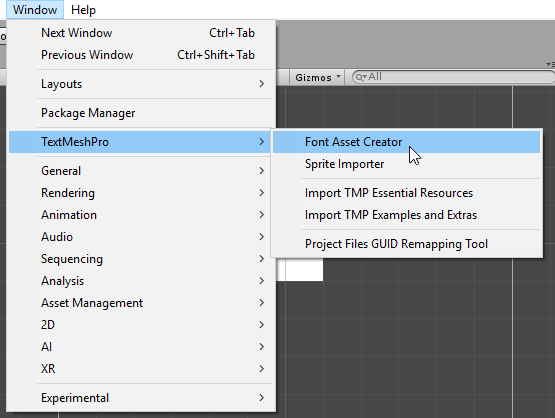
It’s now time to setup the font we are going to be using with TextMeshPro in the Font Asset creator that now comes with Unity. Inside the Unity Editor click on Window>TextMeshPro>Font Asset Creator.
You should now see this window popup:
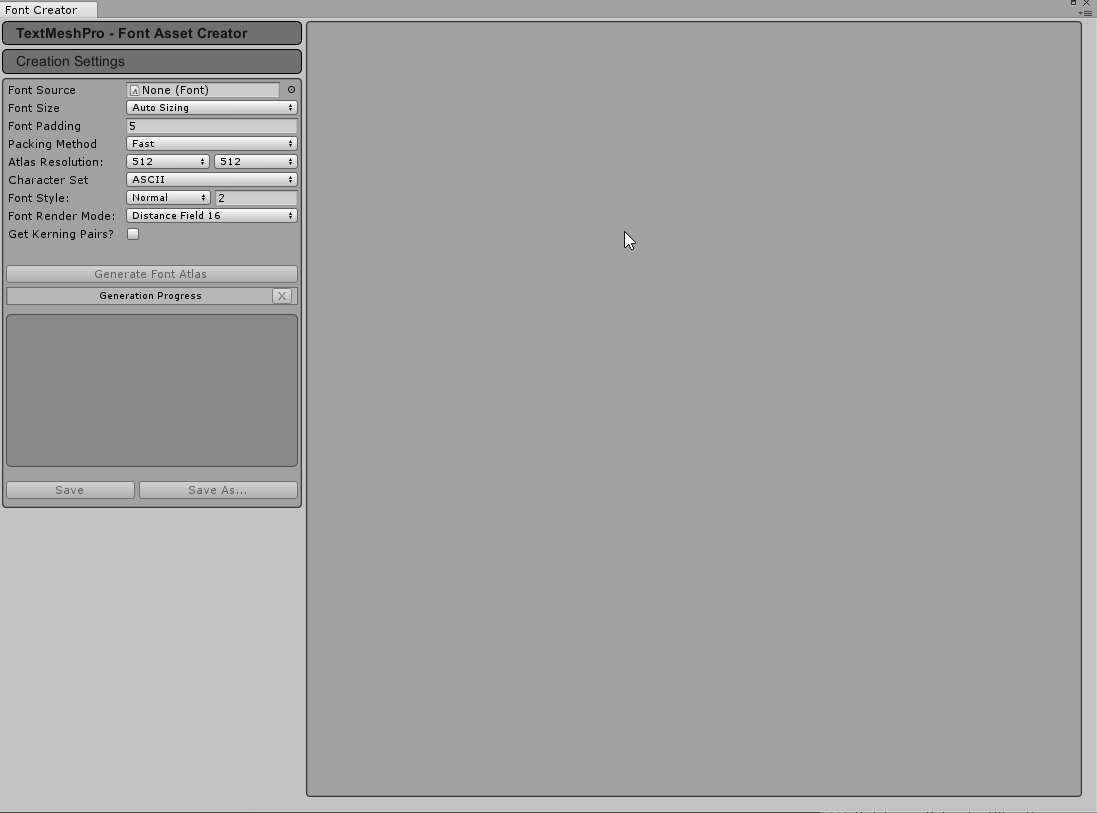
In the Font Source parameter click on the radial dial and choose Oswald-Bold. Now click on Generate Font Atlas. This will take a few seconds and you should now see this in the window:
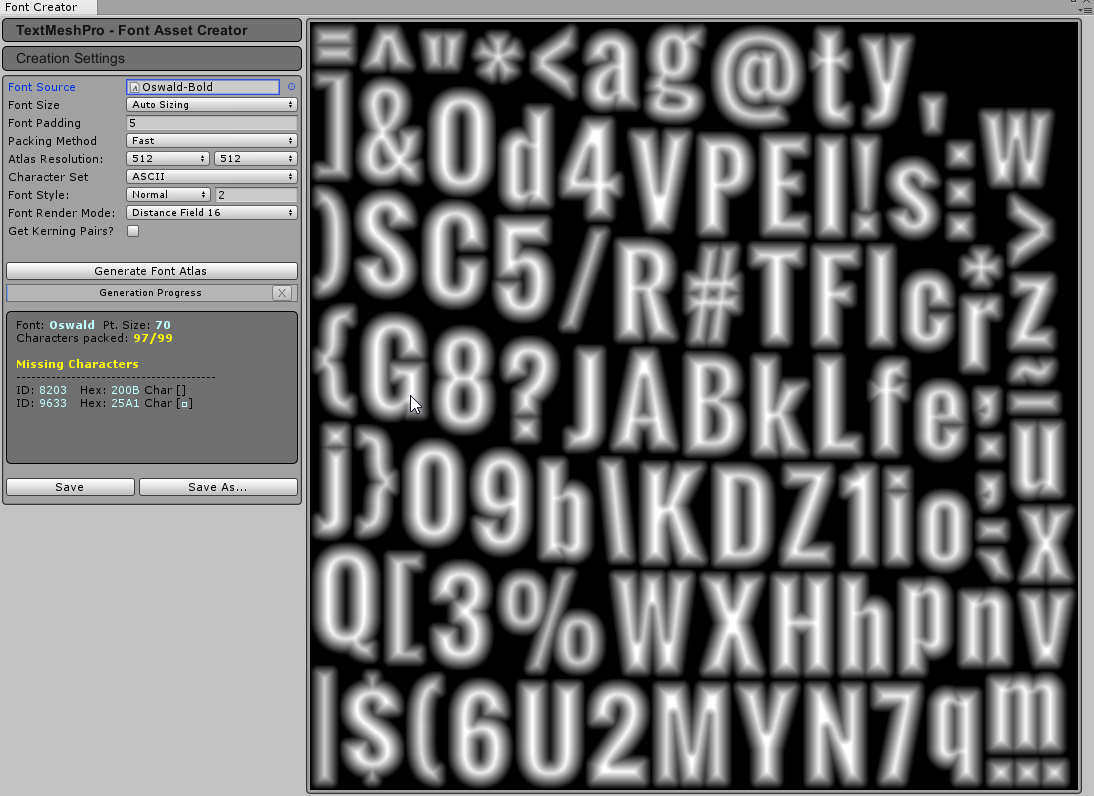
Click Save and make sure this is saved in Assets>TextMeshPro>Examples&Extras>Fonts. You can now close the Font Asset Creator window.
Setting up a UI Canvas and the Game Over Panel
Add a UI Panel to the scene. You will notice once you add this to the scene you will see that we now have a canvas element and then the Panel is a child of that game object and there is now an EventSystem object in the hierarchy.
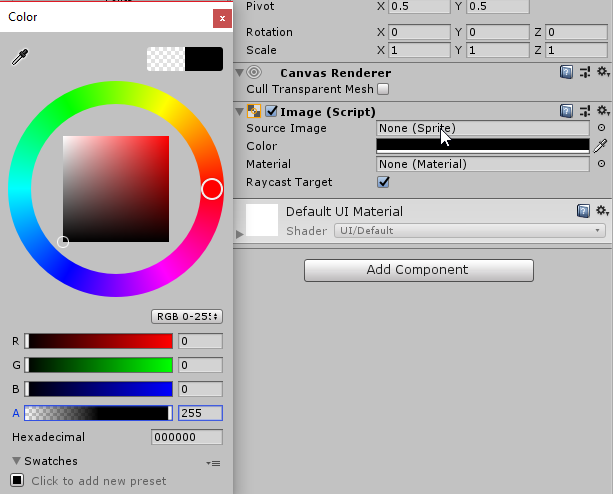
Rename the Panel object to “GameOverPanel” On the Inspector window look for the Image(Script) component on the GameOverPanel object, and change the Source Image to None. Adjust the color to black and change the Alpha value to 255.
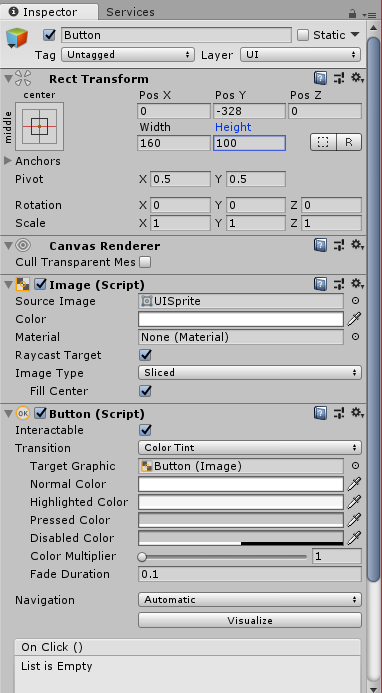
Add a button to the GameOverPanel as a child to that object. Go ahead and delete the text portion on the button object, we won’t need this. Adjust the position of the Button object Y value to -320, and adjust the Height to 105.
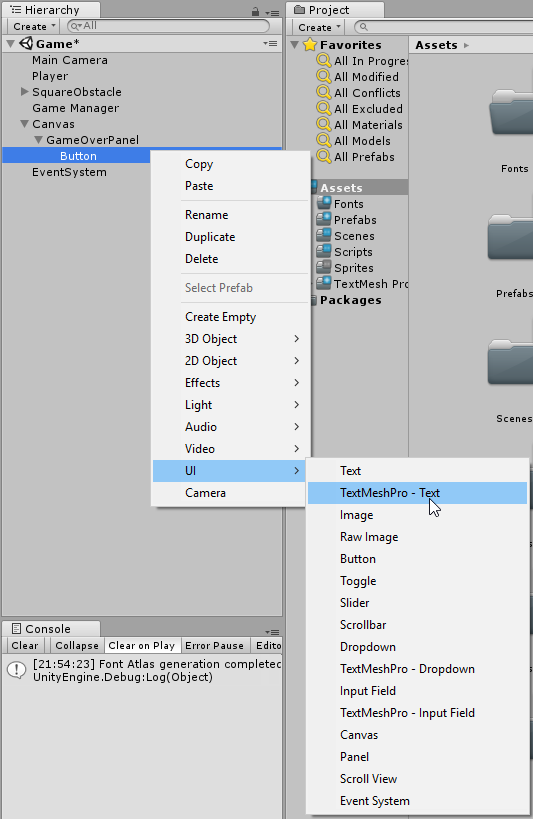
Add TextMeshPro Text to the button game object as a child in the hierarchy.
Add the word “Restart” to the text input box field in the inspector window. Change the font size to 40. Make sure the alignment is set to Center and Middle. Change the color to black.
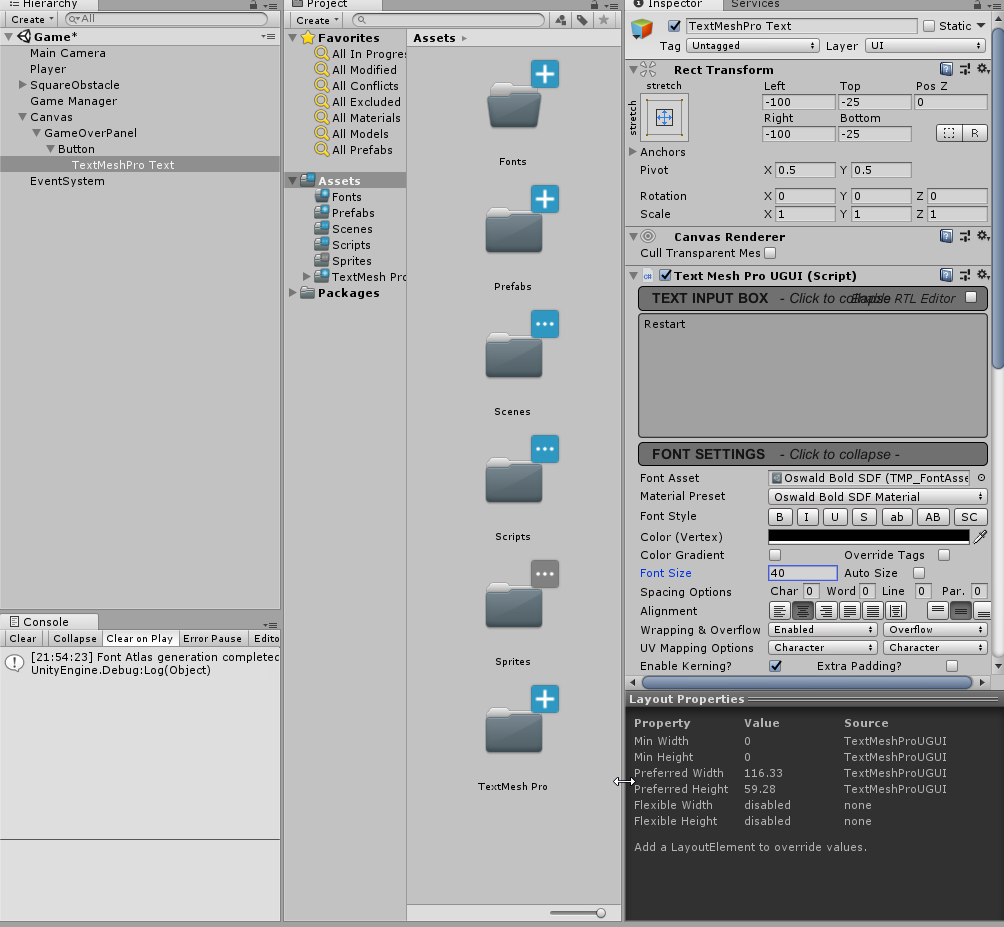
You can rename the button to “RestartButton” now in the hierarchy.
This is now a good place to save the scene and project. In Part 3, we’ll conclude the series by learning how to keep track of the score, item pickups, and endless obstacle spawning.