The 3D model we will use can be downloaded from the Unity3D asset store at :
3D model
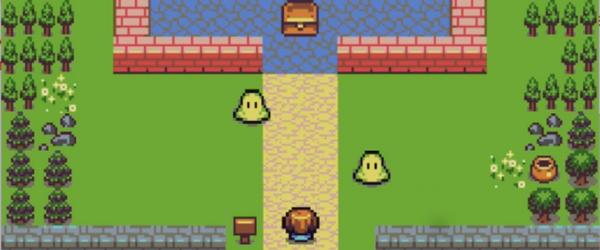
The sprites we will use can also be downloaded from the Unity3D asset store at: 2D sprite
Tutorial project can be downloaded from here
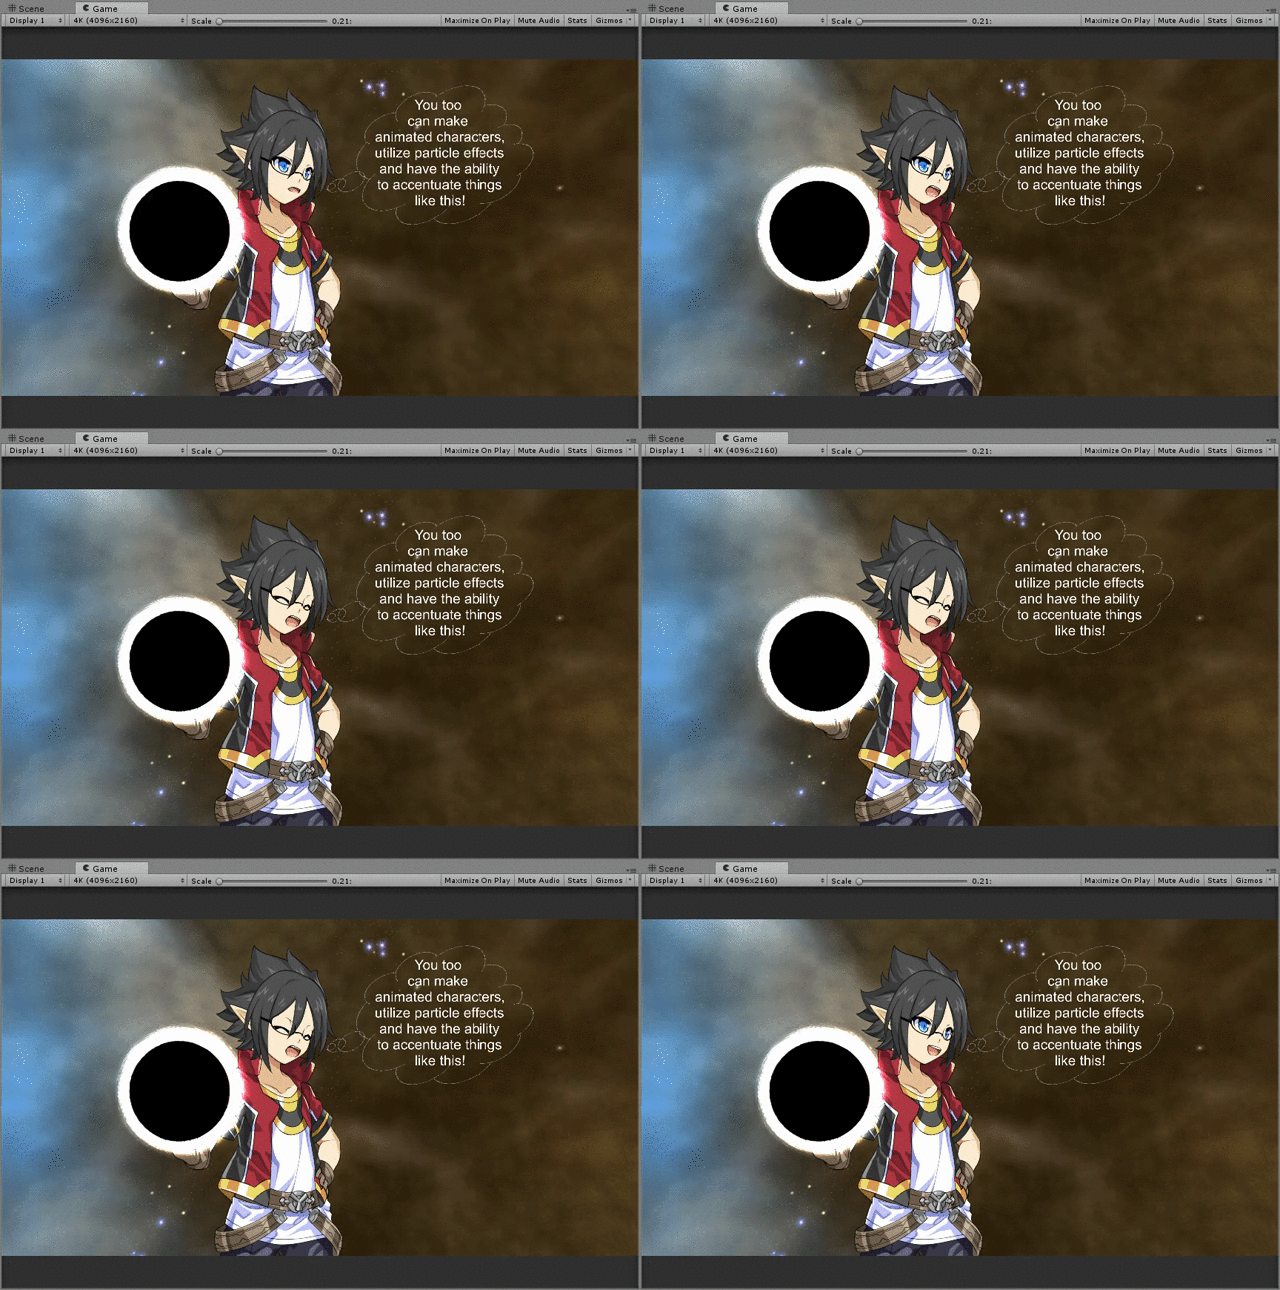
Today’s lesson is a double whammy for you guys. This subject is insanely fun and really simple to implement. We will create some animation on models using Mecanim and creating the animation clips ourselves. Sounds daunting, trust me I know. But you will be a pro at it as soon as you learn it. The best part about this tutorial is that there is absolutely no programming required. This in essence means that someone that does art can download Unity3D and create animations with models and sprites to sell in the asset store. So, are we ready to dive in? Good, we will start with 3D animations.
Before we get started with creating the Animations, we first need to create our project and set it up just right for both portions of the tutorial.
Setting up the Project
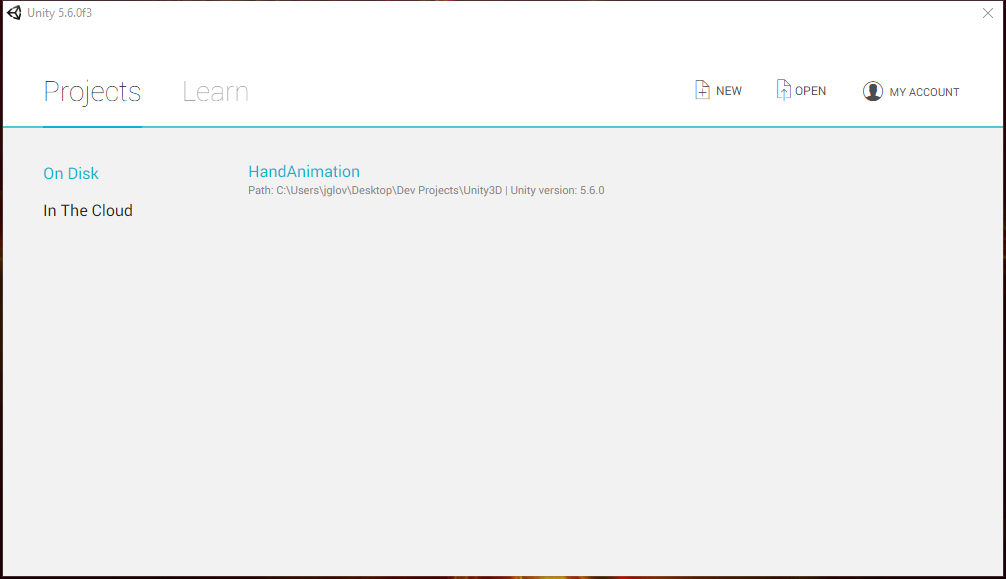
The first thing we want to do is painfully obvious…. Create a new Project, I will deviate from how I have labeled the tutorials in the past and call this one “HandAnimation” to denote that we are creating animations by hand. I personally like having interesting names for my game projects to give them a bit of personality before I have the actual name of the game in mind. But I digress, this project will be in 3D and we don’t need any of the imports selected.
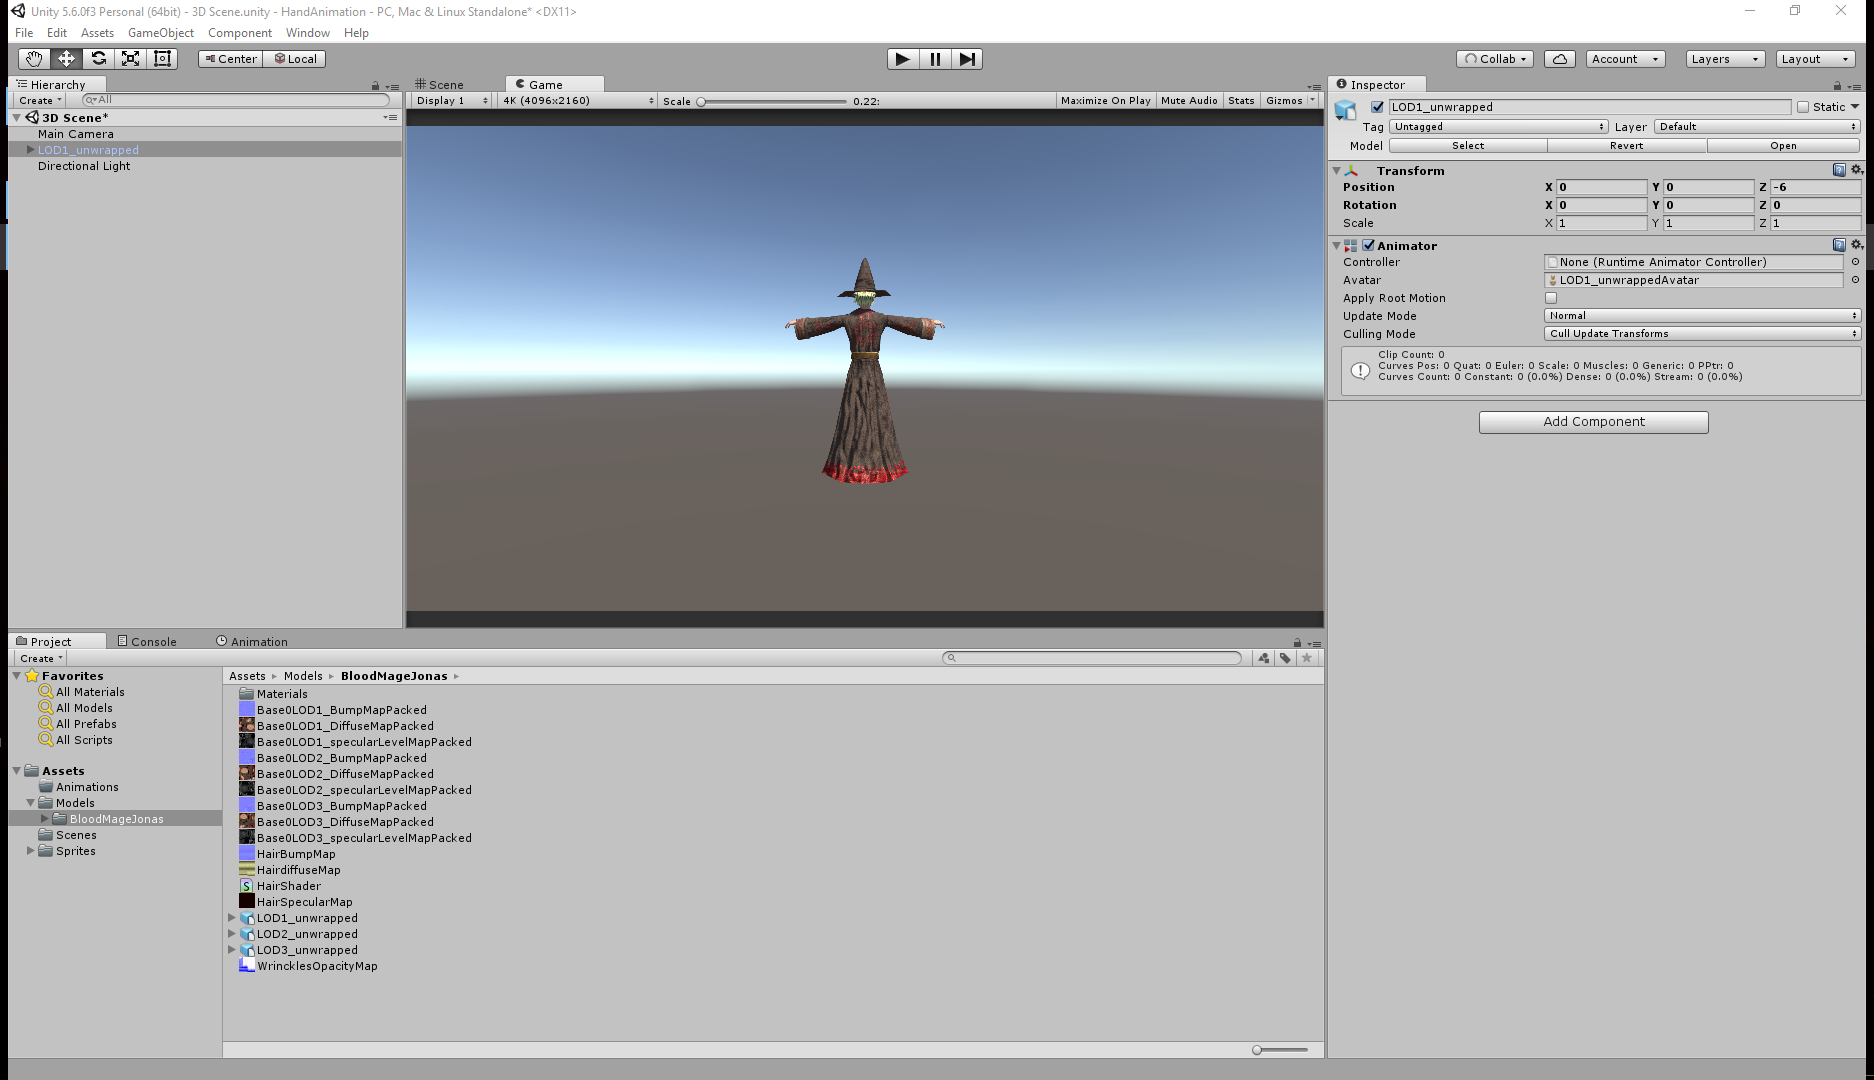
Next we will create the scenes, models, sprites, and animations folders within the Assets folder. You can find a 3D character model on the Unity3D asset store, create one yourself, or use the one I provided from the link above; Just make sure you put the model in the models folder.

We can now add the model to the scene. We want the model’s position to be exactly 0, 0, 0 for position and rotation for this.
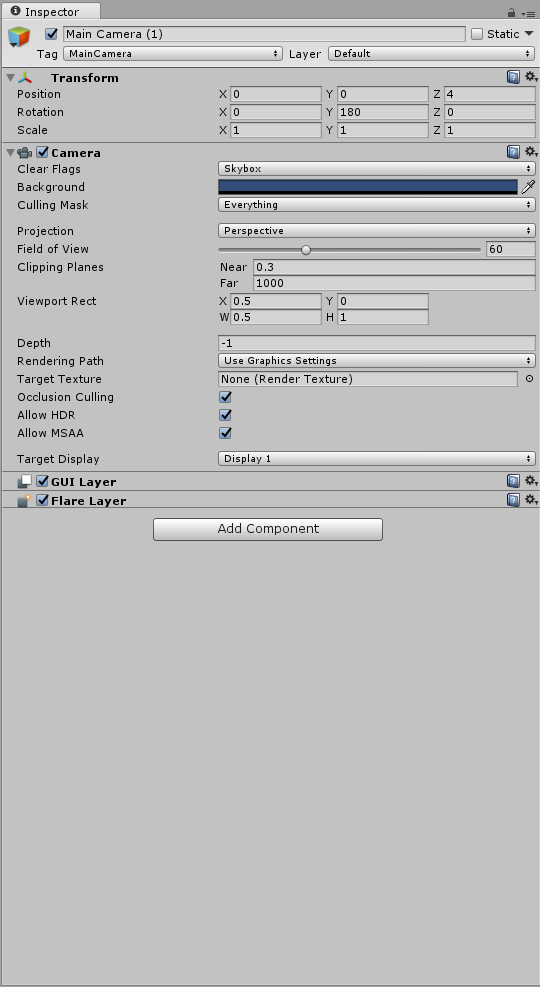
The main camera should be set to 0, 0 – 4 for the x y and z position.
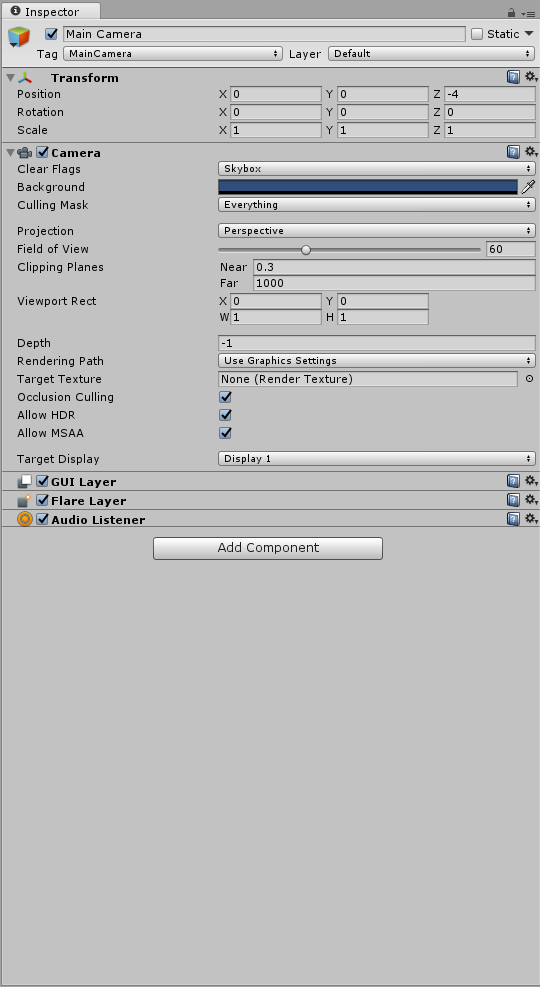
We will now make the camera become a split screen view.
To do this, we need two cameras. Duplicate the camera and remove ONE of the audio listeners, preferably the duplicated camera’s audio listener.
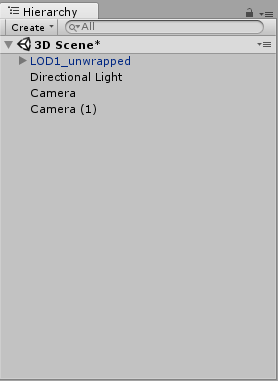
The position of the duplicated camera should be 0, 0, 4 and the Y rotation set to 180. Remember to remove the audio listener from this camera.

On the main camera, just change the viewport’s (W)idth to be 0.5.

The duplicated camera’s viewport should have the X be set to 0.5 and the (W)idth to be 0.5.
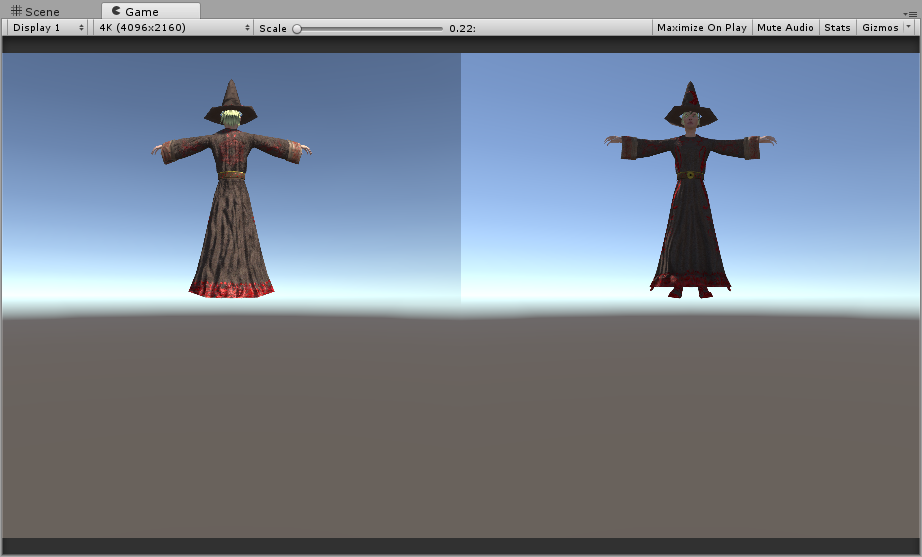
The Game view should now look like the image below:
*If you are using the model I provided or any model that only has the T-Pose available, follow this step; otherwise you should be able to skip this step.*
Navigate through the hierarchy of gameobjects within the character model instance in the hierarchy pane.
It should be as followed for the left arm: LOD1_unwrapped, Bip001, Bip001 Pelvis, Bip001 Spine1, Bip001 Spine2, Bip001 Spine3, Bip001 L Clavicle, Bip001 L UpperArm.
It should be as followed for the right arm: LOD1_unwrapped, Bip001, Bip001 Pelvis, Bip001 Spine1, Bip001 Spine2, Bip001 Spine3, Bip001 R Clavicle, Bip001 R UpperArm.
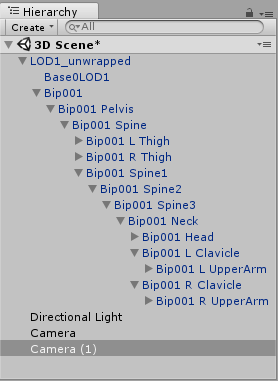
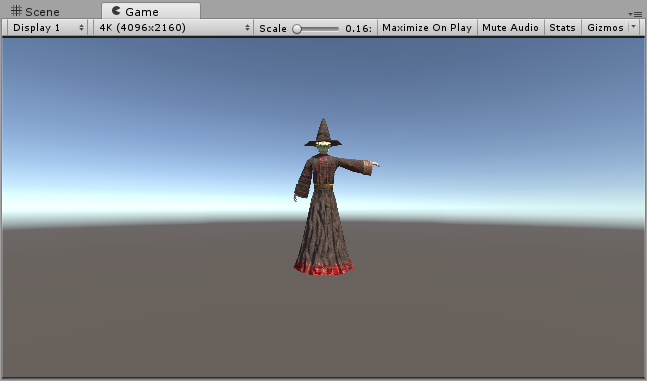
We are going to modify the y rotation of the LeftArm and RightArm from -3.41 to -59. This will take the character from the T-Pose to a relaxed arms down pose.
We have a nice split screen camera so we can view the animations and the particles at two opposing views. This will allow us to look at multiple angles of a single object at the same time. However, with full body animations; I think it is important to handle all angles of the model. The front, back, left side and right side. So, let’s expand upon the dual camera (which I would recommend to create a prefab of it and delete the dual camera from the hierarchy pane) and create a quad camera. Since that is a bit more complicated to do, I will try my best to explain it as simply and in depth as possible.
QUAD THAT CAM:
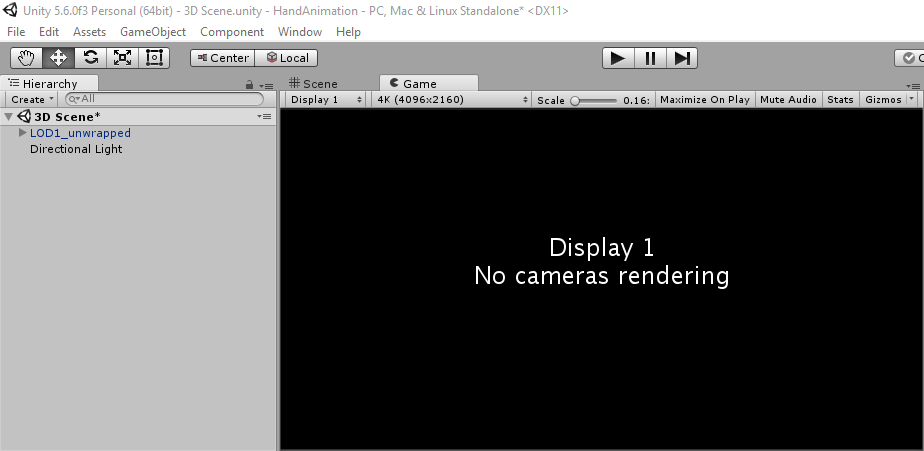
If you have a camera in the scene, delete it. No seriously, get rid of that evil thing.
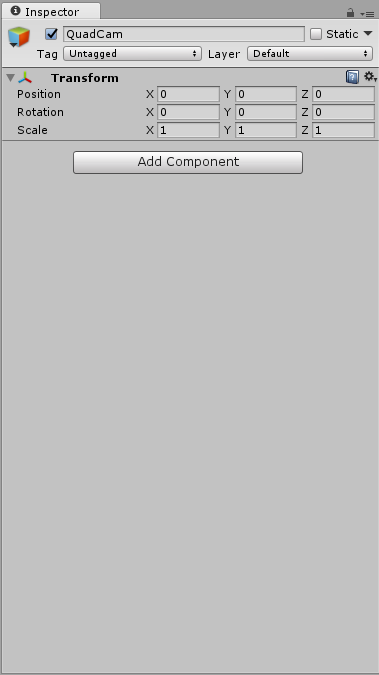
The very first thing I want to do is create an empty gameobject and call it “QuadCamera”. Reset the positon to be zeroed out. Position x is 0, y is 0, and z is 0 with no rotation and the default scale of x being 1, y is 1, and z is 1.
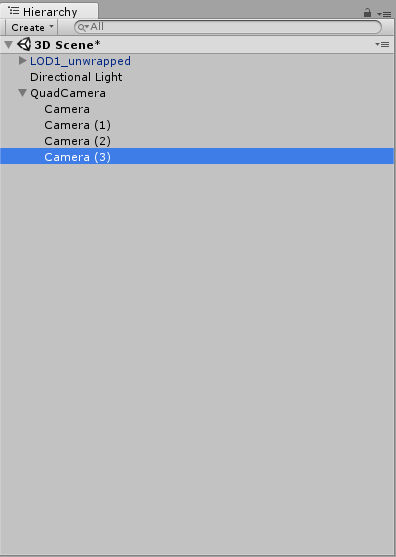
Create a new camera and duplicate it 3 times.
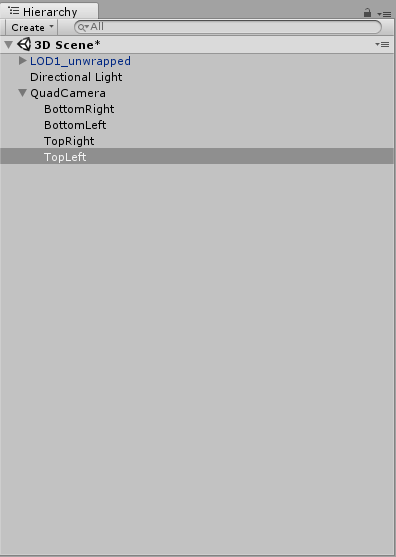
I have labeled my cameras to be in accordance to how they will be displayed on screen. “BottomRight”, “TopRight”, “BottomLeft” and “TopLeft”. This allows me to know and do two things. The first being to know which camera is associated to which of the grids that are created with the camera displays and the second being that it is always a good thing to keep things well organized.
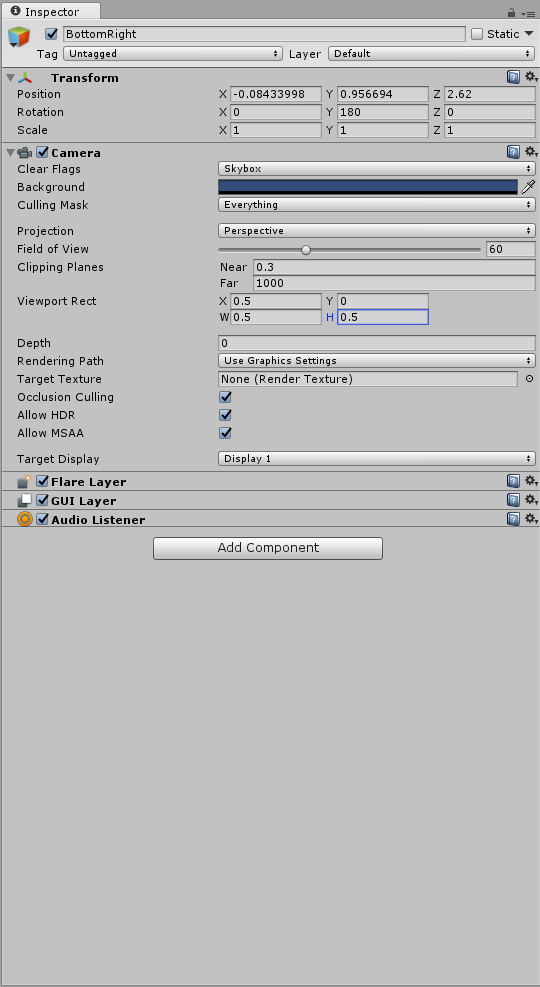
Let’s start with the bottom right camera. The x position is going to be -0.08433998, y is 0.956694, and z is 2.62. Keep the x and z rotation and scale set to default. The y rotation is 180. The projection should be Perspective with a field of view of 60. The clipping planes should be 0.3 for near and 1000 for far. The viewport Rect x position is 0.5, the y position is 0, the W(idth) is 0.5 and the H(eight) is 0.5.
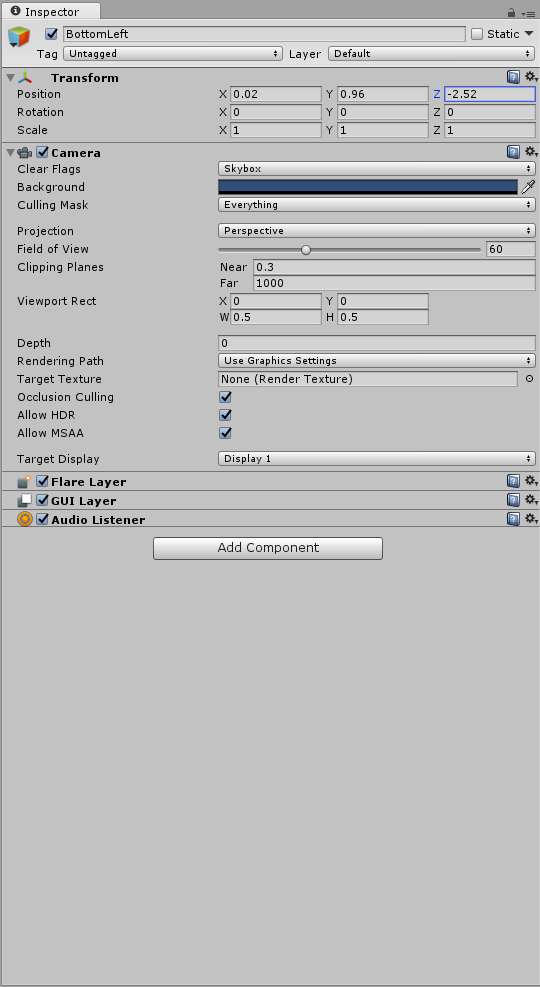
Bottom left camera time. The x position is going to be 0.02, y is 0.96, and z is -2.52. Keep the rotation and scale set to default. The projection should be Perspective with a field of view of 60. The clipping planes should be 0.3 for near and 1000 for far. The viewport Rect x position is 0, the y position is 0, the W(idth) is 0.5 and the H(eight) is 0.5.
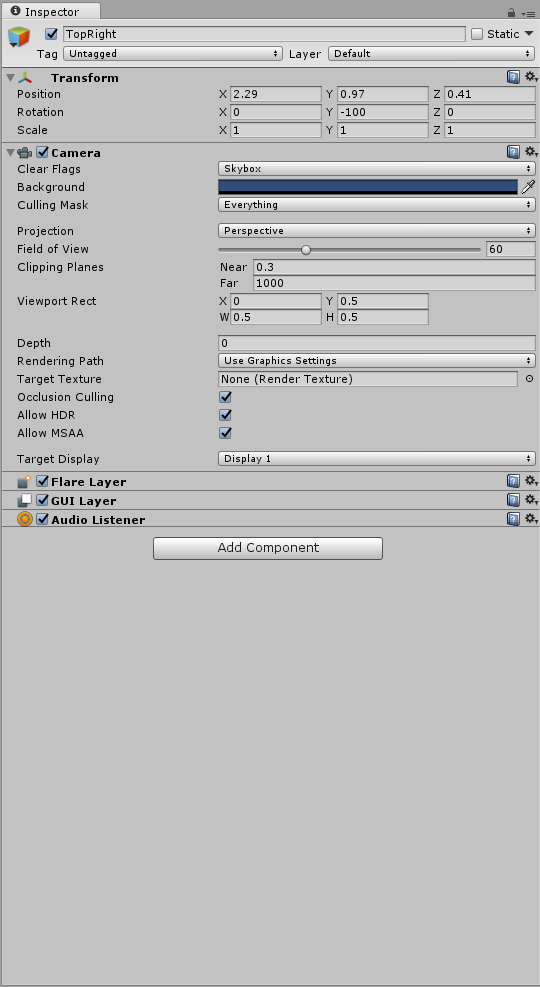
The Top Right camera. The x position is going to be 2.29, y is 0.97, and z is 0.41. Keep the x and z rotation and scale set to default. The y rotation is -100. The projection should be Perspective with a field of view of 60. The clipping planes should be 0.3 for near and 1000 for far. The viewport Rect x position is 0.5, the y position is 0.5, the W(idth) is 0.5 and the H(eight) is 0.5.
*Important notation!!!! The Z axis will act like the X axis and the X axis will behave like the Z axis when turning the camera to this angle. BEWARE!!!*
And last but certainly not least, the Top Left camera. The x position is going to be -2.22, y is 0.95, and z is -0.34. Keep the x and z rotation and scale set to default. The y rotation is 84.26. The projection should be Perspective with a field of view of 60. The clipping planes should be 0.3 for near and 1000 for far. The viewport Rect x position is 0.5, the y position is 0.5, the W(idth) is 0.5 and the H(eight) is 0.5.

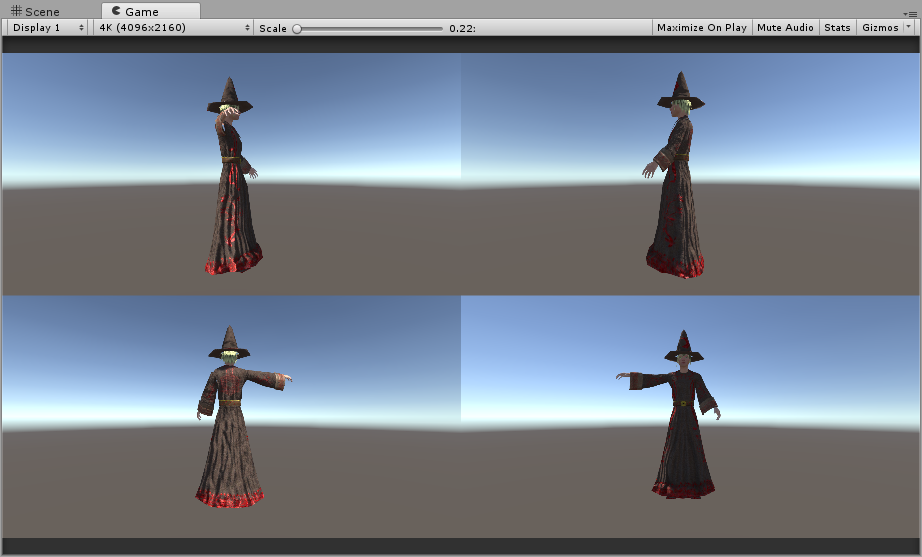
We should now be viewing the model from all four base directions. Left, Right, Back and Front. It really helps to be able to see from not only these four angles but also from above and over the shoulder. Keep this in mind when animating in the future.
Animation Manipulation:
Now that the setup is complete, we can begin creating the animation from the character model. Before I go further, I just want to state that this is extremely tedious to do and I personally despise doing animations by hand. I tend to go to the asset store and purchase what I need or use Adobe Fuse for 3D character models with animations. But the downside is that I may not have the exact animations I want with the model. So, needless to say that even if you don’t like doing animations, it is very useful to know for the day when someone does not have the exact animation you want for your game. Likewise, for the artist that are reading this portion of the tutorial; Game developers are lazy and are willing to pay good money for your hard work with quality and seamless animations. And this animation technique that I will teach today will work for both 3D models and 2D sprites / gameobjects.
To begin, click on the Character in the Hierarchy pane. *if you have the animation clip settings already set next to the console like me, you can skip the next step on how to open it*
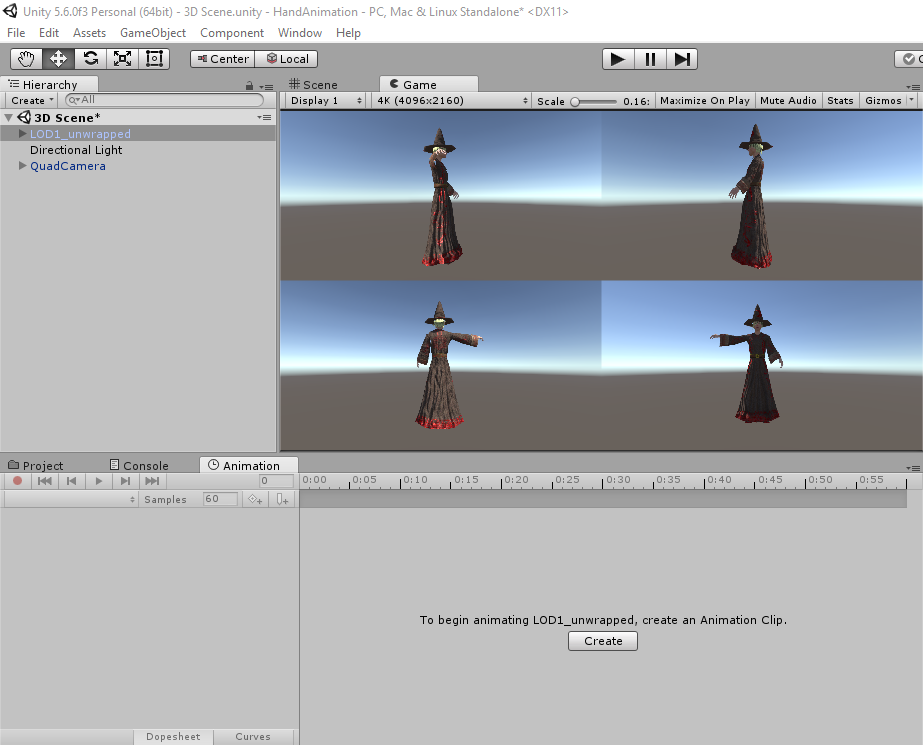
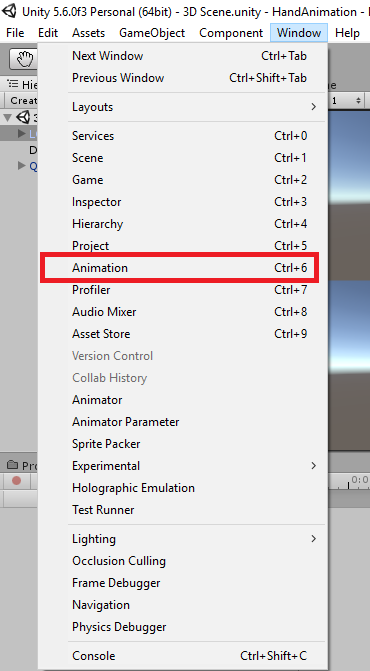
Click on Window and select Animation. Alternatively, you can press Ctrl key + 6 key.
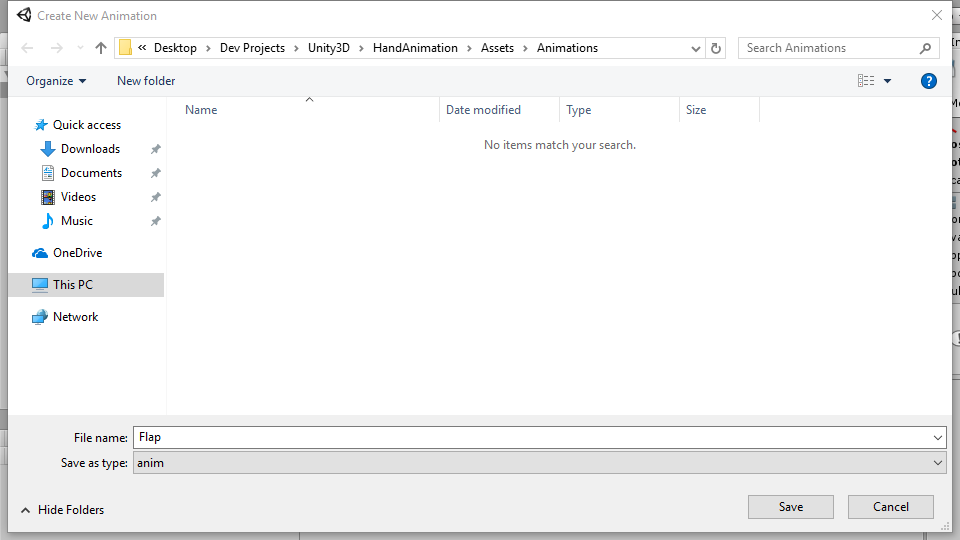
Click Create, make sure the folder is the Animations and name it Flap.

This should have created both the animation and animation controller in the animation folder.
Now we have the animation clip window active. I personally like to have it near the project and console section at the bottom to keep things neat.

Let’s explain each of the buttons in the Animation window before we get started.
The red circle is the record button, next to it is go to beginning, followed by go to previous frame. We have the play button (to view the animation key frames being played), go to next key frame and go to the ending animation key frame clip. *You can hover the mouse over them to give you detail information on each*
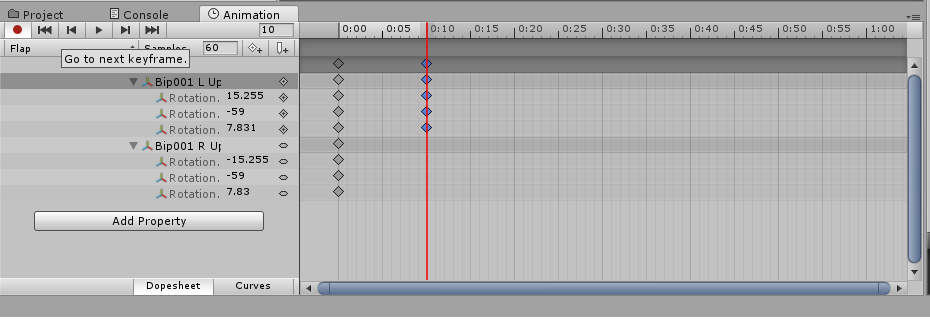
Now for the fun part, and by fun I mean tedious. We will make this model flap his arms up and down. This will require quite a few animation frames and we also need to make sure that we do both the ascending and descending of the arms in the animation to make it look right.
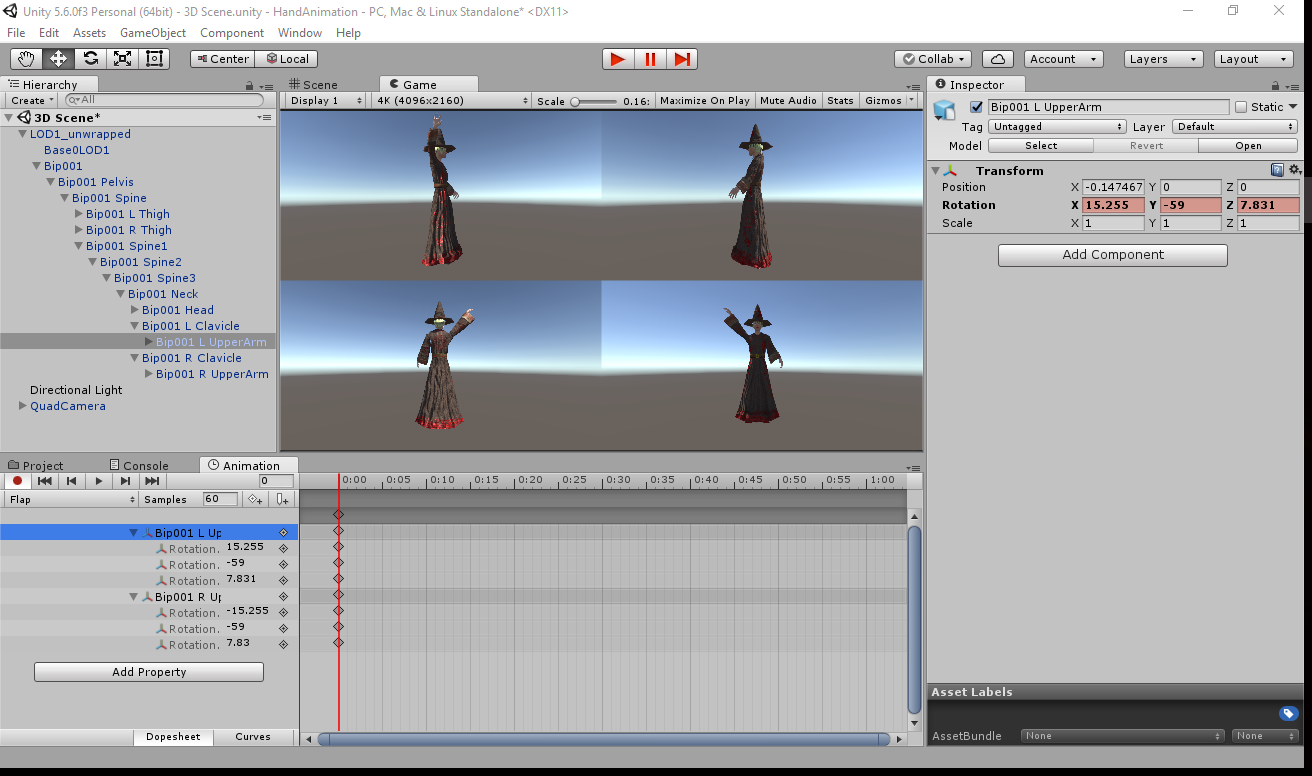
Click on the play icon (the red circle) to get started.

Navigate to the Bip001 L UpperArm and Bip001 R UpperArm. Change the Y rotation of the right side to be -59 and the left side to be 59. *Note, if you changed the Y rotation of the Bip001 L UpperArm as I told you before it will not automatically show up. So, change the value to 58 and then back to 59 for it to show below as it does in the screenshot*
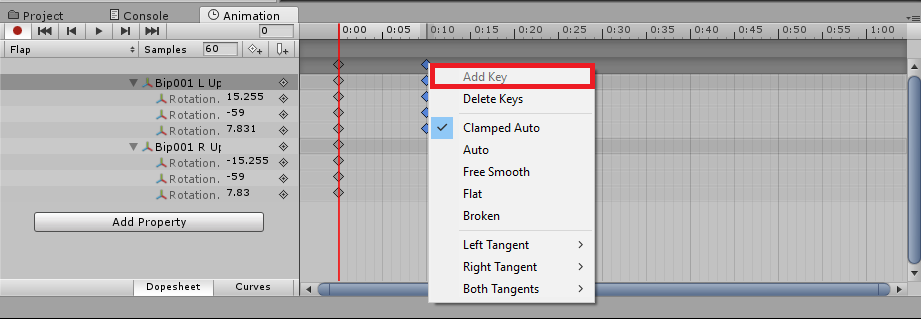
Right click under the number 0:10 in the Animation window. It will pull up a dialog box for add or delete keyframe. We want to add a new keyframe at this point in time.
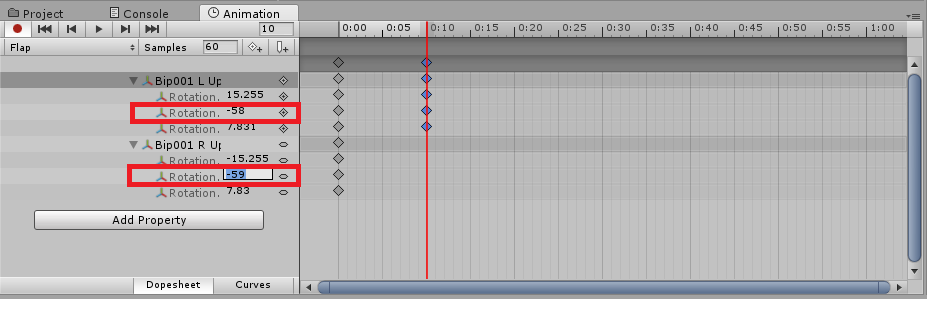
Click on the arrow to go to the next keyframe and this time, we will change the rotation in the Animation window instead of the character in the hierarchy. Change the Y rotation to -58 and 58 respectively.
We will continue to do this in 0.10 second clips until the Y rotation value reaches 28.

But wait…There’s more! We aren’t done with this animation clip yet. We now have to take all the frames we made and do the reverse in this clip.

Now that we have done all of that, we can deselect that red play button and watch it in game view. The Animation is automatically saved now. But always save your project and scenes often.
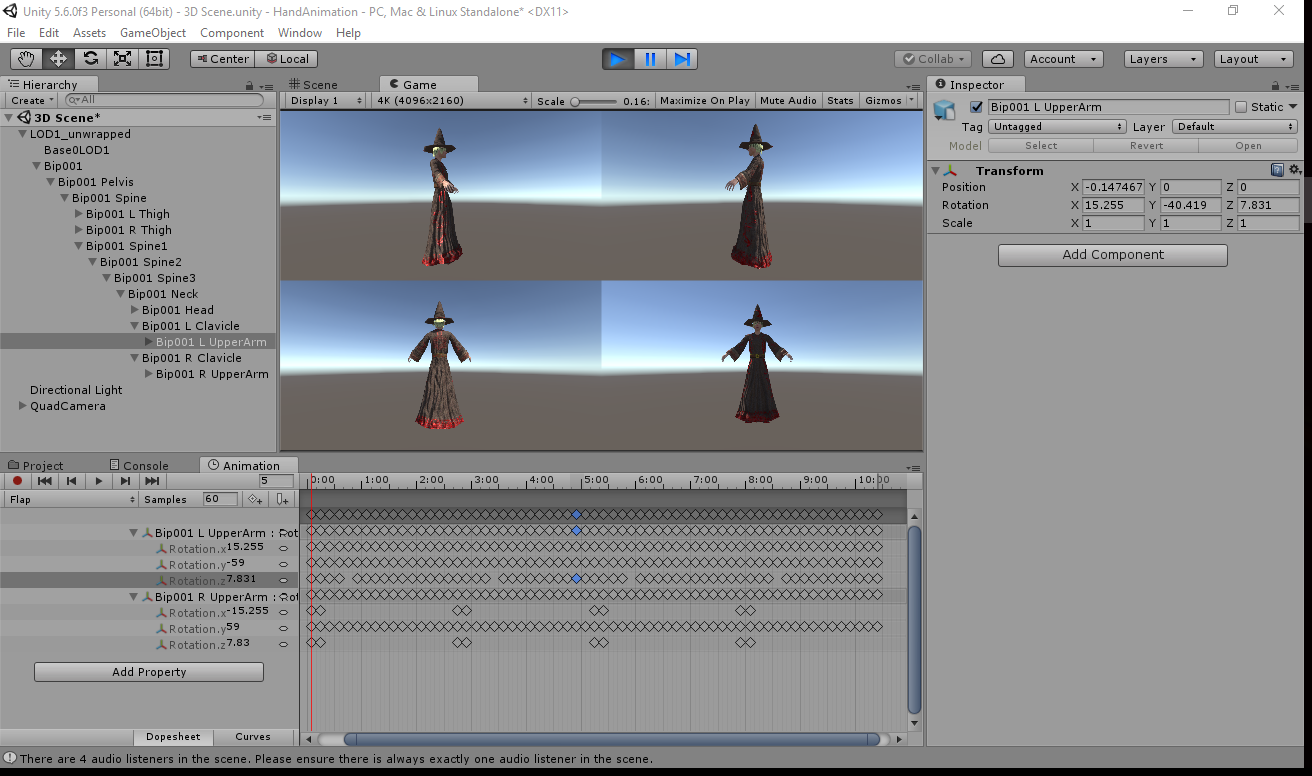
As you can see, it is not difficult to do the animations. The only issue I have is that it can be extremely tedious to do and depending on what you want to do with the animations can make it become a bit unmanageable at times.
Just remember, if you add something in the animation keyframe timeline at any point, it will affect the older keyframes.
2D Animations
Now it is time to do the 2D animations. They are much simpler and more fun to do for the most part.
To begin, we need to build our sprite from the ground up.
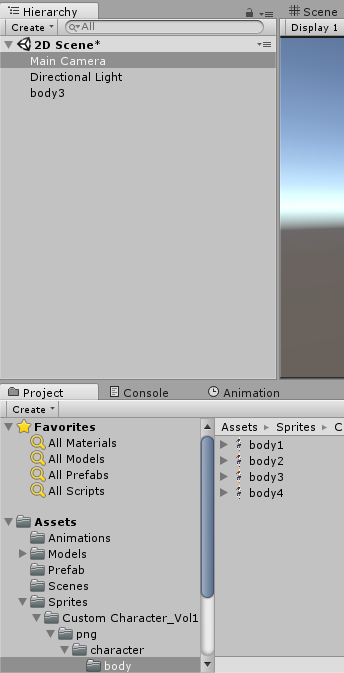
Step one: go into the body folder and drag the body you like onto the hierarchy pane.
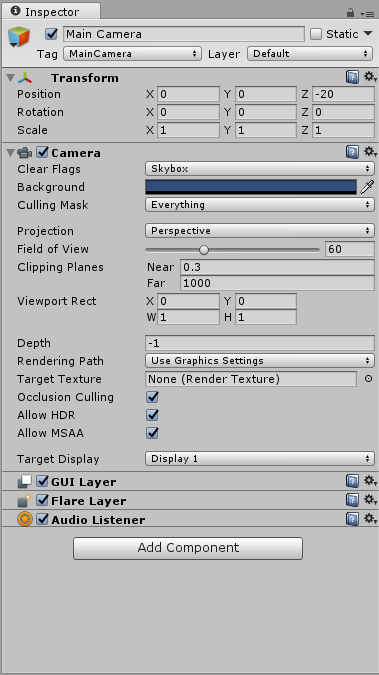
Step two: change the camera’s y position to 0 and z position to be -20.
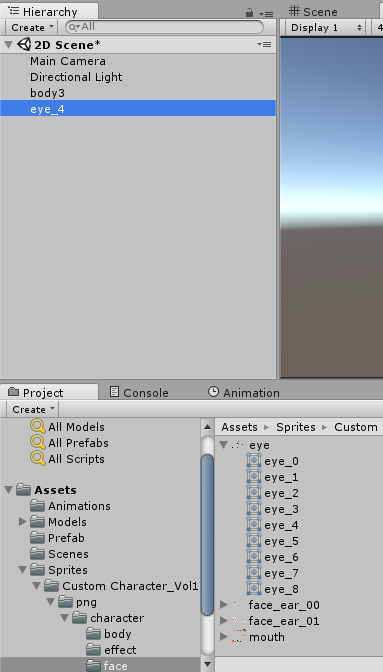
Step three: We need to select an eye. The eye is part of a spritesheet so choose one from the list.
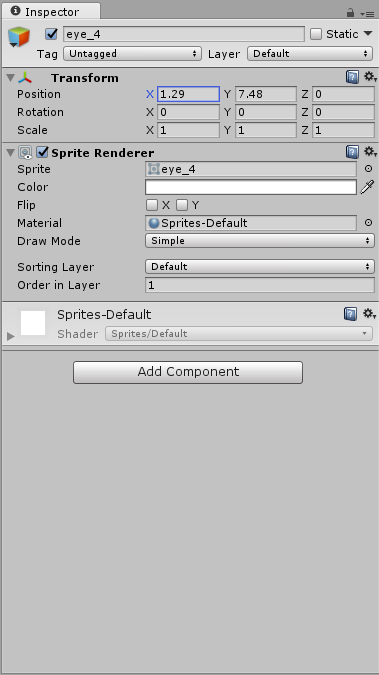
Step four: Move the eye to be in the correct position on the face. x position should be 1.29, y position should be 7.48 and change the order in the layer to be 1.
This is what everything should look like so far.
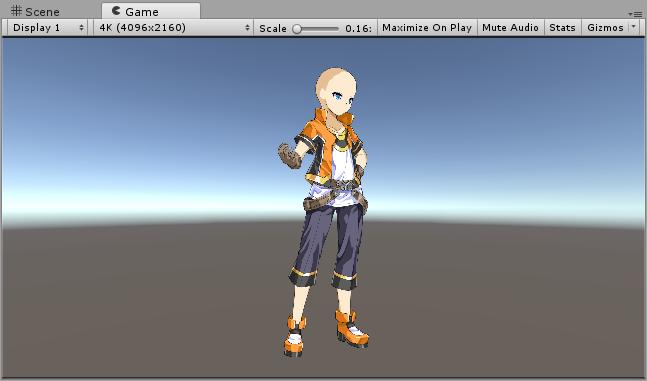
Step five: We need to add the ears.
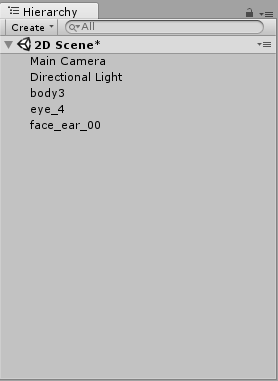
Step six: Position the ear. X position is 0.72, Y position is 7.73, and the order in layer is 1.
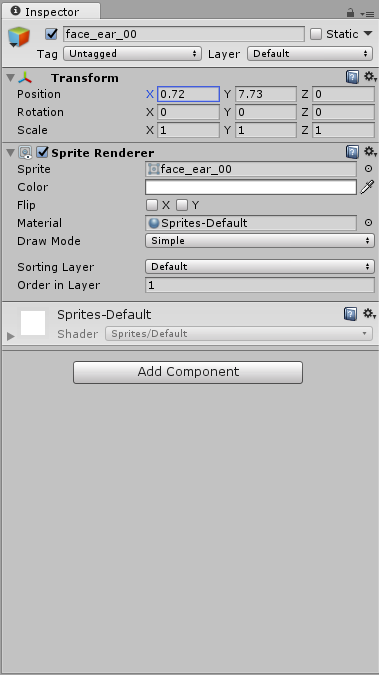
Step 7: Add the mouth. The mouth is part of a spritesheet so choose one from the list.
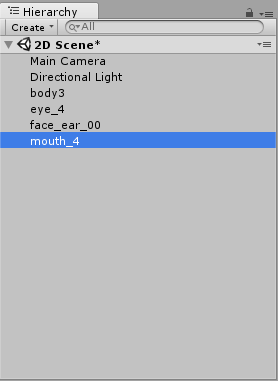
Step 8: position the mouth. X position is 1.27, y position is 6.74, and order in layer is 1.

Now it is time to add the hair. The hair is in two parts, so let’s start with the back.
Step 9: Add the back of the hair to the hierarchy pane.
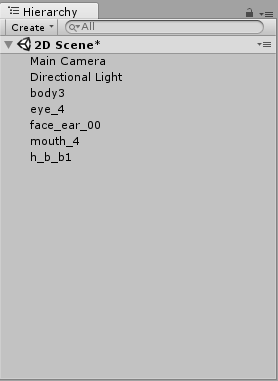
Step 10: Position the back hair. X position is 0.49, y is 8.32 and order in layer is 1.
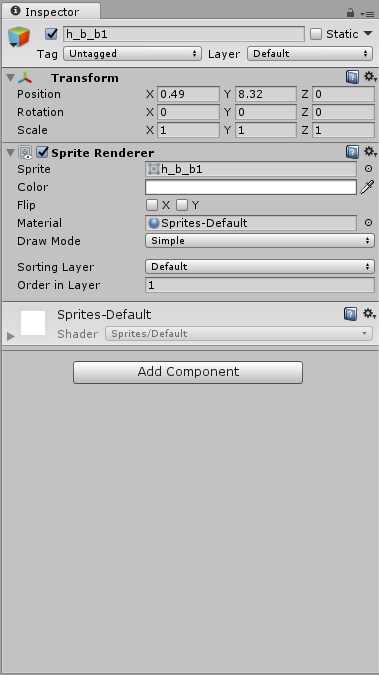
Step 11: Add the front hair.
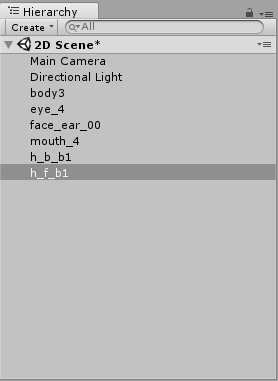
Step 12: Position the front hair. X position is 1.23, y is 7.8, and order in layer is 1.
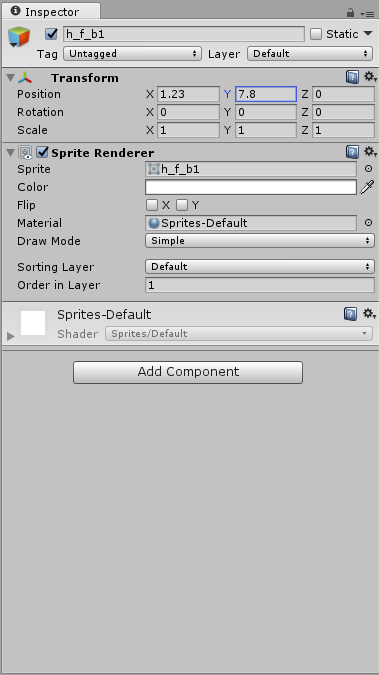
Step 13: Add an empty game object, name it Character and drag all the body parts into it.
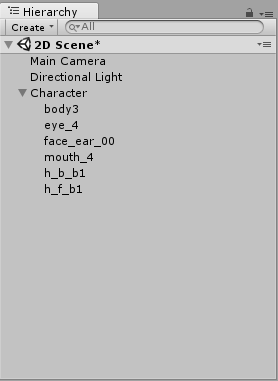
This is our completed character.
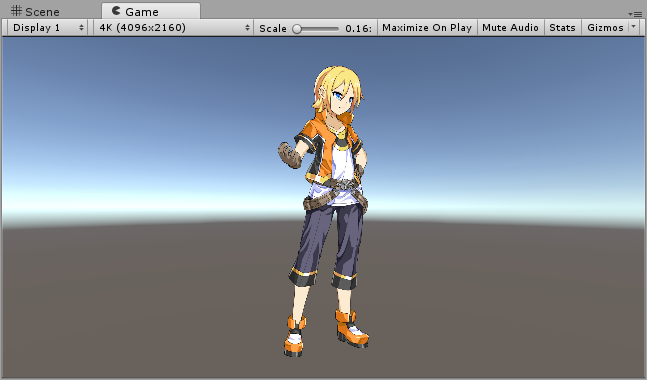
Now we can begin animating. This time, we will animate the character blinking and moving their mouth.
Again, we need to select our character. Do so with the parent gameobject and click on create in the Animation pane.
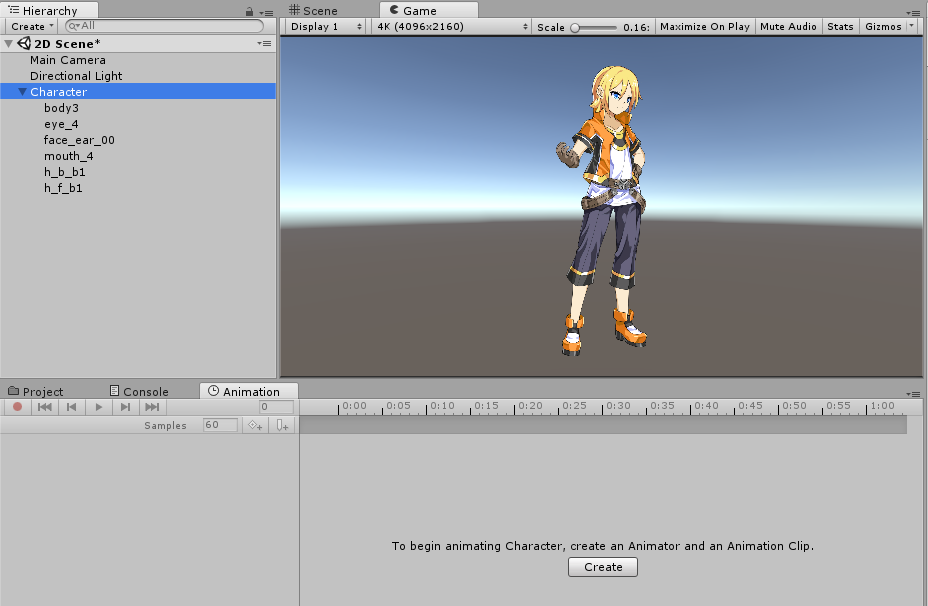
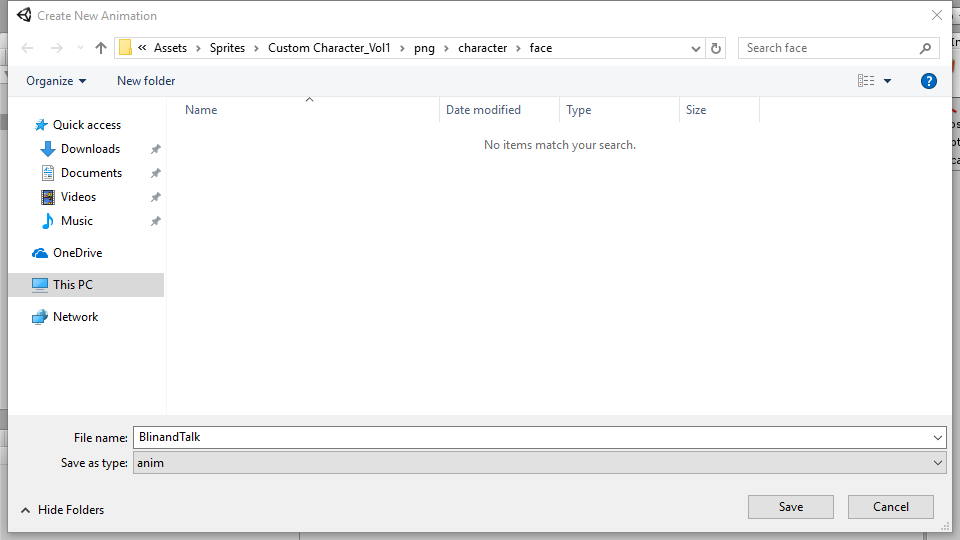
Name this animation blinkandtalk.
Click on the red record button once again.

Click on the eye and the mouth, change the sprite to a different one and change it back to record the base sprites.

We will add the keyframes at every 0:10 as before. Go ahead and add them in advance, it makes things easier.

Let’s start with the speaking portion of the animation. We will use mouth_4, mouth_5,mouth_3, mouth_0,mouth_1,mouth_2 and mouth_6 in this exact order.

Don’t forget that we need to do the reverse order animation for the mouth as well.
Now, we can do the eye animation for blinking. This one is a little tricky to get the timing right. What I would suggest doing is to offset changing sprites by odd frame times.

Closing thoughts
Using Unity3D to animate models, characters, gameobjects and terrains can be extremely time consuming. However, I see it is beneficial to those wanting to make awesome art and animations for others or for yourself. It doesn’t require any tricky importing techniques or extended knowledge on using Unity3D in the slightest.
I think this is a great way for a 3D or 2D artist to benefit developers even more and create even more invaluable assets for them.
I hope you enjoyed this tutorial. This is Jesse, signing out.

