In this post, we’re going to learn about loaders as well as content providers. Loaders allow us to load vast amounts of data asynchronously so we don’t bog down the main UI thread. We can get this data from querying databases using content providers instead of having it stored in a resources file like we’ve done in other posts. We’ll be building a small application that will just list the names of all of the contacts on our phone.
If you’re not familiar with SQLite, I highly suggest that you look over this post on SQLite since content providers deal with accessing data from the system’s SQLite databases.
The source code for this post can be downloaded here.
We’ve looked before at how to load data into a ListView using adapters, but what if we have a very large database or data set? Most of the data sets that we’ve been using have been pretty small so it doesn’t hurt that much to load them immediately in onCreate(…) . However, when we have databases or data sets of thousands or hundreds of thousands of entries, instead of stalling the app, it might be better to load them on a background thread. We’ve already looked at how we can create and manage background threads, but since loading data from a database in a background thread is such a common task, Android has a wonderful CursorLoader class that prevents us from having to write the boilerplate code ourselves.
But where do we get the data for the loaders to load? Let me talk about cursors and content providers. Let’s look at an example of one: the Contacts app. On Android phones, there’s a way to manage all of our contacts. But where is that data stored? It’s stored in a database! In fact, the system can even let us access into that database through a content provider. Content providers allow applications to share data between each other. This is how Twitter or LinkedIn know about your contacts: they have access to them if you give the permission for them to read your contacts.
The Android system has hundreds of content providers for many different pieces of information like contacts, media, and photos. To differentiate all of these different content providers, each group of related information has a content URI that we provide to tell the content provider that we’re querying one database and not the other. Think of URIs as being URLs on the internet. Inputting gamedevacademy.org will get you to this site, but inputting google.com will get you to another site. These URIs are also unique so no two content providers should have the same URI. We simply provide the URI and the query we want to run, although most of the querying part is actually abstracted away for good reasons.
When we query a content provider, we get back a Cursor object. This allows us to step through the rows of the result query using a similar approach as if we had an iterator: while the Cursor has a next row, grab the current one and then move on to the next row. We can access the data stored in the current row of the Cursor through the index of the column, but we won’t have to do this since Android provides us with a SimpleCursorAdapter that will display cursor results for us, allowing us to skip the step of making our own custom adapter.
To summarize our approach to display contacts in a ListView, we’ll first need to ask for permission to read contacts. Then we’ll initialize the loader with the appropriate query (that is, retrieve all of the contacts’ names). Then, when the query is finished, we switch our adapter’s Cursor with the one we get back from the loader.
Let’s get started and create the LoaderDemo project! We’ll need Android 6.0 Marshmallow with an empty activity. First things first, we need a ListView! Replace the layout/activity_main.xml with the following.
<?xml version="1.0" encoding="utf-8"?>
<ListView xmlns:android="http://schemas.android.com/apk/res/android"
    xmlns:tools="http://schemas.android.com/tools"
    android:id="@+id/listView"
    android:layout_width="match_parent"
    android:layout_height="match_parent"
    tools:context="com.deshpande.loaderdemo.MainActivity" />
Now that we have a ListView, we need to deal with the runtime permissions for reading contacts. Add the following line in the AndroidManifest.xml file before the application tag.
<uses-permission-sdk-23 android:name="android.permission.READ_CONTACTS" />
Now that we’ve done this, we can request the READ_CONTACTS permission right when we start the app. Open up MainActivity and add the following to the onCreate(…) method. We’ll also need to create a constant at the top of our class for PERMISSION_CONTACTS.
if (ContextCompat.checkSelfPermission(this, Manifest.permission.READ_CONTACTS) != PackageManager.PERMISSION_GRANTED) {
    ActivityCompat.requestPermissions(this, new String[] { Manifest.permission.READ_CONTACTS }, PERMISSION_CONTACTS);
} else {
    getLoaderManager().initLoader(LOADER_CONTACTS, null, this);
}
Now after we’ve been granted permission, we can initialize the loader. We’ll need another constant for LOADER_CONTACTS since we could have initialized multiple loaders if we wanted to.
@Override
public void onRequestPermissionsResult(int requestCode, String[] permissions, int[] grantResults) {
    switch (requestCode) {
        case PERMISSION_CONTACTS:
            if (grantResults.length > 0 && grantResults[0] == PackageManager.PERMISSION_GRANTED) {
                getLoaderManager().initLoader(LOADER_CONTACTS, null, this);
            }
            break;
    }
}
The first parameter is the ID of the loader, the next is an optional Bundle we could pass, and the final argument is the callback listener. This will make us implement the callbacks, but change the declaration so that instead of the parameter type being Object, it’s Cursor. We’ll have to change this in the methods as well.
public class MainActivity extends AppCompatActivity implements LoaderManager.LoaderCallbacks<Cursor> { ... }Before we do that, we’ll need to create a SimpleCursorAdapter and set our ListView’s adapter to be that SimpleCursorAdapter. We’ll need to create a private field in our class for the adapter and then initialize it in onCreate(…) since we’ll need the adapter later. The first parameter is the context, the second is the layout, and the third is the Cursor. We’re passing in a simple ListView item layout that’s really just a TextView whose ID is text1.
We’re initially passing null since we’ll give it a Cursor after the loader is finished. The next two fields are the mapping between database column and the contents of a view ID. In our case, we want to map the name to the text1 TextView. To reiterate, text1 is the ID of the single TextView in the simple list item layout. Android is smart enough to know that the ID we’re passing is that of a TextView so we set it’s text to be whatever is in the row’s DISPLAY_NAME column. The final parameter is just some arbitrary flags that we won’t set since we don’t have any flags to set.
String[] from = { ContactsContract.Contacts.DISPLAY_NAME };
int[] to = { android.R.id.text1 };
adapter = new SimpleCursorAdapter(this, android.R.layout.simple_list_item_1, null, from, to, 0);

ListView listView = (ListView) findViewById(R.id.listView);
listView.setAdapter(adapter);
Now that we’ve configured our adapter, we can actually look at how we can implement the loader. First we need to create the loader. We’ll be creating a new CursorLoader that will handling loading up the data we need. The first parameter is the context, the next is the URI that I mentioned before. The third parameter is called the projection and it’s the columns that we want to return. We declared this as a constant at the top of the class. We need to make sure to always have the unique _ID value in the projection. Then we need the DISPLAY_NAME. The next two parameters are the selection clause and the selection arguments. We’re passing in null so we get all of the contacts (null translates to * in SQLite) and we don’t have any selection parameters, of course. The final parameter is the sorting order and we don’t care, but we could have our ListView sorted if we needed to.
private static final String[] PROJECTION = { ContactsContract.Contacts._ID, ContactsContract.Contacts.DISPLAY_NAME };

...

@Override
public Loader<Cursor> onCreateLoader(int id, Bundle bundle) {
    if (id == LOADER_CONTACTS) {
        return new CursorLoader(this, ContactsContract.Contacts.CONTENT_URI, PROJECTION, null, null, null);
    } else {
        return null;
    }
}
Now the loader will go and execute the query on the background thread and call onLoadFinished(…) when it’s done with the query. Note that we get the original loader and an object of the parameterized type, a Cursor in our case. This part of the code is simple, we just swap the null Cursor with the one that the loader returned.
@Override
public void onLoadFinished(Loader<Cursor> loader, Cursor c) {
    adapter.swapCursor(c);
    adapter.notifyDataSetChanged();
}
You might have noticed that we have a method called swapCursor(…) and one called changeCursor(…) . These two are very different by one key fact: changeCursor(…) will close the old Cursor. After we’re done getting data from a Cursor, it’s important that we call close() on it to free up resources. We haven’t had to do it since SimpleCursorAdapter and the CursorLoader manage it for us. This is also the reason why it’s very important that we use swapCursor(…) instead of changeCursor(…) . CursorLoader is managing the Cursor so it will close it after the call to onLoadFinished(…) . If we close it and it’s already closed, this will crash our app! This is why we must use swapCursor(…) instead of changeCursor(…) .
onLoaderReset(…) is just a mandatory method we have to implement so we’ll swap the cursor of our adapter to be null since this means that our created loader is being reset, so we don’t want to be accessing data at this time.
@Override
public void onLoaderReset(Loader<Cursor> loader) {
    adapter.swapCursor(null);
}
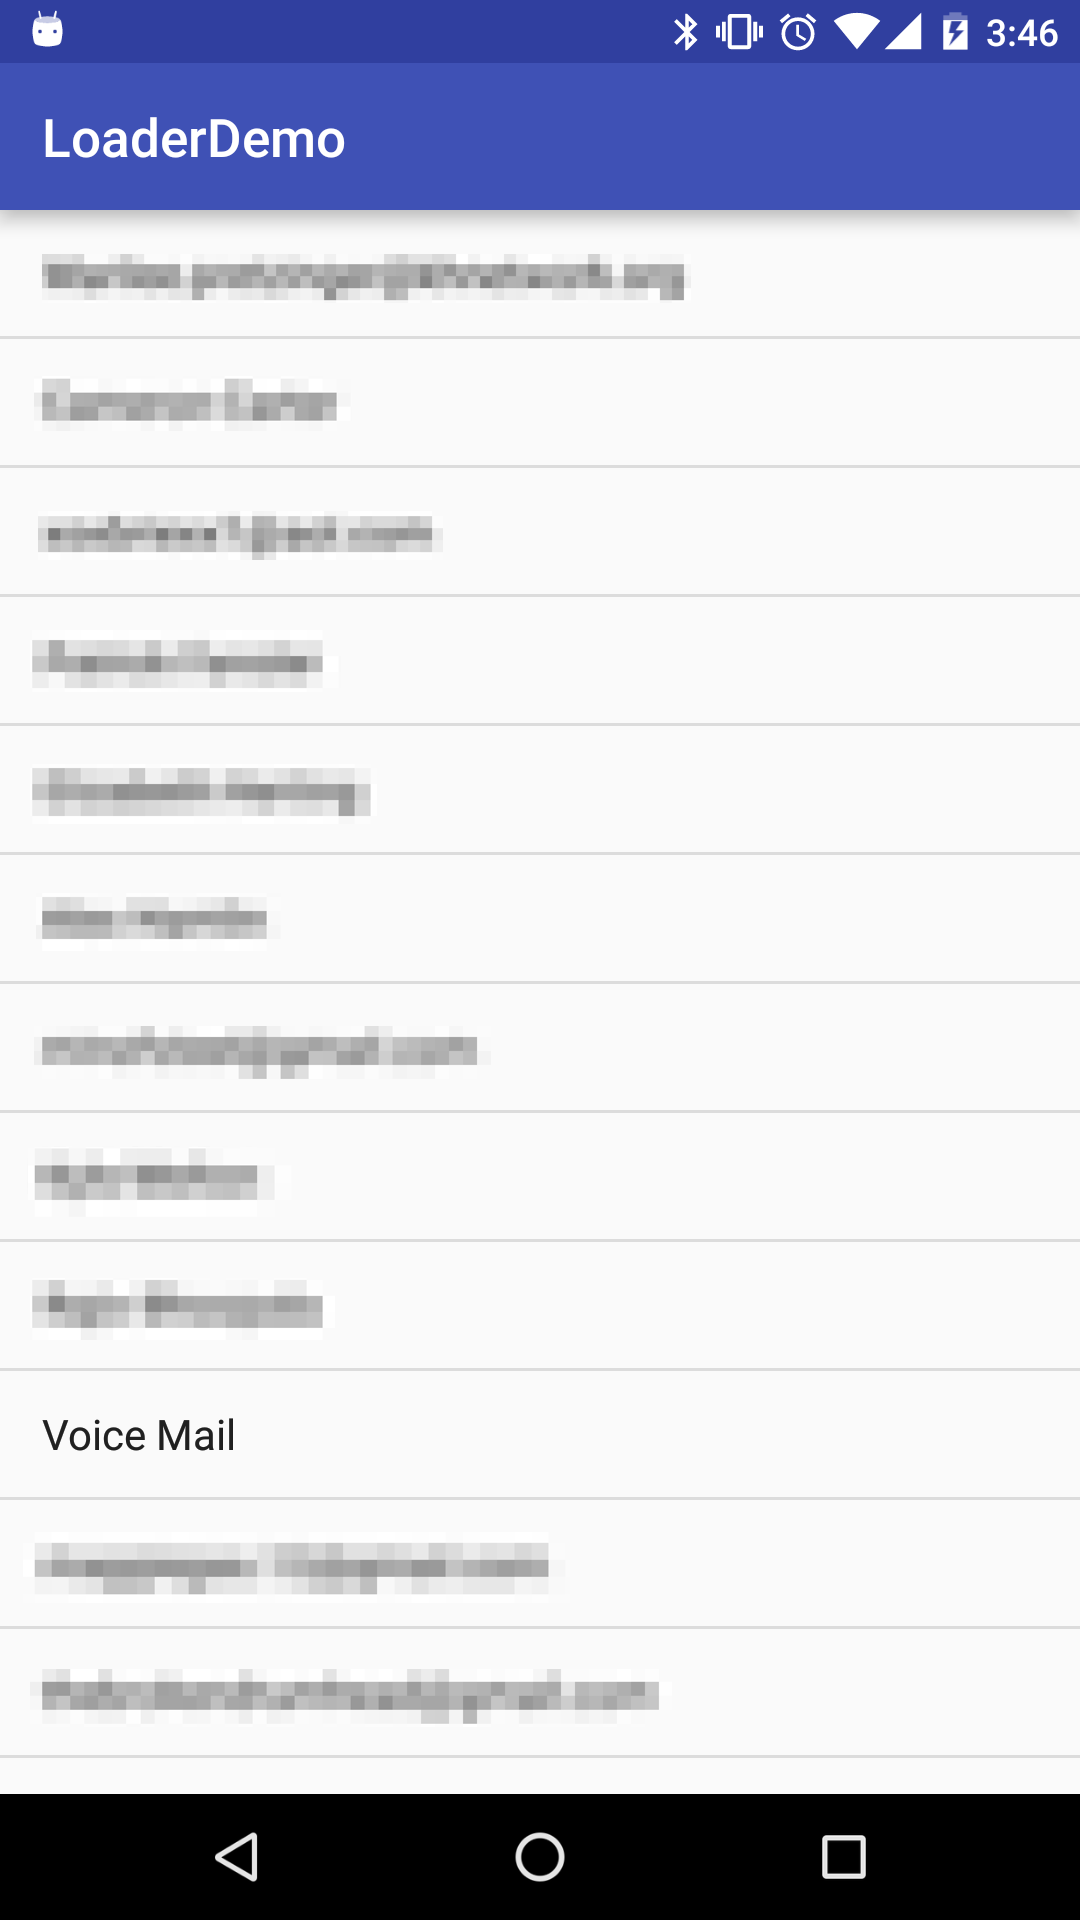
That’s all we need to do with the loaders! Now we can run the app in our emulator or on our phone and get a list of all of our contacts! In the emulator, you can sign into your Google account to grab those contacts. Here’s an example of the app running on my phone (obviously my contacts are censored).
Conclusion
In this post, we learned how to use content providers to access our phone’s contacts and load them into a ListView asynchronously using loaders. The great benefit of using loaders is that they’re asynchronous so we don’t hang the UI thread while it waits for us to grab potentially thousands of entries. We also learned more about Cursors and how they’re related to content providers as well. Use loaders whenever you predict that you’re going to be fetching a potentially vast amount of data (maybe even showing a spinning progress dialog while the user waits).


