In this tutorial, we’re going to discuss how to perform different kinds of animations on views. There are many properties on views that we can animate to delight our user. Using subtle animations, we can help make a boring app more exciting.
Download the source code for this post here.
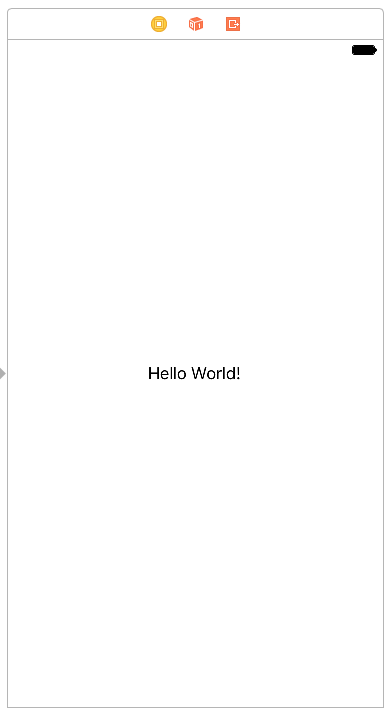
Let’s get started by creating a Single View application called Animator. Open up the storyboard and let’s add a few UI elements to our app. Let’s start simple and have a UILabel in the center of the screen with the text Hello World.
The first property we’ll look at is the alpha level. The alpha level is a decimal number between 0 and 1 that describes how transparent/opaque or “see-through” our view is. An alpha level of 0 means that our view is completely invisible, or transparent, and an alpha level of 1 means that our view is completely visible, or opaque. Let’s see how we can animate this in our Swift code.
Create an outlet to this view called helloLabel in ViewController.
@IBOutlet weak var helloLabel: UILabel!
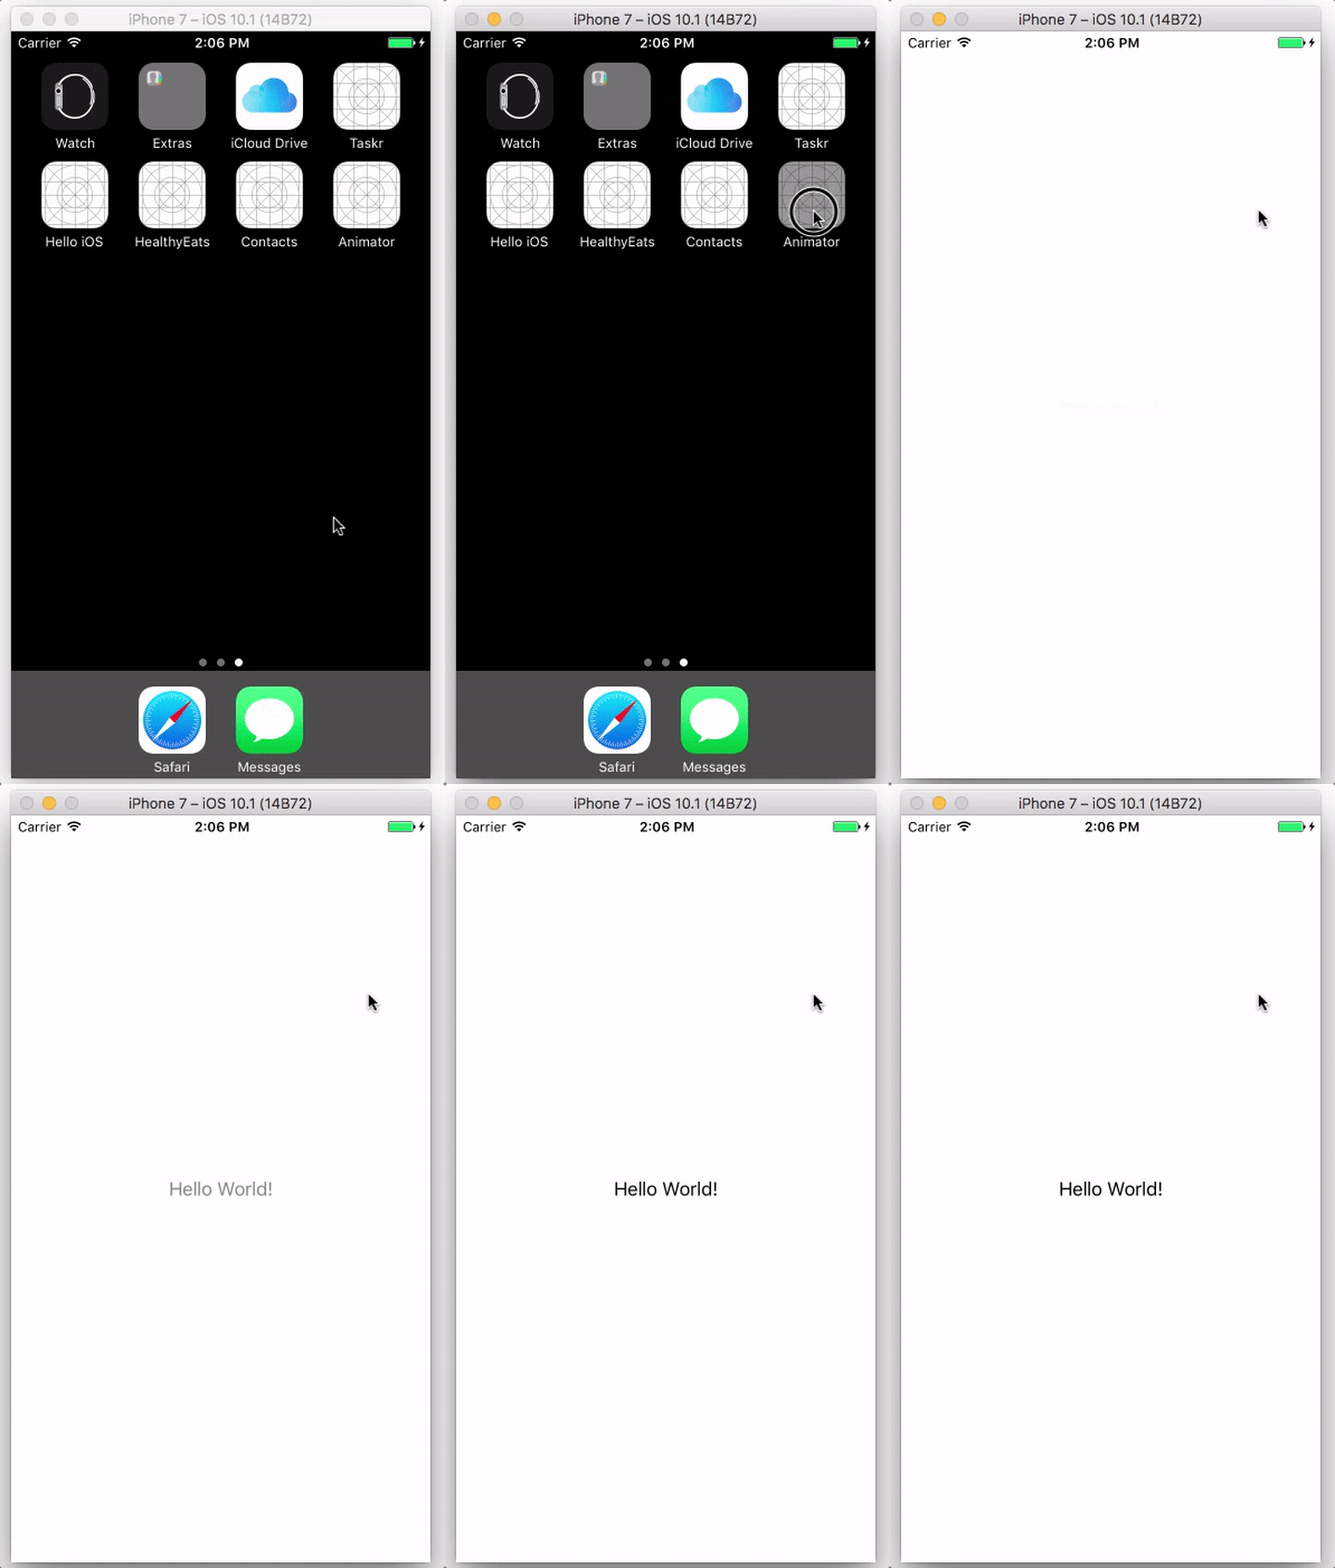
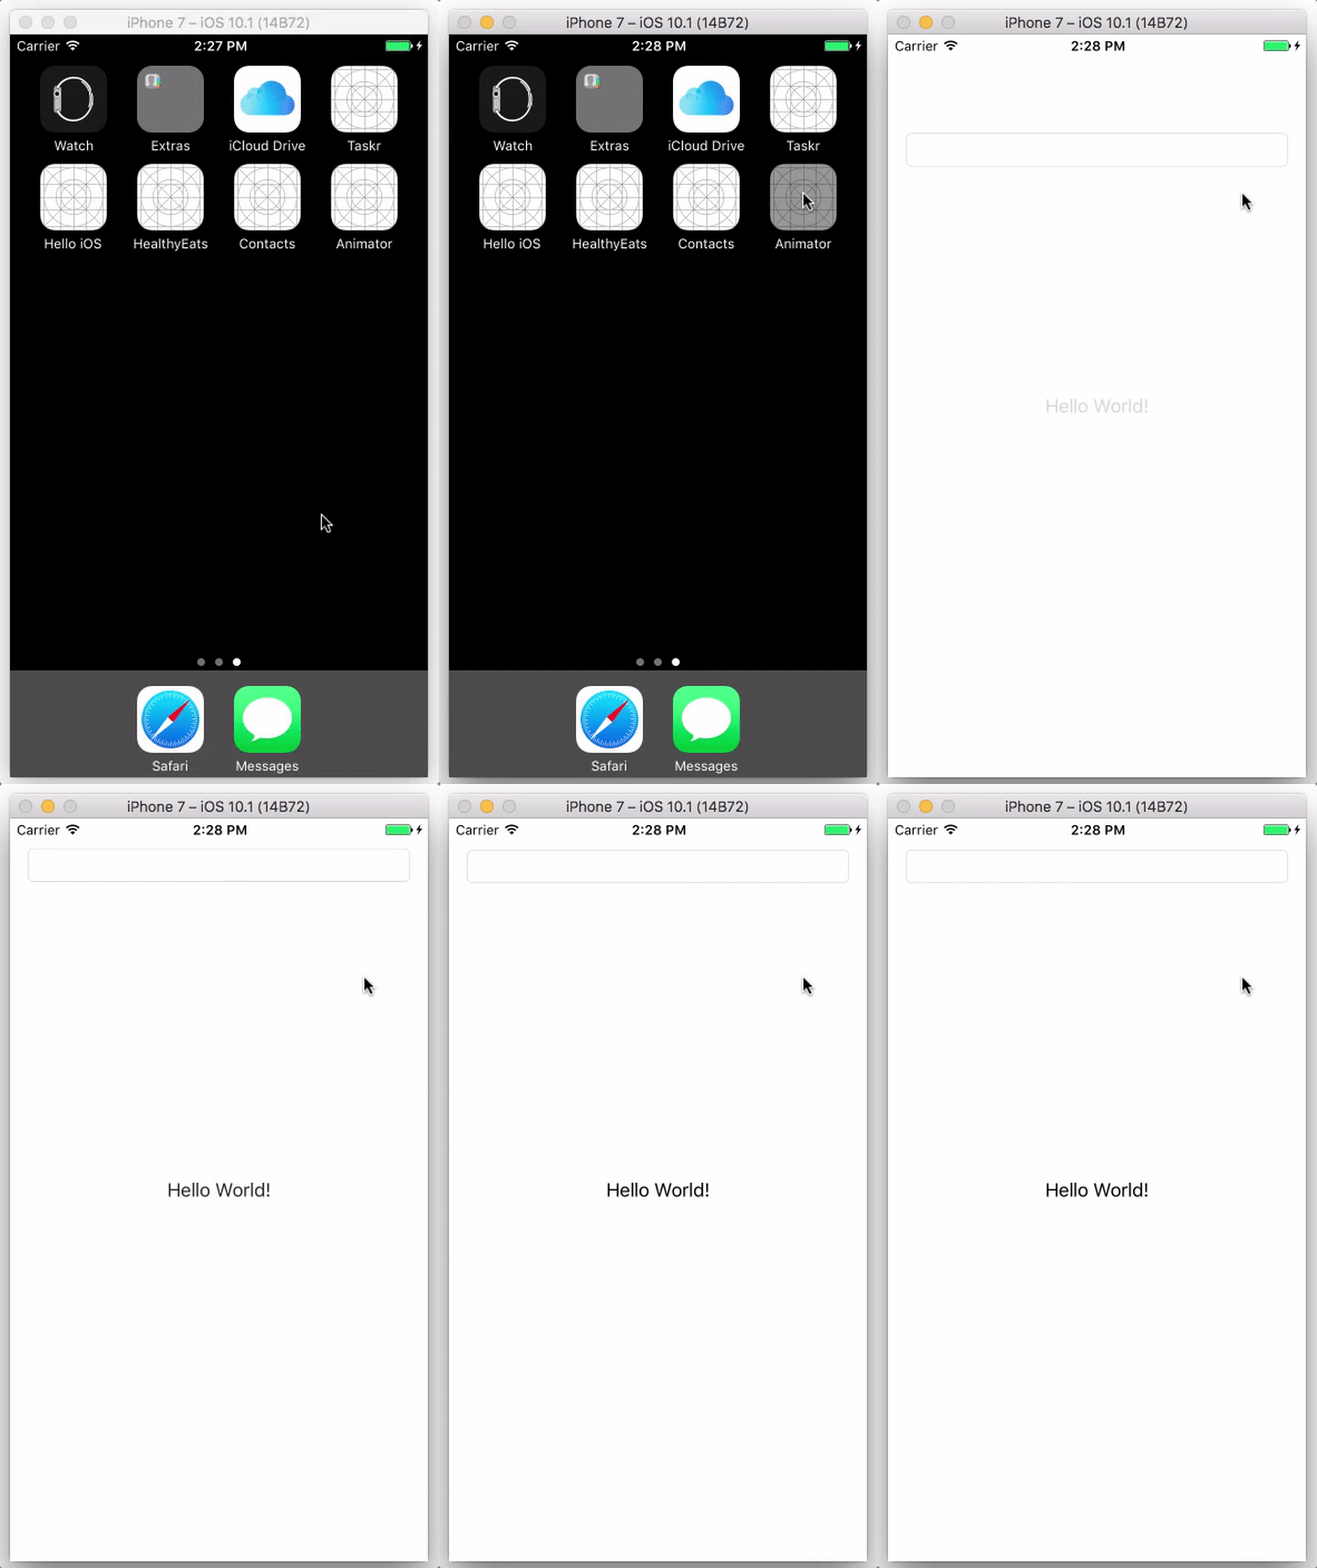
After we have an outlet to it, click on the UILabel and set its alpha level to 0 in the Attributes Inspector. Our UILabel immediately disappears! It is still there but invisible. We’ll animate this UILabel to slowly appear after the screen loads.
In the viewDidLoad method, let’s animate our UILabel to appear when the view is loaded. To do this, we use a method on UIView called animate:withDuration:animations.
UIView.animate(withDuration: 2) {
    self.helloLabel.alpha = 1
}
As arguments, we supply the duration we want this animation to appear over and a trailing closure that describes which properties to change over that time interval. It is important to remember that the time interval in in seconds! Let’s run our app!
This animation is called fade in because the view “appears” on the screen, even though it has always been on the screen. In general, fade in animations are when a view animates from an alpha of 0 to a nonzero alpha level (it doesn’t necessarily have to be exactly 1 though it usually is). We could do a fade out animation if we started at a nonzero alpha (usually 1) and animated to an alpha of 0.
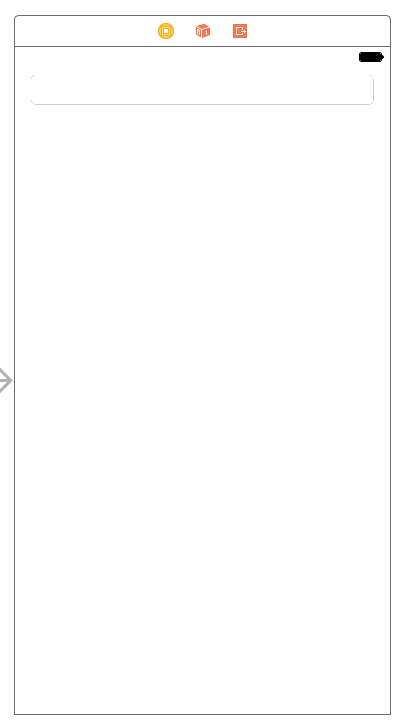
In addition to animating the alpha level, we can also animate the screen position of our views. Let’s demonstrate this by adding a UITextField to the top of our screen.
We can animate it into view by initially having it off of the screen. It is difficult to position it out of bounds so we can do something else instead: position the UITextField at the final position, and we can move it out of the screen before the view is shown to the user in the viewWillAppear method. First, add an outlet to it.
@IBOutlet weak var textField: UITextField!
Then override the viewWillAppear method and move it by some fixed value like the size of the screen.
override func viewWillAppear(_ animated: Bool) {
    textField.center.y -= view.bounds.width
}
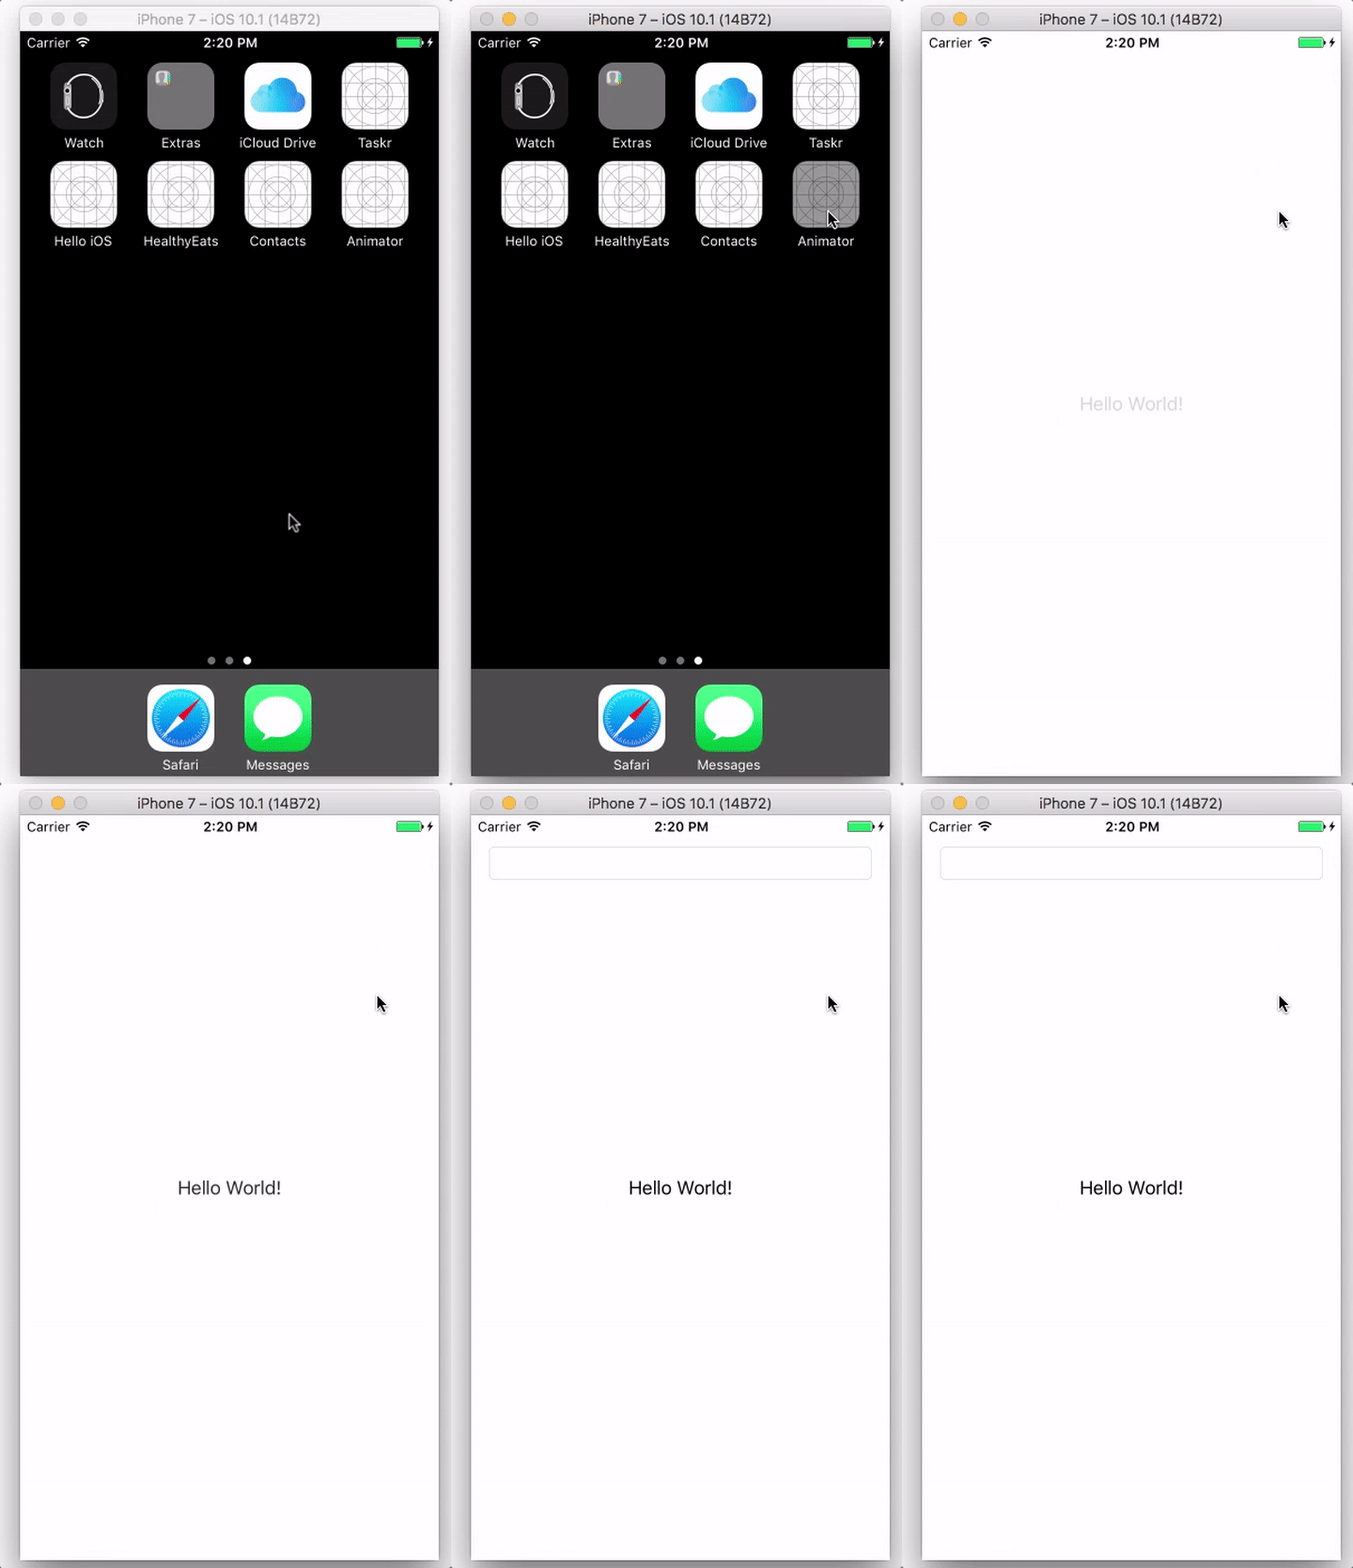
The coordinate system that iOS uses is the top-left coordinate system. This means that the origin, or point (0,0) actually lies at the very top-left corner of the screen. The x direction increases to the right, and the y direction increases down, not up! So by subtracting the y position of this view by a large amount, like the screen width, this UITextField will appear to animate from the top to its final position, from the user’s perspective.
To animate this view, let’s use the same method in viewDidLoad. We’ll have to undo the change in viewWillAppear by adding view.bounds.width over a period of time.
UIView.animate(withDuration: 2) {
    self.textField.center.y += self.view.bounds.width
}
Let’s run our app and see this animation!
The animate method on UIView has several overloads that give us finer grain control over our animation and some addition features!
UIView.animate(withDuration: 2, delay: 0, usingSpringWithDamping: 0.5, initialSpringVelocity: 0.1, options: [], animations: {
    self.textField.center.y += self.view.bounds.width
}, completion: nil)
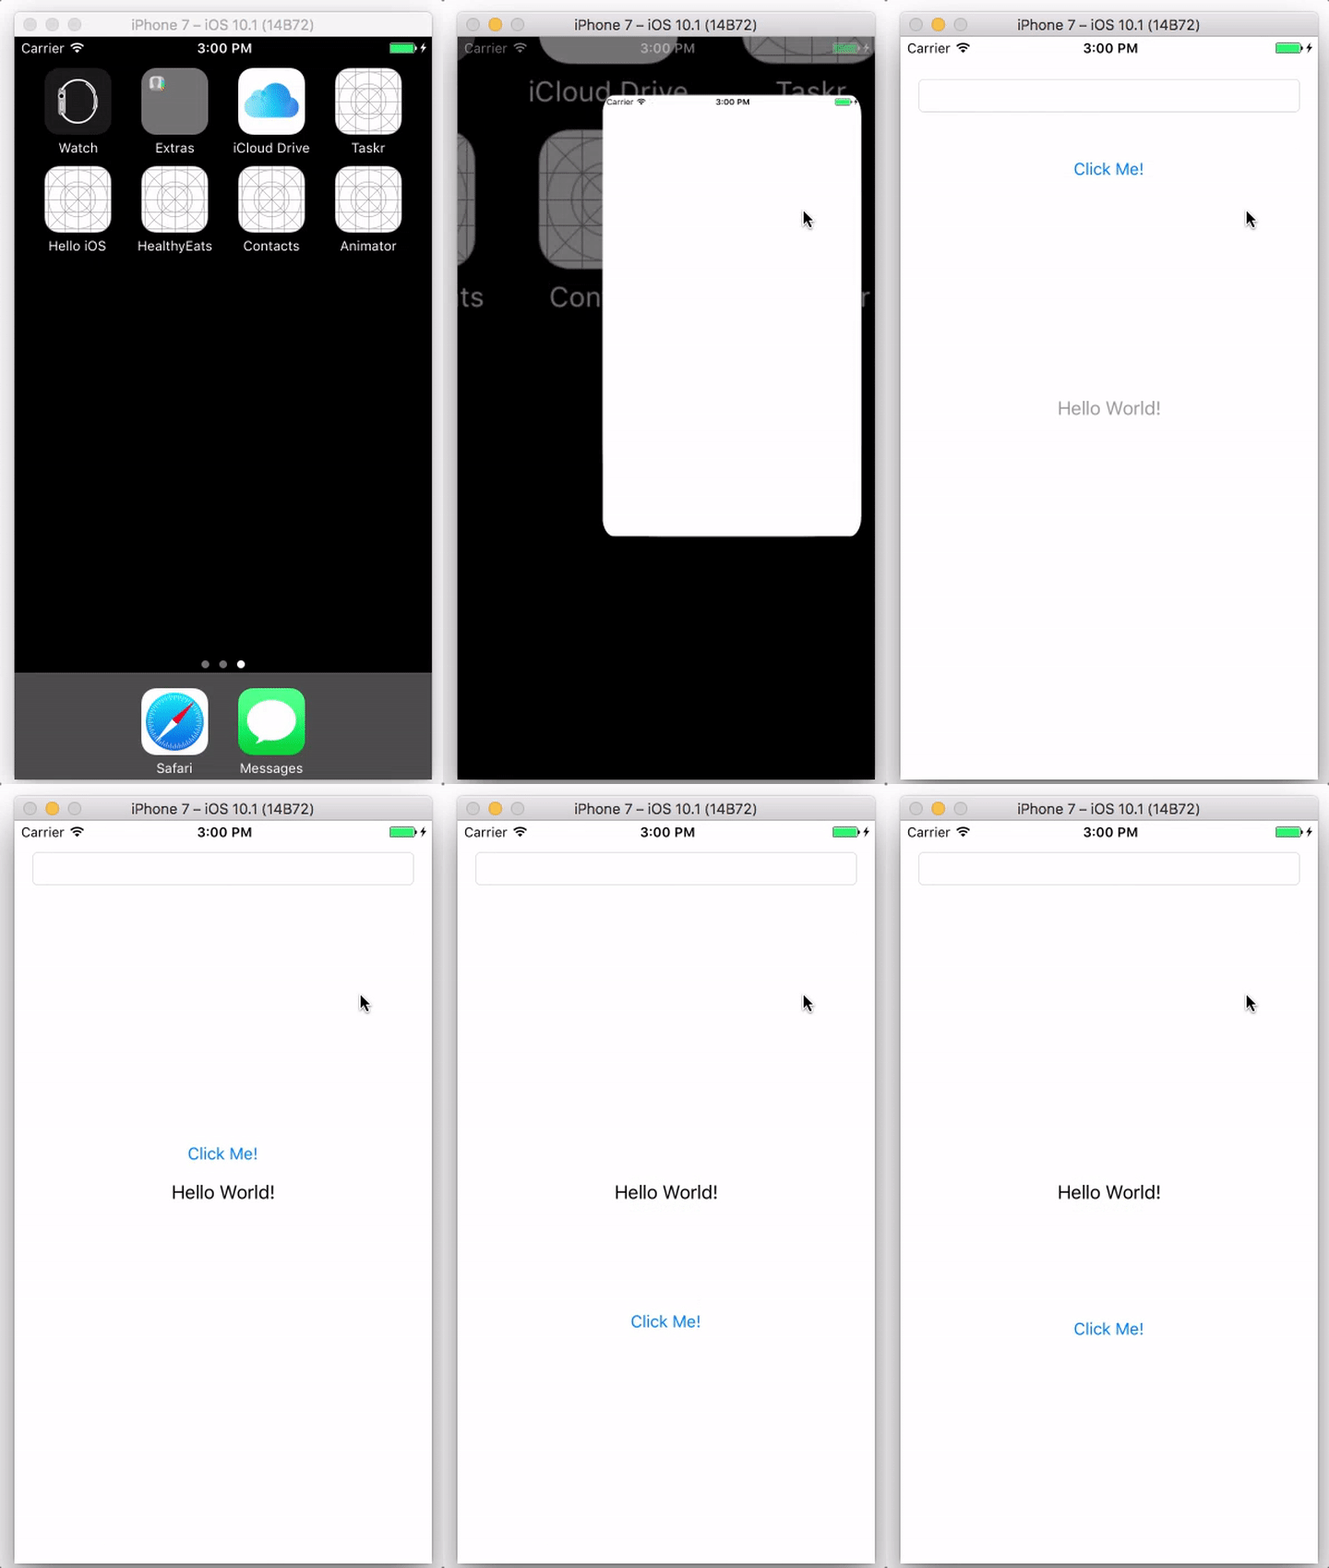
The additional features we get are a delay, spring motion, another list of options, and a completion handler closure. The spring parameters allows the views to have some “bounciness” when they animate. We’ll see this if we run the app.
Notice that when the UITextField animates, it overshoots its final position by some amount, bounces back, and finally ends at its final position. This is the effect of the spring parameters on the UIView. By adjusting these parameters, we can add delightful spring animations to our views!
One interesting thing to note is that the animations closure is an escaping closure. Let’s have a small digression to discuss escaping and non-escaping closures. In Swift, closures are treated as first-class citizens. We know we can pass a method into another method like this:
func bakeCake(ovenTemp: Int, prepareIngredients: () -> Void) {
    prepareIngredients()
    // bake the cake
}

...

bakeCake(ovenTemp: 350) {
    // prep ingredients
}
We’re using a trailing closure to provide the method for the prepareIngredients argument. It should be no surprise that we can create a variable whose value is the value of that closure. We can do this outside of the method as well, but something interesting happens.
var prep: () -> Void = {}

func bakeCake(ovenTemp: Int, prepareIngredients: () -> Void) {
    prep = prepareIngredients
    // bake the cake
}
If you type this code into Xcode, we’ll get an error about “Parameter prepareIngredients is implicitly non-escaping.” We’ve reached the central point!
By default, all Swift closures are non-escaping or @noescape, which means that we can only call or use that closure inside of the method. In other words, the closure cannot escape the method. This guarantees to us that the closure must be used in that method. We won’t be able to store it and execute it later if we have a non-escaping closure.
If we wanted to pass in a closure and execute it later, we need to add @escaping to our parameter like this.
func bakeCake(ovenTemp: Int, prepareIngredients: @escaping () -> Void) {
    prep = prepareIngredients
    // bake the cake
}
Now we don’t get an error and we can run everything! To bring the digression to an end, notice that the animations closure of the animate method is an escaping closure. This means that our animation code might not be run inside the animate method, but stored in a member variable or in an animation queue and run after some processing. However, this processing is so small that we don’t really notice it.
This means that there’s no guarantee that our animation code is run in that same animation method, which doesn’t affect the way we write that code, but it is something to be aware about.
Moving on with animations, notice we have an options parameter that we can configure. Let’s add a UIButton to our view right under the UITextField and we’ll animate it downwards while exploring the different animation options. Let’s create an outlet for it.
@IBOutlet weak var button: UIButton!
Now let’s take a look at some of the animation options. For example, we can ease in and out of the animation. That will make our view appear like it is accelerating at the start and decelerating at the end. It gives a sense of real-world motion. Objects just don’t go from standing still to moving instantaneously! They accelerate to that speed and decelerate back down.
Add .curveEaseInOut inside of the array brackets. We’re animating our button down the screen by some distance.
UIView.animate(withDuration: 4, delay: 0, options: [.curveEaseInOut], animations: {
    self.button.center.y += self.view.bounds.width
}, completion: nil)
Now let’s see that button animate!
See how our button accelerates and decelerates? That’s natural motion! Other interesting options are the .autoreverse option, which will automatically undo the effects of the animation as soon as the first animation finishes, and .repeat, which will keep executing the animation.
There are many other properties that we can change to delight our user with animations. This does not mean that we should take every view in our app and add some animation to it! Animations are not meant to be applied to each view or even frequently to a particular view.
There are some considerations that we have to take into account when asking ourselves if we even need an animation. For example, consider a login screen with a username, password field, and a button. There’s no need to have an animation to make those views appear. However, it might be delightful to have a transition animation that moves from one view controller to the next.
Animations should not be very long either. If we had long animations, then our user is going to be waiting for the animation to finish before interacting with our app, and that is annoying to users to have to wait for our animation to finish. Ideally, animations should be fairly short and not too complicated. The purpose of animations is to delight our user, not to make the most flashy appearance!
Apple has design guidelines (called the iOS Human Interface Guidelines) that help developers better understand when animations are appropriate and in what manner to execute animations so they do not conflict with their guidelines.
In this post, we discussed how to perform different kinds of animations on views. We saw how to perform some of the simple animations like fading in and out. Then, we discussed some more complicated animations like spring motion. Next, we learned about some of the animation options for natural motion. Finally, we briefly discussed when to use animations and how to use them well. We built a small app that demonstrates the different kinds of animations.
