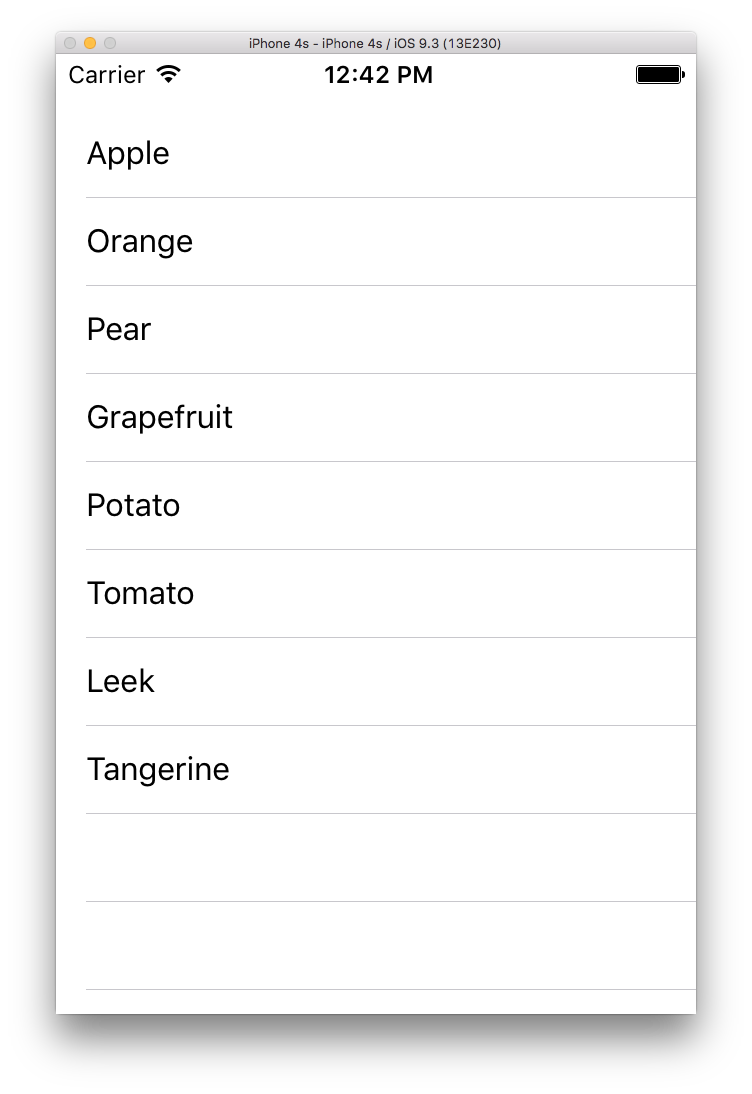
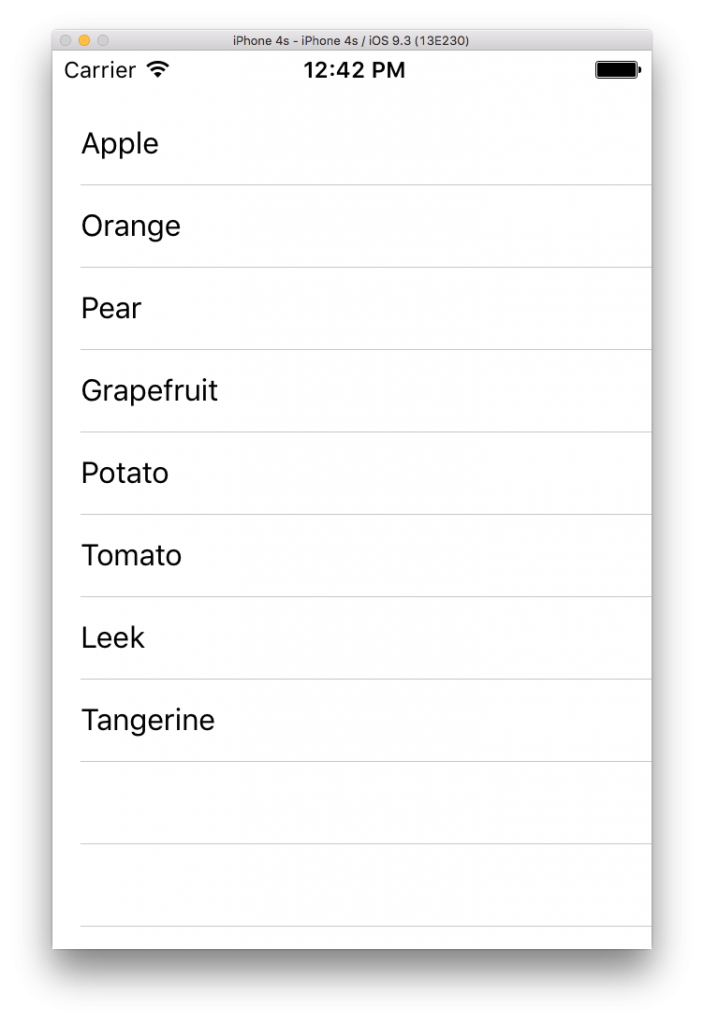
Hello world! In this post, we’re going to learn how to use UITableView to create dynamic lists of items. We’ll create a very simple app that will display a list of healthy foods. More importantly, we’ll learn how to configure UITableView to show a list of any size; we’ll also learn how UITableView works under-the-hood so we can make better use of it!
Download the source code for this post here.
Learn iOS by building real apps
Check out The Complete iOS Development Course – Build 14 Apps with Swift 2 on Zenva Academy to learn Swift 2 and iOS development from the ground-up with an expert trainer.
Let’s create our Single View iOS project and call it HealthyEats. We’ll start off by editing our UI. Open up the main storyboard, and, in the object library (bottom right pane), drag out a Table View Controller and change the entry point arrow to that new screen. Also set the Class attribute to ViewController! Our UI is simply going to consist of a single UITableView and nothing else for the moment. Your storyboard should look like the screenshot below.
You’ll notice that we also seem to have a warning about “prototype table cells must have reuse identifiers.” To understand what that error is about, we need to understand how UITableView actually works.
How UITableView Actually Works
Imagine we had a table of a 1000000 rows. (In large databases, we often have millions of database rows, so this example isn’t so farfetched!). If UITableView tried to allocate memory for all of those rows at once, your device would probably crash! Loading large amounts of view up front is a very expensive operation. The benefit of doing is to prevent laggy scrolling. If we really did have that many rows loaded, scrolling would be very smooth; but we simply don’t have the memory to fetch that many rows!
Another possible solution is to load only the number of rows that the screen fills up. Then, when the user scrolls, we allocate and fetch more rows while we release the ones that used to be on the screen. Using this approach, we would only have to allocate a mere fraction of the total number of rows, much less than 1000000! However, scrolling becomes laggy since we’re constantly allocating and deallocating.
Instead, UITableView uses a technique similar to the second approach I discussed; however, there is one key difference: we reuse rows! Instead of allocating and deallocation, we allocate just enough rows to fill the screen and a few extra. Then, when the user scrolls up, instead of deallocating rows, the rows that scrolled up off the screen are repopulated with new data and shoved at the bottom of the UITableView. This technique is called the View Holder Pattern.
This approach is ideal! We only allocate enough to fill the screen and a few extra, so that we have a buffer of a few rows. Then, when rows scroll off the screen, the memory isn’t deallocated, but reused to display the next row the user sees. This gives the user the appearance of super smooth scrolling! The best part of all of this is that UITableVIew handles almost everything about this technique for us!
Back to Our App
Now that we understand how UITableView works, we can fix that warning. The reuse identifier allows us to have different recyclable views. Click on the cell right underneath the text that says “Prototype Cells”. In the Attributes Inspector, find the field that says “Identifier” and change the identifier to say “healthyCell”. That should fix our warning! In addition, change the Style to be Basic. This will give us a UILabel to display our text. We do have the option of creating a custom row, but we’ll leave it at Basic.
That’s all we need to do for our UI! Now let’s get to the code.
class ViewController: UITableViewController
We need to make ViewController subclass UITableViewController so that our view controller is compatible with this UITableView.
We need to create the data that will actually show up in UITableView. Here’s an array that we’re going to use. Feel free to modify it in any way you want!
let healthyFoods = ["Apple", "Orange", "Pear", "Grapefruit", "Potato", "Tomato", "Leek", "Tangerine"]
Now let’s get to our UITableView population methods! The first one we need to complete is the numberOfSectionsInTableView. We can implement it by simply returning 1. Similar to a UIPickerView, we can have multiple sections in a UITableView as well.
override func numberOfSections(in tableView: UITableView) -> Int {
    return 1
}
The next one is the tableView:numberOfRowsInSection. This simply tells the UITableView how many rows we have in a given section. Since we only have a single section, we can just return the count of our list.
override func tableView(_ tableView: UITableView, numberOfRowsInSection section: Int) -> Int {
    return healthyFoods.count
}
The next method is the most important one: tableView:cellForRowAtIndexPath. This is where we need to grab the next reusable cell with the right identifier and repopulate it with new data.
override func tableView(_ tableView: UITableView, cellForRowAt indexPath: IndexPath) -> UITableViewCell {
    let cell = tableView.dequeueReusableCell(withIdentifier: "healthyCell", for: indexPath)
    cell.textLabel?.text = healthyFoods[indexPath.row]
    return cell
}
The first line looks pretty complicated, so let’s dissect that line. First of all, make sure you’re using the right overload of dequeueReuseableCellWithIdentifier! It should have two parameters, not one! If you use the overload with a single parameter, you’ll find that it returns an optional! The two-parameter overload guarantees you an actual UITableViewCell (it’s meant to replace the one-parameter overload). Using the one-parameter overload and forcibly unwrapping it, in some cases, will return nil and crash our app! Also, make sure that you used the exact same string for the reuse identifier! Your app will crash if you don’t!
Anyway, the first line will dequeue a recycled cell for us to use. If this is the first time our app is running, then this will actually allocate memory for those new UITableViewCells. After we’ve created them for the first time, then we’ll get one that has already been used, and we can repopulate it with new data.
Now that we have a cell, we can repopulate it. We selected the style for our UITableView cell to be Basic so it has a textLabel property that we can use. We’re using the technique of optional chaining to set the text only if the textLabel property is not nil. We’re setting the text to be a particular food, given the row we know it’s in.
The NSIndexPath object allows the system to reference a particular row in a particular section. It’s similar to a unique identifier for each row in each section, but it’s more structured than just a single id; it’s a path. It has a row property that will retrieve the correct index of the cell we want.
Finally, we return the cell we dequeued.
All of these methods have been for the data source for the UITableView, but what about the delegate? Like I mentioned before, delegates are more for UI events. In the case of UITableView, all of the methods in the delegate are optional, so we don’t have to implement them. However, we have a delegate method for when a particular item is selected.
override func tableView(_ tableView: UITableView, didSelectRowAt indexPath: IndexPath) {
    print(healthyFoods[indexPath.row])
}
This method gives us the UITableView, and, more importantly, the path to the selected row. We can use that path to get the exact item that was selected. In our case, we’re simply printing out the selected item to Xcode’s console. In a more practical app, we’d probably want to do a segue into a detail view controller or execute some other code. When calling that print method, it only shows in Xcode’s console, not anywhere in the app. This make it a great tool for debugging!
And we’re done! Let’s see what our app looks like!
When we click on an item, namely Apple, we see it in the console in Xcode.
In this post, we learned how to use UITableView to create a dynamic list healthy foods. we also learned briefly about delegates and data sources. Most important, we covered how UITableView actually works and how to use that to our advantage when dealing with UITableView. Ultimately, we created a simple, extendable app using UITableView and fully understood how UITableView worked under-the-hood.


