You can access the full course here: Intro to Java for Android Development
Part 1
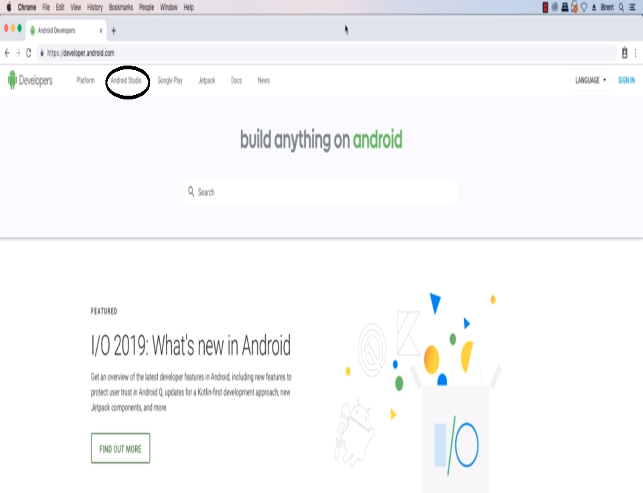
Here we’re on a Mac. Let’s go to developer.android.com and click on Android Studio.
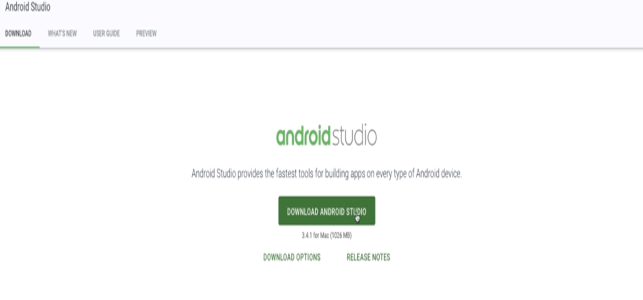
We want to download Android Studio for Mac.
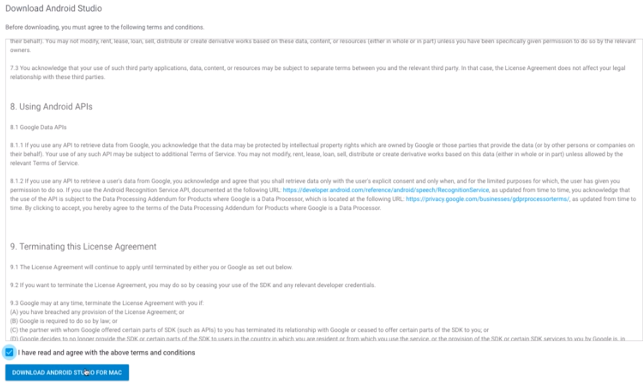
Accept the Licence agreement and click Download.
It is a large file and may take a few minutes to download. Once it finishes downloading, double click to open the file.

Next drag and drop the file on to your applications folder.
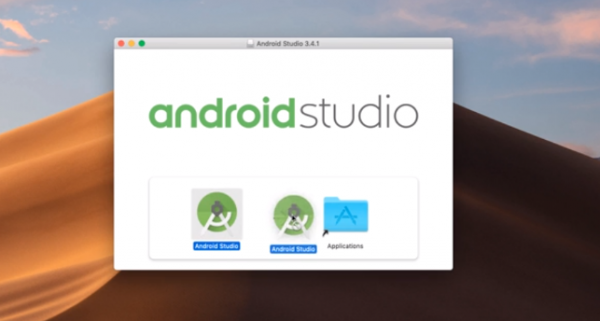
If you had an older version, replace it.
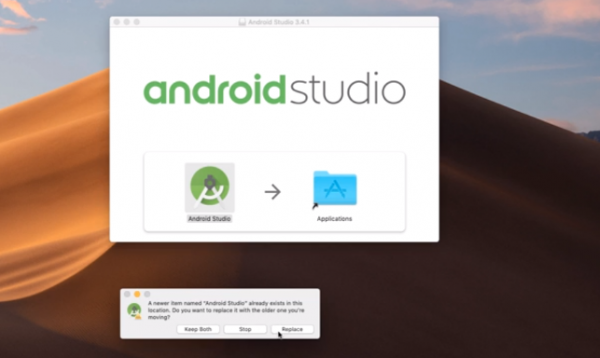
Now launch the application from your Applications folder.
If you had a previous version, you could import the previous settings or choose a clean install.
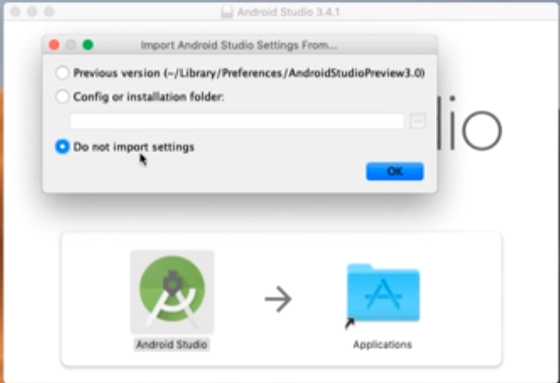
Once Android Studio launches, it may prompt us with a setup wizard.
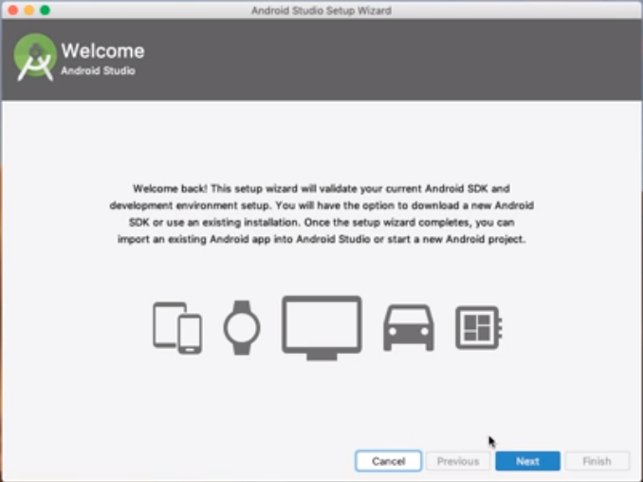
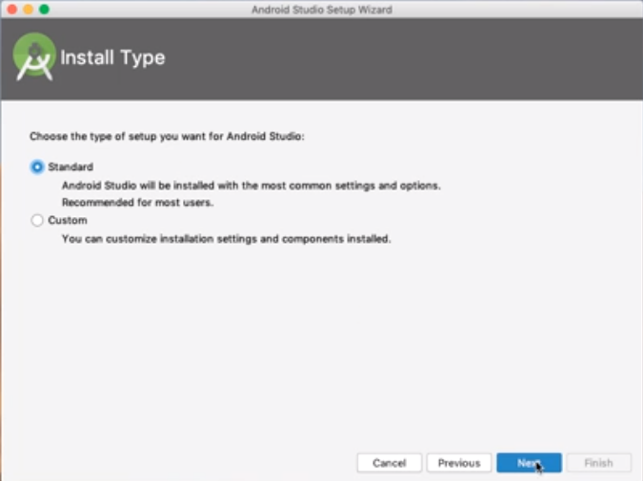
We can setup and choose our preferences. Let’s go with the Standard setup.
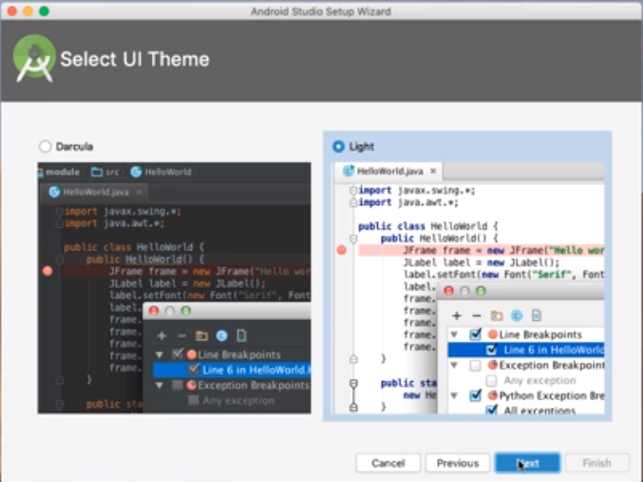
Next let’s go with the Lite UI Theme.
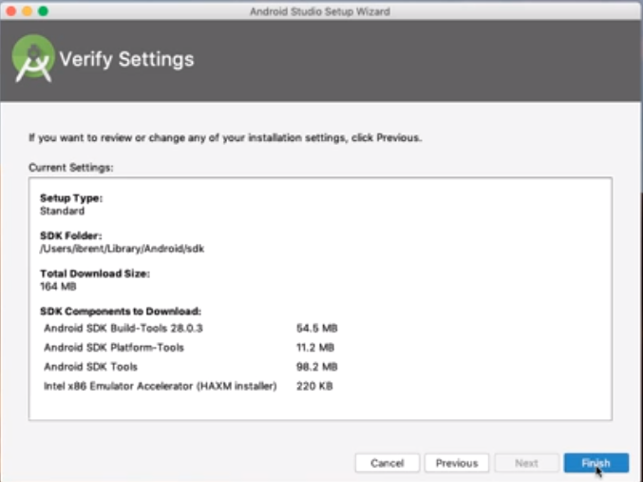
Let’s verify the Settings and click Finish.
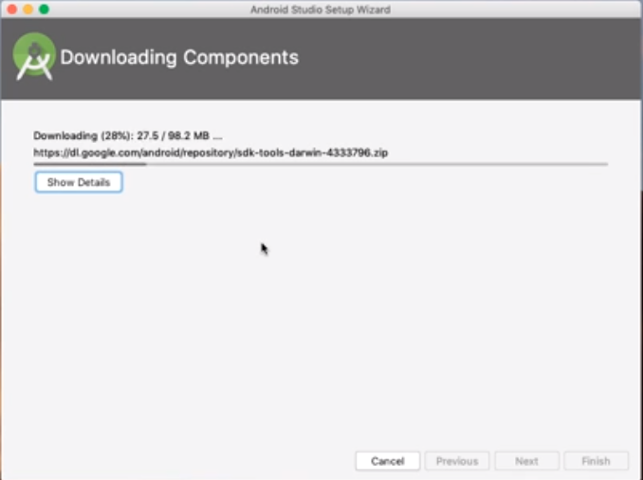
At this point, the installer will download additional required files needed to do Android development.
It may ask for for some additional permissions and when complete, will present us with the main launch screen.
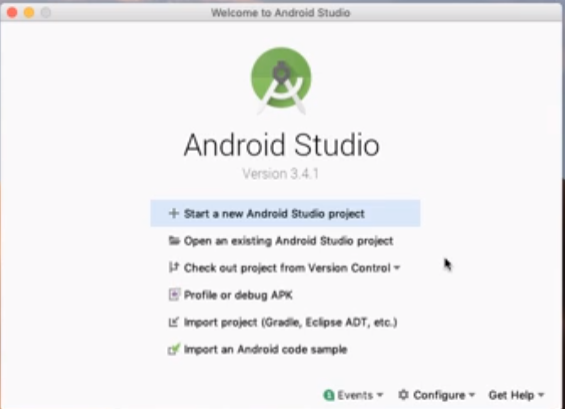
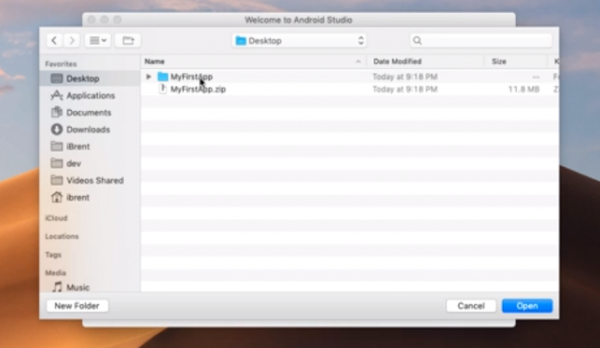
From here, if you wanted to open am existing or completed project, you would choose “Open an existing Android Studio project”. After having downloaded the files, we will need to unzip them and select the “MyFirstApp” folder and choose Open.
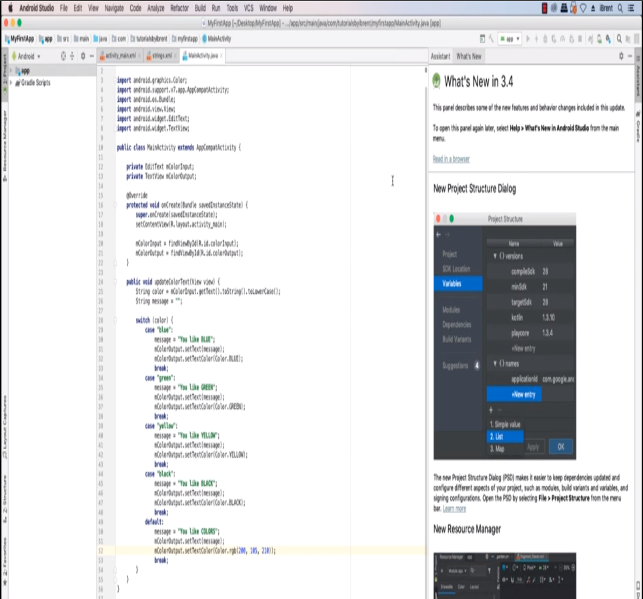
This opens the project in Android Studio and you have everything you need to get started with our course.
Part 2
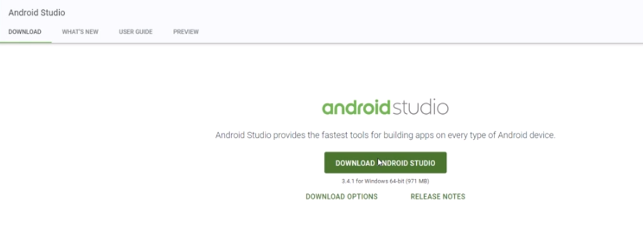
Here we’re on a Windows machine. Let’s go to developer.android.com and click on Android Studio.
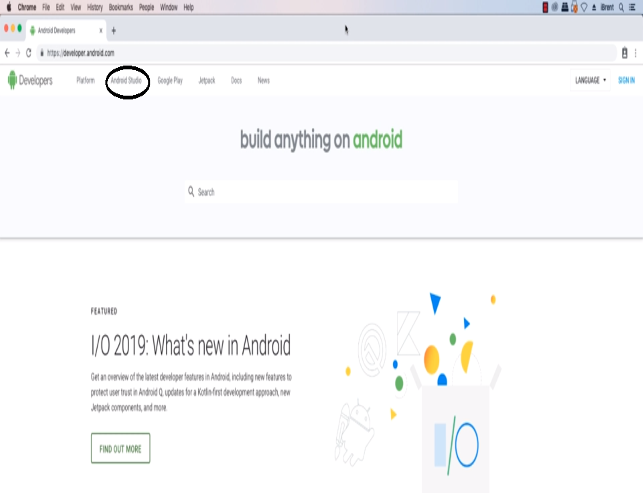
We want to download Android Studio for Windows.
Accept the Licence agreement and click Download.
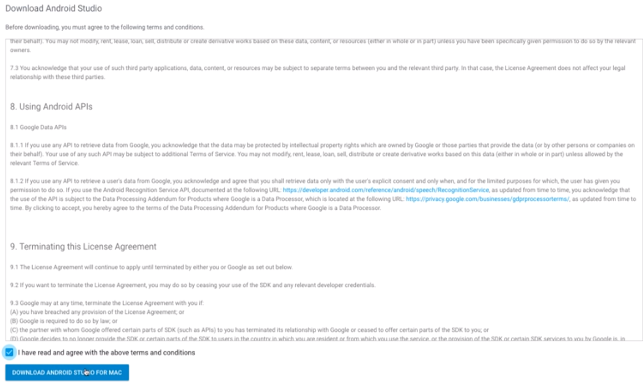
It is a large file and may take a few minutes to download. Once it finishes downloading, click to launch the installer.
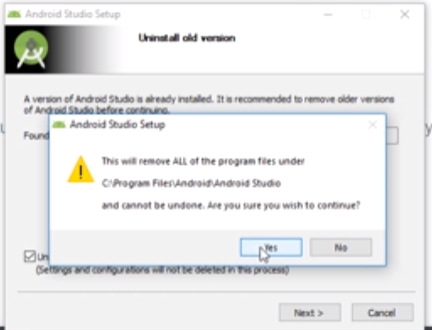
If you had a previous version installed, it will allow you to uninstall the previous version.
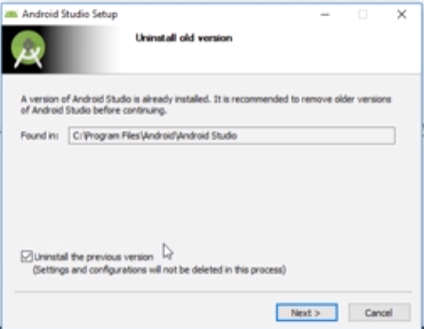
Click Yes if you want to uninstall it.
We continue, making sure that the option for Android Virtual Device is checked and click Next.
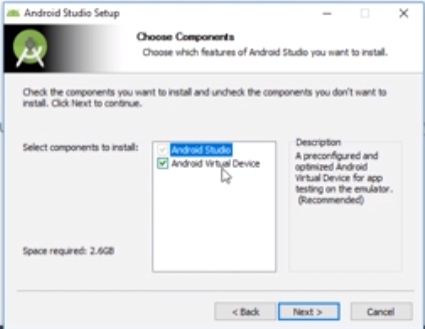
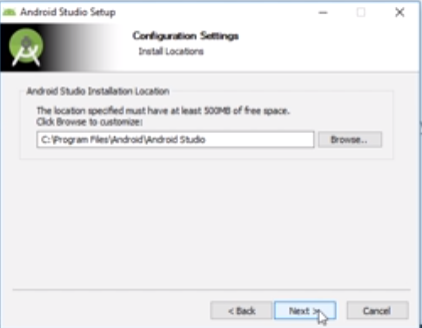
We confirm the installation location.
We can create a shortcut.
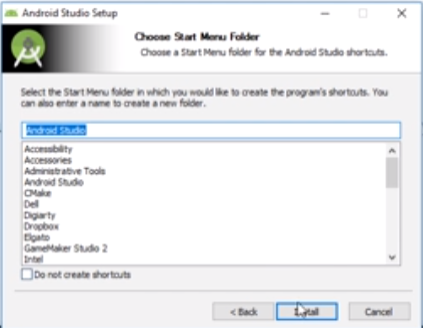
Let’s click Install.
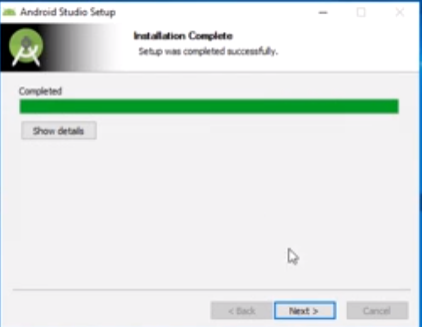
Once that’s completed, choose Next.
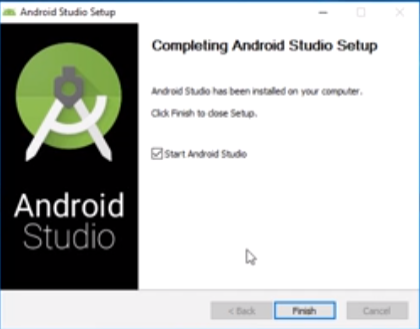
Clicking Finish will launch Android Studio.
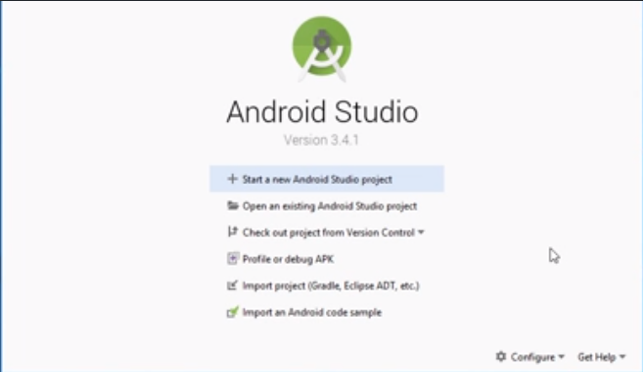
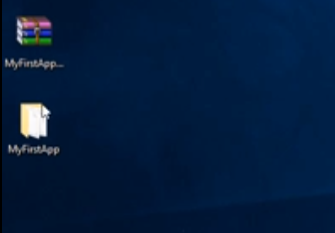
We are now ready for the rest of the course. If you’d like to take a look at the completed project course code, first download and unzip it.
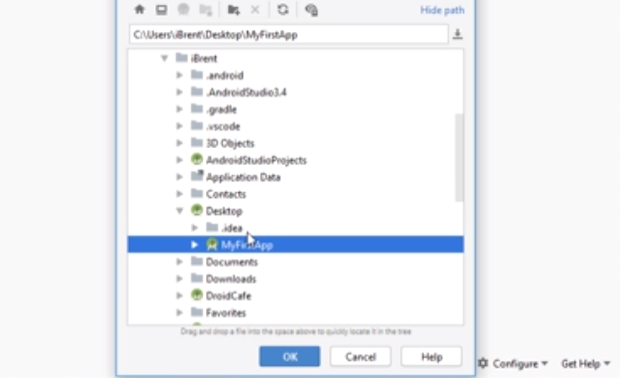
Then choose “Open an existing Android Studio Project”, navigate to the correct folder (MyFirstApp in this case) and choose OK.
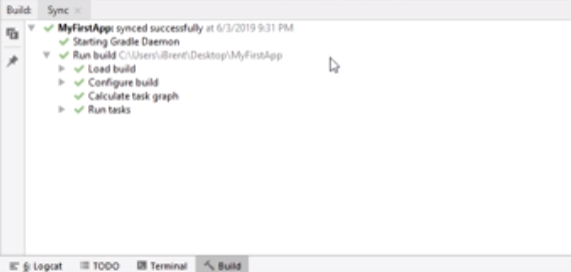
This opens the project and tries to compile it.
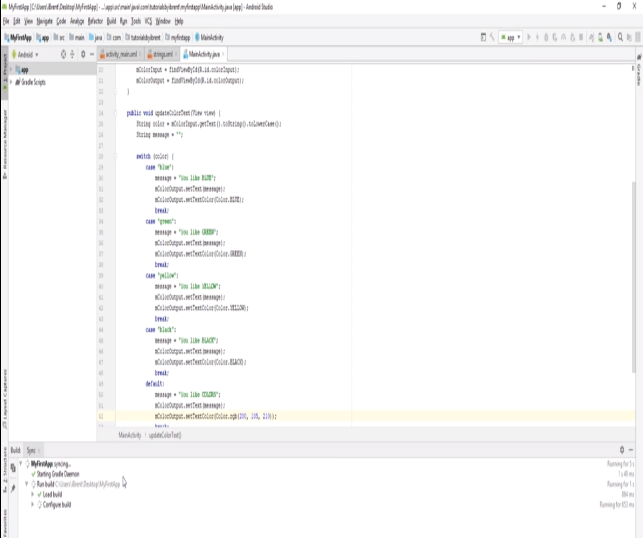
If there are any dependencies (libraries etc) that the project needs, Android Studio may take a few minutes to download them.
Transcript 1
Here I am on a Mac, and if you go to developer.android.com and look for Android Studio, it’s usually here at the top. Go ahead and select that, and here, you’ll want to download Android Studio for Mac. You’ll accept the agreement and choose download. Now, it is a large file, and it may take a few minutes to download. Once that finishes, go ahead and double click to open the install file.
And from here, you will drag and drop onto your Applications folder. And if you had an older version, you’d go ahead and replace it with the newer version. After that’s finished copying, you can go ahead and launch the application from your Applications folder. If you had a previous version, you can import those settings or go ahead and choose a clean install. Once that launches, it may prompt you for a setup wizard, which allows you to set up and choose your preferences. I’ll go with Standard, go with the Light theme and finish.
At this point, it will download additional required files and get everything you need in order to do Android development. It may ask for some additional permissions, and then once that’s complete, you’ll be presented with the main launch screen. From here, if you want to open the completed project, you would choose Open an existing Android Studio project. After having downloaded the files, you’ll want to unzip them and select the MyFirstApp folder and choose Open.
And from here, you have everything you need to get started with our course.
Transcript 2
To get started, you first need to download Android Studio. If you go to your developer.android.com, and from here, you’ll usually find a reference to Android Studio, and in this instance, it’s here at the top. Go ahead and select Android Studio, and from here, you’ll go ahead and download the application. From there, you’ll agree to any requirements and press download.
Once that’s finished downloading, go ahead and double-click to launch the installer. If you have a previous version, it will go ahead and uninstall it for you. You can choose next. You can confirm if you’re okay to uninstall it. We’ll go ahead and continue, and we do want to make sure that Android virtual device is selected and choose next. Then confirm, and we can create a shortcut and choose install. Once that’s completed, go ahead and choose next, and you can go ahead and launch Android Studio for the first time.
With Android Studio installed, you’re ready for the rest of the course. If you’d like to take a look at the completed project source code, once you’ve downloaded the source code and unzipped it, you can choose open an existing Android Studio project. From here, navigate to where it is opened, and select the folder. In this case, it’s called My First App, so select folder and choose OK. From here, it’s going to open the project and begin and try to compile it.
If there are any dependencies or libraries or things that are not available within your installation, you may find that Android Studio will download a number of additional files, and that may take a few minutes before it’s ready to be run.
Interested in continuing? Check out the full Intro to Java for Android Development course, which is part of our Android Development Mini-Degree.
