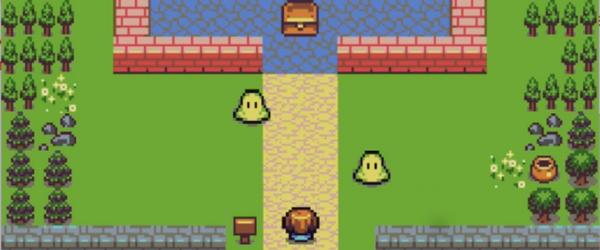
Want to make games, but are tired of everything being about Unity and Unreal Engine?
Godot is a great game engine for both 2D and 3D games – making it a multi-purpose engine suitable for many kinds of projects. It’s also open source and has a strong community backing the project, so there are constant updates and new features being released. With the release of Godot 4, it’s also better than ever to explore game development with this fantastic tool.
In this tutorial, we’re going to be learning how to create a very simple coin collection game in Godot 4. We’ll discover not only some of the core tools offered by Godot, but how to use GDScript to render our various mechanics.
Without wasting any more time, let’s dive in!
Project Files
You can download the complete project we’ll be making in this tutorial here.
While we’ll include it later below, you may also wish to download the character sprite and coin sprite that we’ll be using as well.
Installing Godot
Right now, Godot 4 is in beta, so let’s go to the Beta Download Page and click Standard Build.

Then, we want to click on the download that matches our operating system to begin the download.
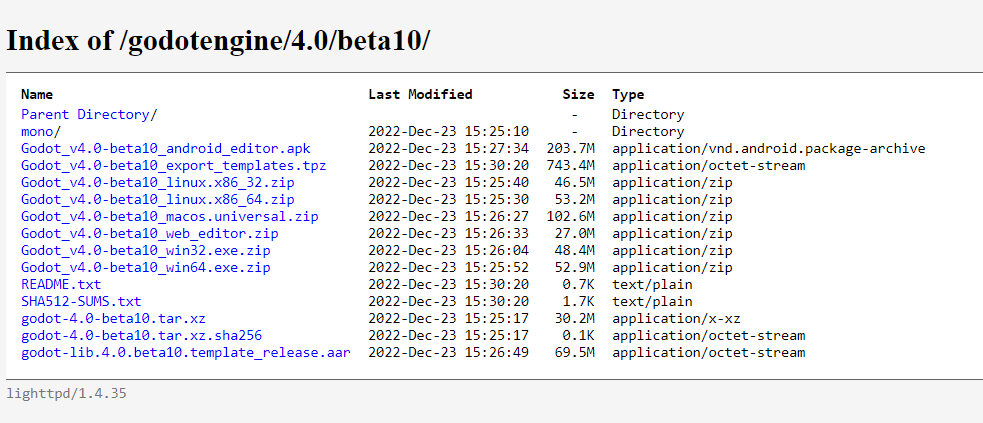
Once that the download is complete, you should have a ZIP file which you can extract the contents of. The application file is the game engine, so we can double click on that to open it up.

Creating a Project
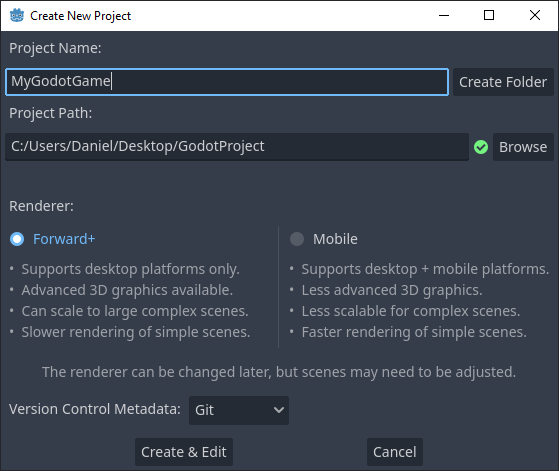
You should now have the Project Manager window open. This is where all of your Godot projects will be listed. For now, we have none, so let’s create one. Click on the New Project button.
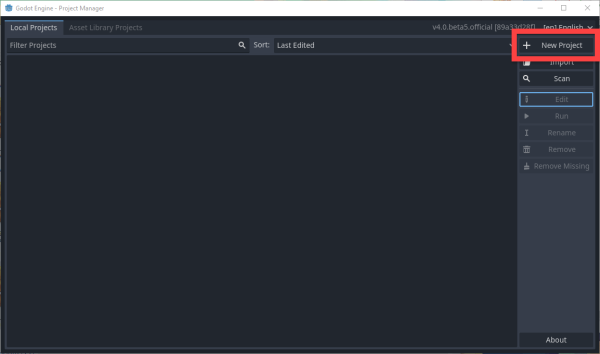
This will open up another window where we need to setup a few things.
- Choose a Project Name.
- Choose a Project Path. This will be where the project files are located on your computer.
- Then, click Create & Edit.
Editor Overview
After you create the project, the Godot editor should open up. This is the window where we’ll be spending most of our time in creating our games. This is where we will manage our assets, build our levels and code our gameplay behaviors. At first, this may seem daunting. There are a number of different panels, buttons, and labels. But hopefully, as time goes on, it will all become second nature to you.
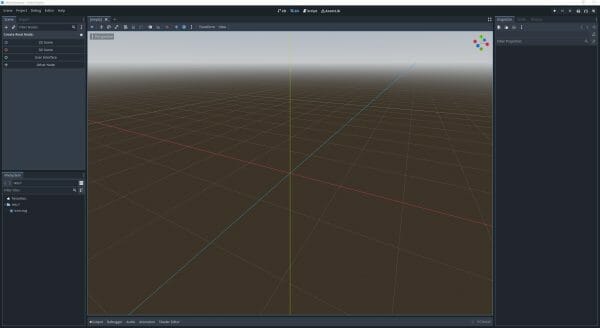
Let’s start by looking at what each of these panels do. First, in the center, we have our scene view. This is a window into our game and where we’ll be clicking on objects, dragging them in, and building our levels. At the moment, the engine is set to 3D, so that’s why we have a 3D view.
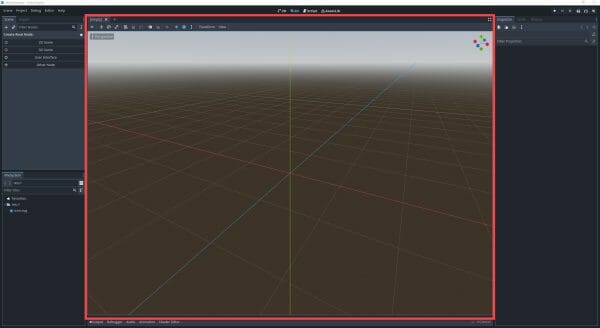
On the bottom left, we have our File System. This panel contains all of our assets (textures, models, sprites, sound effects, scripts, etc). It’s very similar to the file explorer on your computer.
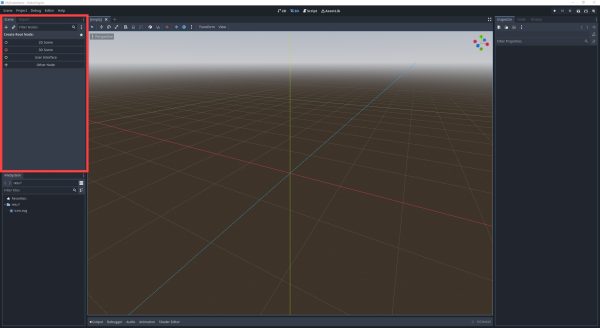
At the top left, we have the Scene panel. This here is a list of all the nodes currently in our scene. The way Godot works is with a node system. We’ll get more into that later, but it’s important to know that everything in your game (the player, camera, objects, lights, etc) are all nodes. And a scene is a collection of nodes.
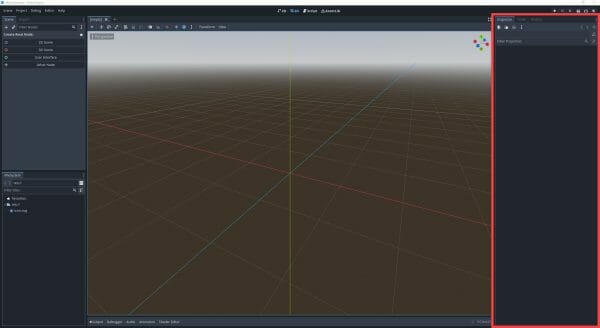
On the right-hand side of our editor, is the Inspector. Whenever we select a node, this panel will populate to show us all of that node’s properties. Its position, rotation, scale and any other things that we might want to modify. If it’s a light node, then the inspector will allow us to change the color, brightness, range, angle, etc.
At the top right corner of the screen, we have our play tools. These allow us to test out our game while we’re developing it. We can play, pause, stop, run the current scene, run a specific scene, or use the movie maker.

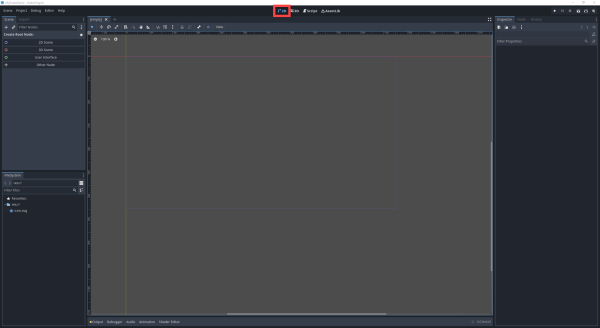
At the top center of the screen, we have a few buttons. These allow us to change what we see down in the large, center-scene viewport. Right now, it’s set to 3D, so that’s why we see our 3D scene. But we can easily switch over to 2D if that’s the type of game we want to create. When we start to code, we’ll be hopping over to the Script tab, as that’s where the text editor is contained.

For this tutorial though, we’ll be creating a 2D game. So let’s click on the 2D button to switch the window over to 2D mode.
Nodes
Now that we’re ready to begin, let’s go over to the Scene panel and create our first root node. Select the 2D Scene.
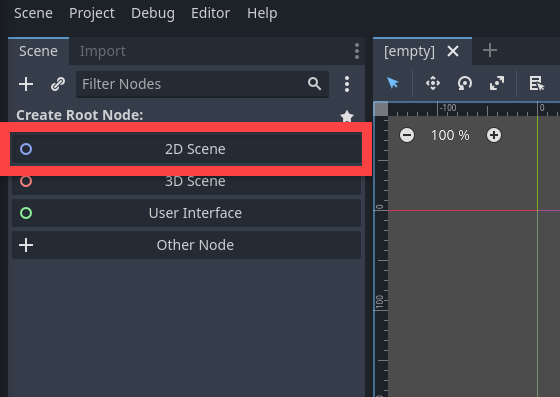
This is going to create our root node, which is now visible in the list. The way Godot works is through nodes. Everything in your game is nodes. 3D models, tiles, blocks, the player, enemies, UI – everything that can have a position in space or be instanced is going to be a node. Now with these nodes, they can be nested inside of each other. For example, a player node will also have a child node that acts as a collider. Another child node renders its sprite to the screen and another child node for the camera.
If you wish to learn more about Nodes and Scenes, check out the Godot documentation.
Now before we continue, let’s save our scene. A scene is basically a collection of nodes that can be loaded into our game. Press CTRL + S or go to Scene > Save Scene As to save. Let’s call it Level1.tscn, then click Save.
Creating the Player
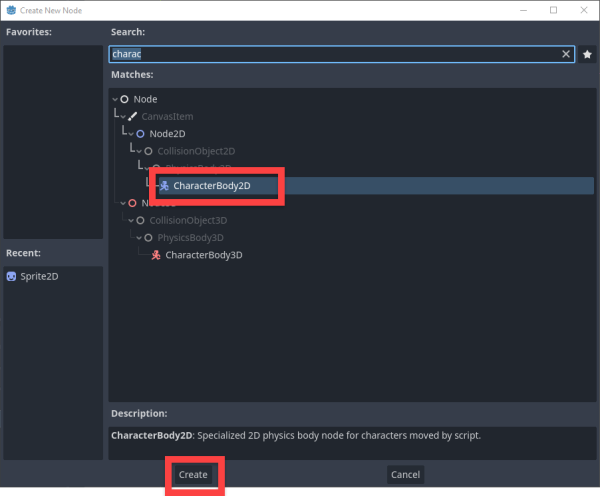
Let’s get started on creating our player. We, first of all, need to figure out what node we want our player to be, because each node has a specific type. Each node type serves a different purpose, and for our player, we’ll be using a CharacterBody2D node. So to get started, go to the top right corner of the Scene panel, and click on the + icon.
In the Create New Node window, search for CharacterBody2D, select it, then click Create.
This will create the node. Now we can double-click on it to rename the node. Rename it to Player.
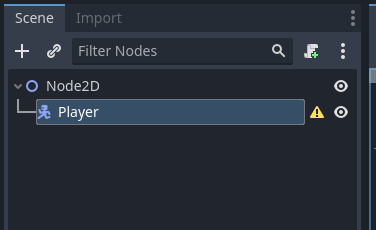
Now that we have our root player node, we need to give them a visual.
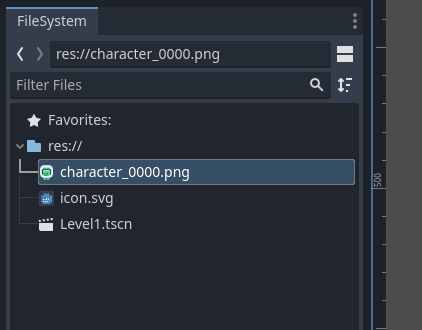
Download this ZIP and extract the PNG inside.With the image downloaded and extracted, drag it into the FileSystem panel to import.
Now on our player node, right click it and select Add Child Node.
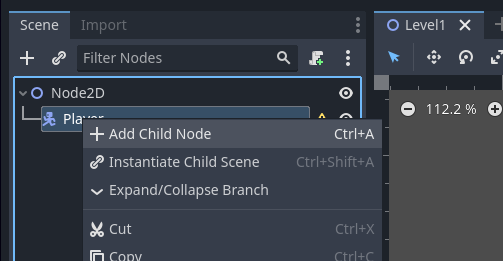
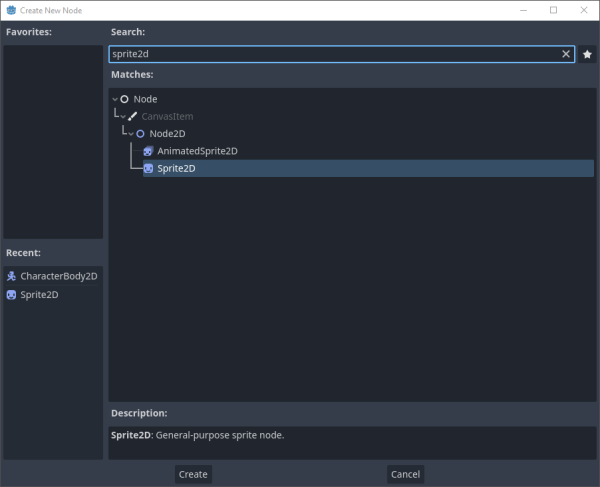
Search for Sprite2D, select it and then click Create.
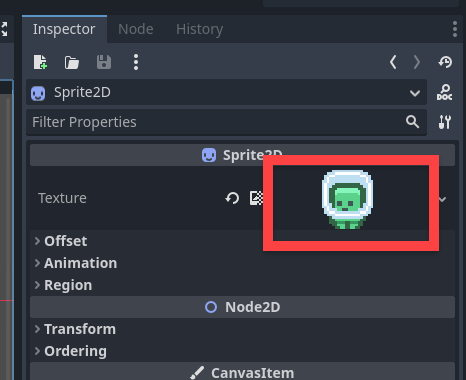
With the new child node selected, look over at the Inspector and you should see that the panel has a bunch of information. There is a texture property that we need to enter. From the FileSystem, click and drag the character sprite over into the field to assign it.
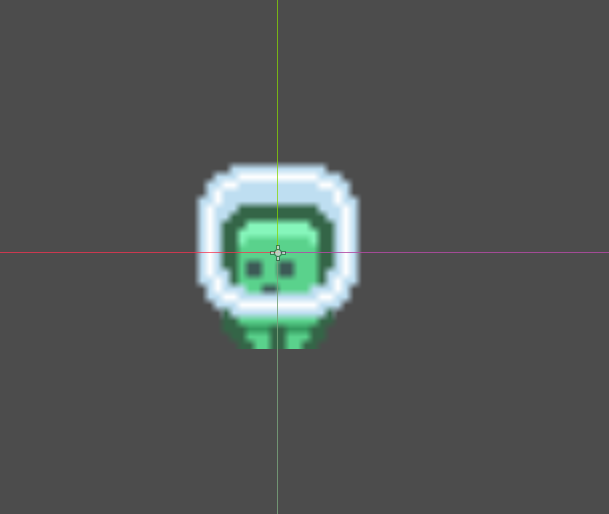
Now we can zoom into the player in the scene view, but you’ll notice that it’s blurry.
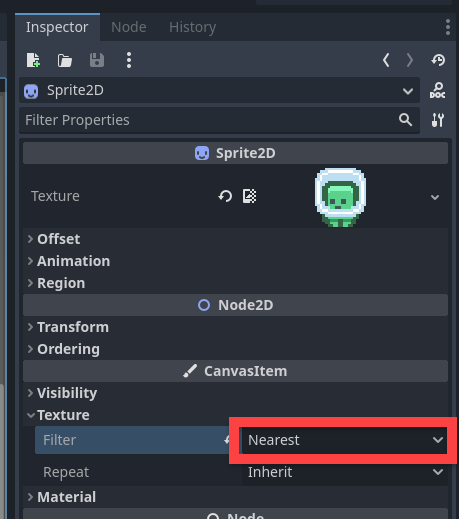
To fix this, select the sprite node, go to the inspector, and under the Texture drop-down, set Filter to Nearest.
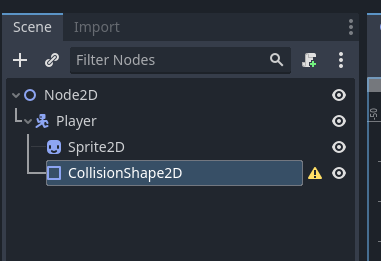
Our player also needs a collider, so add a new child node of the type CollisionShape2D.
In the inspector, you can set the Shape to be a RectangleShape2D. Then in the scene view, click and drag on the orange dots to fit it to our sprite.
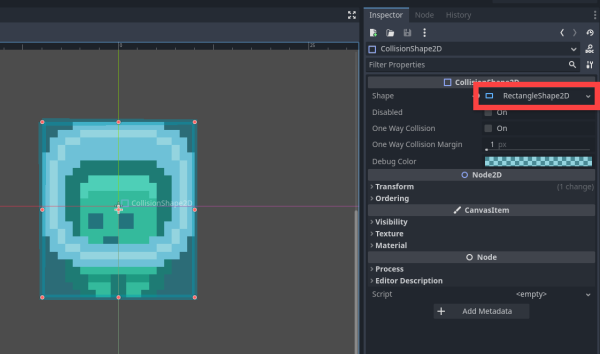
And there we go! We now have our player created. Let’s move on to coding, where we’ll get our player moving around.
Moving the Player
To move the player, we need to create a script. This is basically a text file that contains code. The engine can read that and apply whatever gameplay behaviors we define.
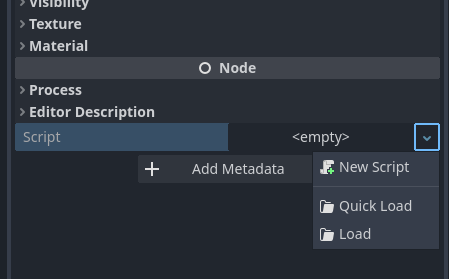
With the Player node selected, go down to the bottom of the inspector. Click on the down arrow next to Script and select New Script.
Call it Player.gd then click Create.
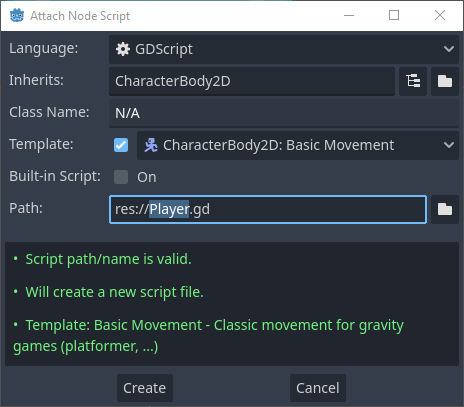
This will then switch us from 3D mode to Script mode and we’ll see some default code here:
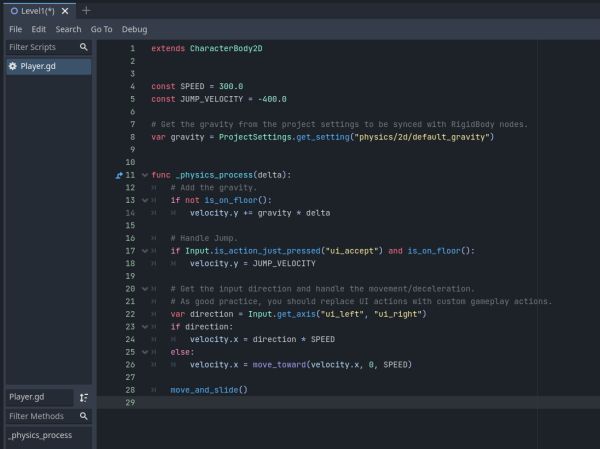
Delete everything except for the first line.
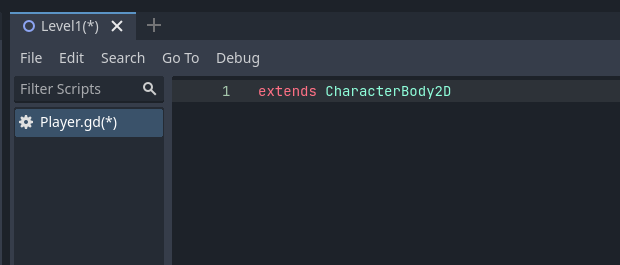
Now let’s add in some code:
func _physics_process(delta):

    velocity = Vector2()

    if Input.is_key_pressed(KEY_LEFT):
        velocity.x -= 1
    if Input.is_key_pressed(KEY_RIGHT):
        velocity.x += 1
    if Input.is_key_pressed(KEY_UP):
        velocity.y -= 1
    if Input.is_key_pressed(KEY_DOWN):
        velocity.y += 1

    velocity *= 50

    move_and_slide()
What we’re doing here is detecting inputs from the arrow keys, then changing the value of our velocity based on that. At the end, we’re multiplying it all by 50, so that we move at 50 pixels per second. And finally, move_and_slide will apply those changes to our CharacterBody2D.
If you now go to the top right corner of the screen and click on the Play button, you can test it out.
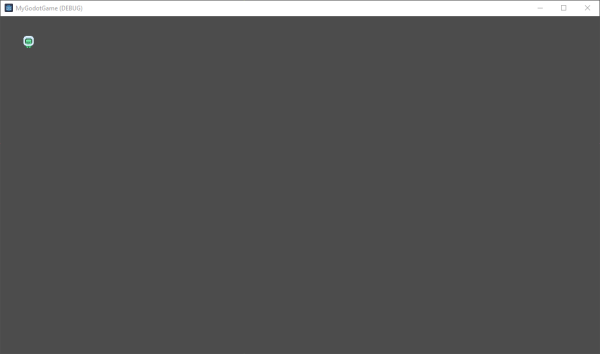
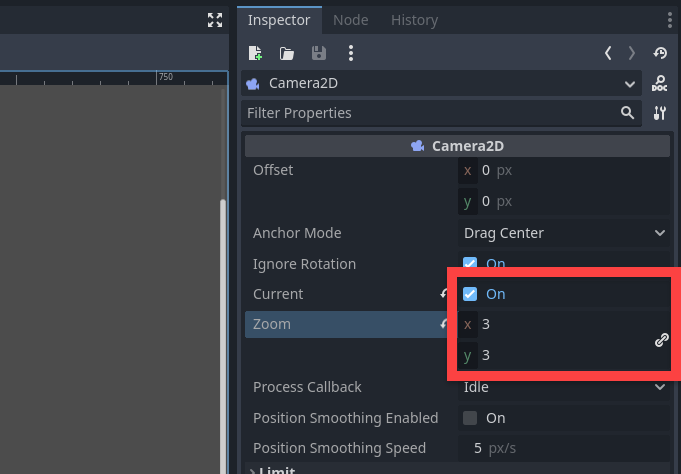
One thing you will notice, is that after you press play, a window will open. But our player is so small! And it’s in the top left corner of the screen. To fix this, we can go to our player node and add a new child node of type Camera2D.
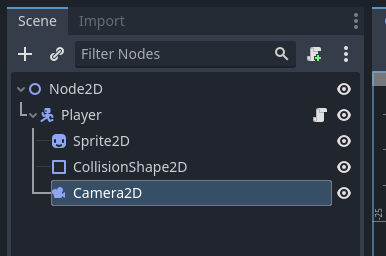
Then in the inspector, make sure to enable Current. And for the Zoom, set that to 3, 3. This will make it so the camera is closer to the player and we can get a much better view of them.
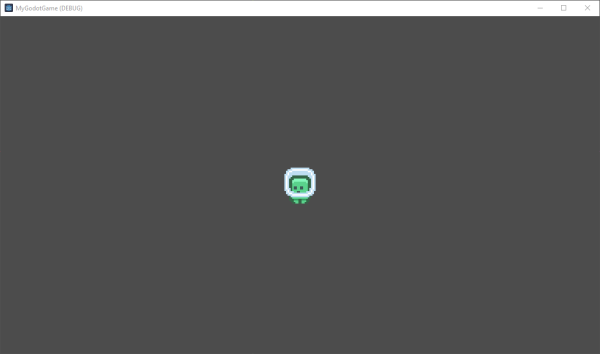
Now when you press play, it should look like this:
Collectibles
When we play our game, there’s one problem. There’s nothing to do! So let’s add in some coins that the player can collect.
To begin, download the coin sprite and import it into your project.
To begin, download the coin sprite and import it into your project.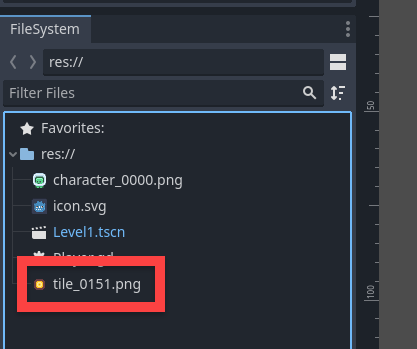
Next, in the Scene panel, click on the + and create a new node of type Area2D. Make sure to rename it to Coin. Then as a child of Coin, add a Sprite2D node.
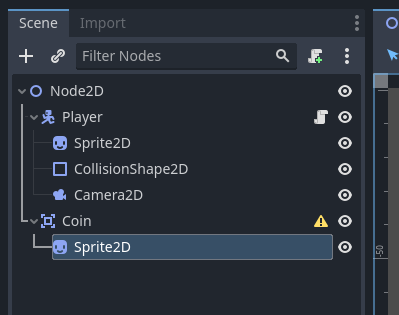
In the Inspector:
- Set the Texture to be the coin sprite.
- Set the Position to 0, 0.
- Set the Filter to Nearest.
Select the Coin node, then at the top of the scene window, select the Move Tool. This will allow us to click and drag on the coin to move it around our scene.
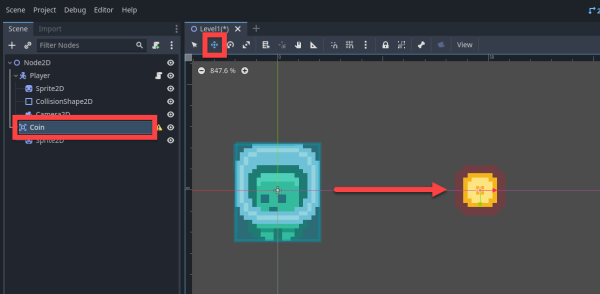
As a child of the Coin, create a CollisionShape2D node. Then in the Inspector, set the Shape to CircleShape2D. We can then click and drag on the orange circle to resize the collider.

Finally, let’s create a script for the coin.
- Select the Coin node.
- In the inspector, create a new script called Coin.
Here’s what our Script panel should look like now.
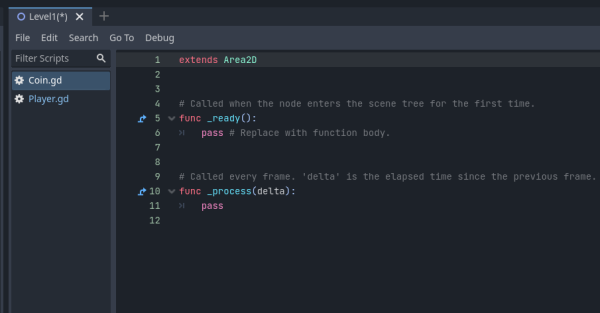
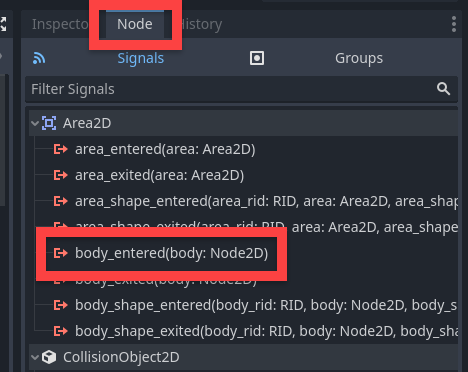
With the Coin selected, go over to the inspector and swap over to the Node tab. Here, we want to double-click on body_Entered(body: Node2D).
In this window, select the Coin and click Connect. What we’re doing here is basically setting it up so that the coin script gets informed when a body hits the coin collider.
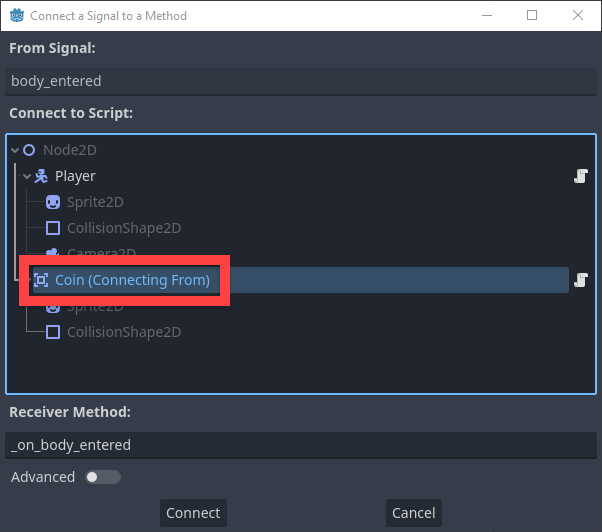
This new bit of code should then be added to the script automatically.

Delete the “pass” line of code and add these three new lines:
func _on_body_entered(body):
    body.scale.x += 0.2
    body.scale.y += 0.2
    queue_free()
What we’re doing here, is increasing the size of the colliding object (player) when they hit the coin. Then with queue_free(), we are destroying the coin so the player can only collect it once.
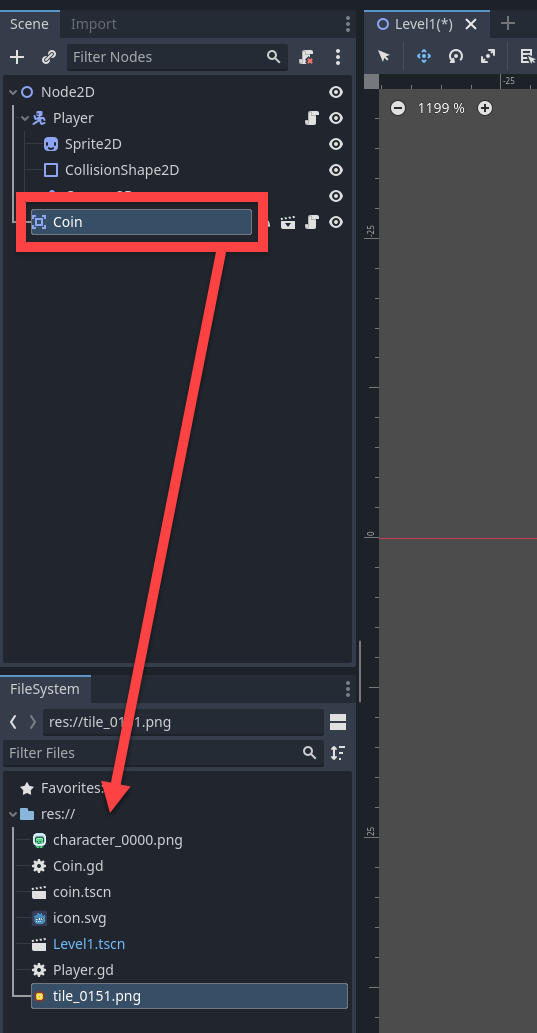
Back in our 2D panel, let’s make some more Coins. The best practice is to turn it into a scene. Much like how our level is saved as Level1.tscn, we are going to make our coin a scene. This means we can have many different instances of it in our scene which all inherit from the same blueprint. So to do this, click and drag the coin node into the FileSystem. Call it coin and click save.
Now we can duplicate the coin (Ctrl + D) and move them around like so.
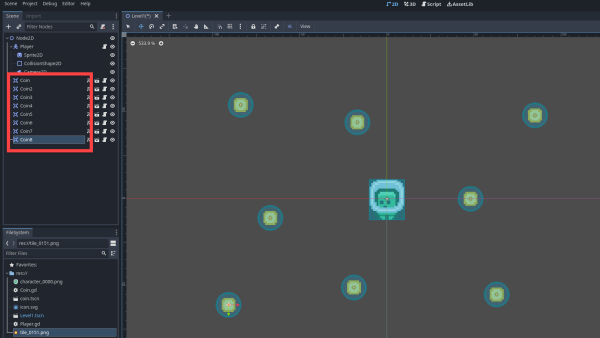
Press play and we can test it out!
Conclusion
And there we go! We’ve made a small, introductory game with the Godot game engine. While this game is very simple, it does serve to not only show you what Godot 4 is all about, but some of the core tools you’ll be using in any Godot game project.
From here, you can expand upon our project, or create an entirely new game with the knowledge that you’ve learned. Perhaps you’ll want to turn this into a platformer with tons of jumping mechanics. Or maybe you want to make a bullet hell or even a strategy game. There is a ton left to explore, but hopefully these foundations will help you in taking that next step.
If you’re interested in learning more about the specifics with Godot, then you can read their documentation here. Thanks for following along, and good luck with your future Godot 4 games!
