Learn WebGL and Babylon.js at your own pace
Feel free to check out our online course 3D Programming with WebGL and Babylon.js for Beginners on Zenva Academy. The course covers the Babylon.js framework and explains all you need to get started with using this fantastic library in new or existing projects.
Tutorial
You have already seen how you can apply some textures on meshes, but here you are going one step further, with more complex textures like mirrors, videos, bump mapping, and multi-texture.
Final result
How can I do this ?
Those new type of textures are considered advanced because we are not used to deal with them, but you’ll see that it is very easy to develop them in JavaScript!
- Mirror
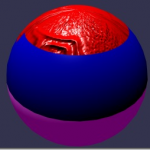
Mirrors textures were created to simulate “mirrors” (!) which mean that babylon.js will compute for you the reflection and fill the texture with the results. A Mirror texture must be set in the reflectionTexture channel of a standardMaterial :
var mirrorMaterial = new BABYLON.StandardMaterial("texture4", scene);
mirrorMaterial.reflectionTexture = new BABYLON.MirrorTexture("mirror", 512, scene, true);
mirrorMaterial.reflectionTexture.mirrorPlane = new BABYLON.Plane(0, -1.0, 0, -10.0);
mirrorMaterial.reflectionTexture.renderList = [sphere1, sphere2];
A mirrorTexture is created with a parameter that specify the size of the rendering buffer (512×512 here, better reflection quality if increased). Then you have to define the reflection plane and a render list (the list of meshes to render inside the mirror).
- Bump Mapping
Bump mapping is a technique in computer graphics to make a rendered surface look more realistic without modifying surface geometry. This is only a texture modification, so computation is the same but rendering is much better, have a look:
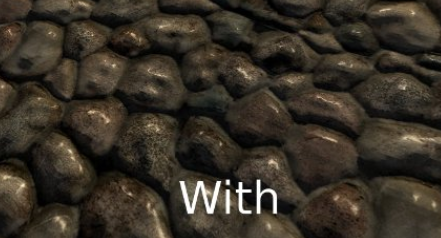
The bump texture simulates bumps and dents using a map called a normal map.
A normal map
And now, let’s code this amazing texture within two lines of JavaScript: first we create a new standard material, and then, simply declare a new bump texture:
var bumpMaterial = new BABYLON.StandardMaterial("texture1", scene);
bumpMaterial.bumpTexture = new BABYLON.Texture("normalMap.jpg", scene);
That’s it, the bump texture disturbs the normal to produce a result like this, where you should recognize our normal map:
- Video
If you want to display a movie in your scene, Babylon engine have a special texture, which is working as all the other ones, with a few parameters, including videos urls (an url array), the size of the video texture (here is 256), the scene and the last one is a boolean, if you want to use mipmap or not.
ecran.material.diffuseTexture = new BABYLON.VideoTexture("video",
["Scenes/Flat2009/babylonjs.mp4", "Scenes/Flat2009/babylonjs.webm"], 256, scene, true);
The VideoTexture object accepts an array of videos (to take in account various codecs) and once a video can be loaded, it uses it as content source. The internal video DOM object is accessible via VideoTexture.video property to allow you to control the status of the video (play/pause/stop).
You can also change the loop or autoplay parameter with a boolean variable.
- Multi materials
Using a dedicated texture, multi materials can be assigned to one single mesh. It can be useful if you want that your mesh looks different depending of height, or depth, or… E.g. you can see below a map with multi materials texture (sand, rock, and snow).
To talk about multi materials, you have a strong blog post on David Catuhe’s blog:http://blogs.msdn.com/b/eternalcoding/archive/2013/07/10/babylon-js-using-multi-materials.aspx


