You can access the full course here: Bite-Sized HTML5 Game Development
Part 1
Learning Goals
- Basic Phaser development environment.
- Setting up a web server.
In order for you to start making games with Phaser you will need to have a web browser (Google Chrome will be used for this course), code editor, and a web server.
There are many different code editors out there that are free to use, and it doesn’t matter which one you choose.
- A list of code editors that are free
- Brackets(https://brackets.io)
- Atom(https://atom.io)
- Sublime text(https://www.sublimetext.com)
- Visual Studio Code(https://code.visualstudio.com/)
A web browser is a program that will receive requests from the browser, and we will send, it will serve files as a response.
A browser doesn’t allow you to load files from the file protocol due to security reasons. The web would be a very dangerous place if random websites could get access to the files on your computer. This is why you cannot just go and open a Phaser game by double clicking on the index.html file.
You have to load the game through a web server. The simplest way to get a web server up and running is to install the Brackets code editor.
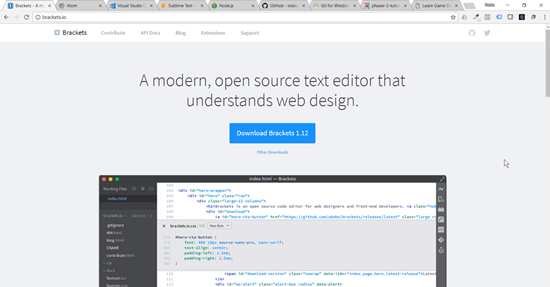
You can download Brackets from here: http://brackets.io
The direct link to download Brackets is here: Download Brackets
Brackets comes with a built-in web server and it is free to use.
- Web Server-Brackets
- Download and install Brackets (https://brackets.io)
- File-Open Folder
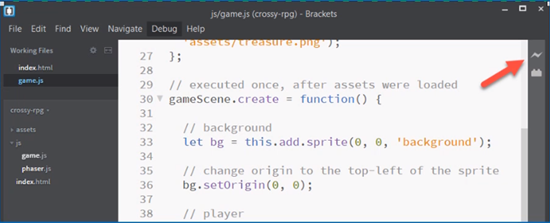
- Live preview
Always keep the Chrome Developer Tools open when working.
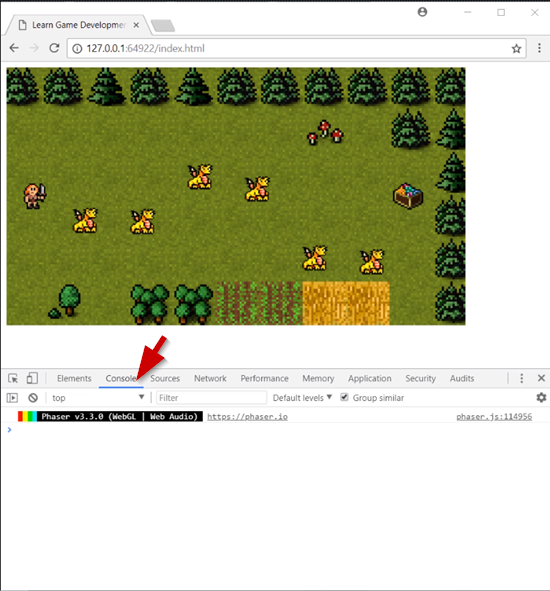
There is a more advanced way of using a web server and this involves using a called http server.
The first step is to install Node JS, and you can download Node JS from here: https://nodejs.org/en/
The direct link to download Node JS is here: Node JS Download
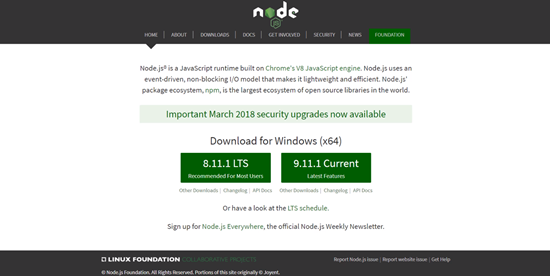
Node JS is an application that allows you to run JavaScript code on a server, in this case your computer.
For Window Users Only: Once you have downloaded Node JS you will need to download Git Bash, and this will give you access to a terminal on your system.
Mac users will already have access to the Mac terminal.
You can download Git Bash for windows here: https://gitforwindows.org/
The direct link to download Git Bash for windows is here: Git Bash
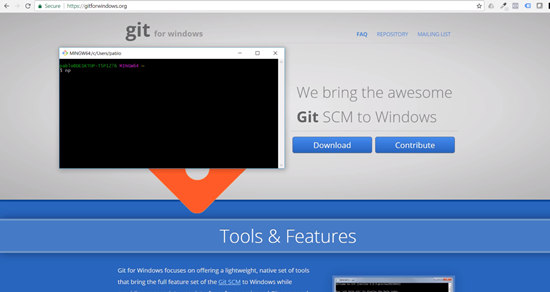
The first step is type “npm” in the terminal
If you type this and it is installed you will see this:
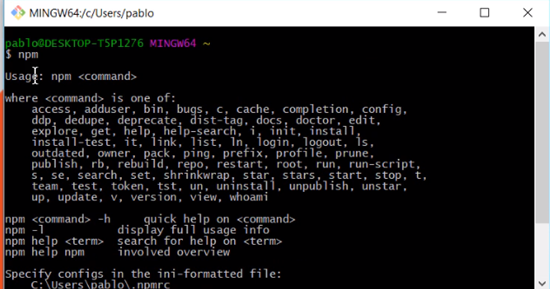
Once you verify that the npm is installed you can then type “npm install http-server -g” this is the name of the package that we want installed for us.
We now need to navigate and find our folder where the game is located.
In my case the game is located in the D drive, the www folder>Phaser3>crossy-rpg this will be different in your case.
If you have issues with using the command line options here you can just use Brackets, Brackets is much easier to use and doesn’t require this extra setup for the http server setup.
So in the terminal you type “cd d:” this brings you to the D drive.
Then type “cd www/phaser3/crossy-rpg/”
Now you should be inside the correct folder in the terminal.
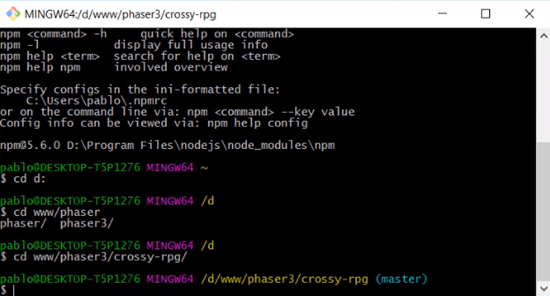
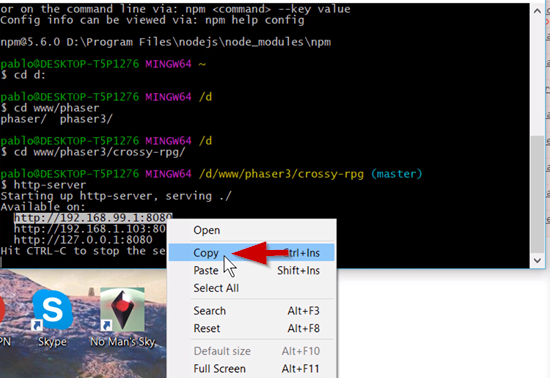
Now that you are inside the correct folder you then type “http-server” and that should launch the web server for that particular folder.
You should now see that the server is available in different URLs.
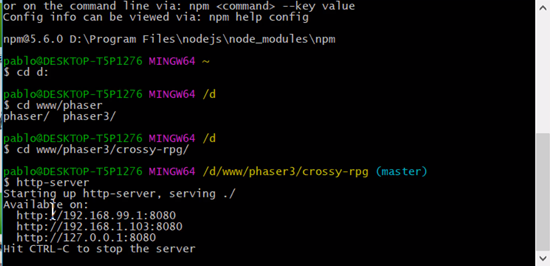
You then can copy one of the URLs and go back into Google Chrome or whatever web browser you are using and paste the copied code into the navigation bar.
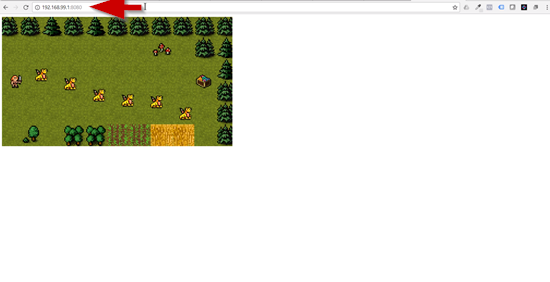
And now the game will be working just like it should.
Learning Summary
- There are three basic requirements for Phaser development
- Web browser
- Code editor
- Web Server
- A list of code editors that are free
- Brackets(https://brackets.io)
- Atom(https://atom.io)
- Sublime text(https://www.sublimetext.com)
- Visual Studio Code(https://code.visualstudio.com/)
- Web Server-Brackets
- Download and install Brackets (https://brackets.io)
- File-Open Folder
- Live preview
- Web Server-http-server
- Download and install Node.js (https://nodejs.org)
- (Windows Only) install Git Bash (https:gitforwindows.org/)
- Open terminal, install http-server: npm install http-server -g
- Navigate to the project folder, run the server: http-server
Part 2
Learning Goals
- Game Design Documents
- Importance of scoping
- Outlining game requirements
Game design documents(GDD’s) are used in the game industry to describe and communicate the concepts and requirements of a game that will be developed.
These documents can be very short or very long. The length will depend on the type of game and scope of the game as well.
The GDD’s allow you to see everything in one place for the game that is being developed. It makes it easy for people who are developing a game on a team to get an idea of what the game should be, or other people who might just be interested in the development of the game. They can look at the GDD and see exactly what mechanics are going to be in the game and even see the type of art being used in the game.
GDD’s can be used if you are working on a team or if you are just a solo developer.
You will want to include the concept of the game, the game mechanics, the theme, the genre, the targeted platforms, and any art or sound assets in the GDD.
A simple template for a GDD:
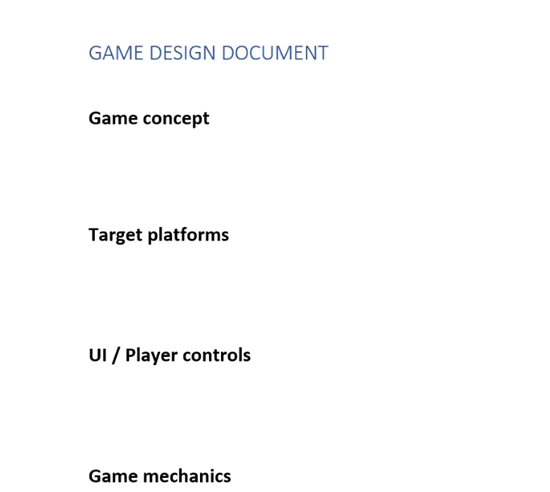
You can use just about word processing software to write the GDD in.
A GDD is considered to be a “live” document because it should be constantly updated and everyone working on the game should have access too the document at all times.
Learning Summary
- Game Design Documents (GDD)
- Short documents to describe a game concept and requirements.
- Used by and number of people (1 or many)
- Includes:
- Concept
- Mechanics/UI
- Platforms
- Assets


- Challenge
- Make a GDD of your game idea
- Share it in the comments
Transcript 1
Hi there. My name is Pablo Farias Navarro, and I will be your instructor in this course. In this course, you’ll learn to create from absolute scratch the game that you are seeing on the screen. Where you have to move one character from one end of the screen to the other end of the screen. Sort of like Frogger or Crossy Road, games like that.
And you’ll be learning how to create this game using the Phaser framework. The only requirement for this course is for you to have basic JavaScript skills. We’re gonna introduce Phaser from absolute scratch. So, you’ll learn how to build this amazing game. You’ll be learning about Sprites, which are the, you know, players and enemies on the screen. You’ll learn how to work with Groups, a convenient way of dealing with multiple Sprites. We’ll go through how to detect user inputs so that you can move that character and we will work on the computer and on a touch screen as well.
We’ll go through the basics of collision detection, so you can learn how to detect when different elements are overlapping, something key when making games and we’re going to end up by covering some basic camera effects. So as you can see, when the player runs into one of the enemies, there’s a shake up camera effect and also fade out before the game restarts. So you’re going to learn how to do that, which will also give us the chance to introduce events, another important topic. When it comes to our courses, and besides making courses I also take a lot of courses all the time. I’m always learning things. Something that I really like about courses since one of the reasons why we make them is because they empower people to learn regardless of their own learning style.
For example, let’s say that you are a visual learner, you’re going to watch somebody creating the game on the screen, but if you are somebody who learns by doing, a kinesthetic learner, you can follow along, you can code along, and build everything and play around with the code, the source code, so you can learn as well. We recommend that students revisit the lessons so that once you complete a lesson, you can watch it again in the future when you need a bit of a reminder of how to do something and also it always helps if you are building your own projects.
So if you already have a game idea, you can start working on that game and put in practice the things that you learned in the course. You can put them in your own game as you learn them. We’ve seen that people who plan for success really get the most out of our material. For example, people who allocate certain days of the week to complete the courses, and stick to that plan even if it’s once a week. Ideally, three times a week, but depends on how much time you have.
So it really adapts to your own schedule and learning style and if you make learning a priority, you will get so much out of this training. Alright, well thanks for watching this introduction, now let’s get started and let’s start making games.
Transcript 2
In order for you to start making games with Phaser, you will need to have installed a web browser, I’ll be using Google Chrome, a code editor and a web server.
You can use whichever code editor you are already familiar with. Well, lets start with the beginning here. What is a web browser? A web browser is simply a program that will receive requests from the browser, it will serve files as a response. It will send our game as a response. The simplest way to get a web server running, that doesn’t require any advanced technical knowledge, is to install the Brackets Code Editor. When you open brackets go to file and open the folder. Find the folder that you want to serve with the web server so I’m gonna find the folder where my game is located, already had it here, so I’m gonna select that folder that will show me all of the files here, and then what you do is you press this live preview button.
So when you press that, brackets opens a Chrome page and it serves your files using a web server. So you can see that we have a specific URL here. This is the URL of this web server.
Transcript 3
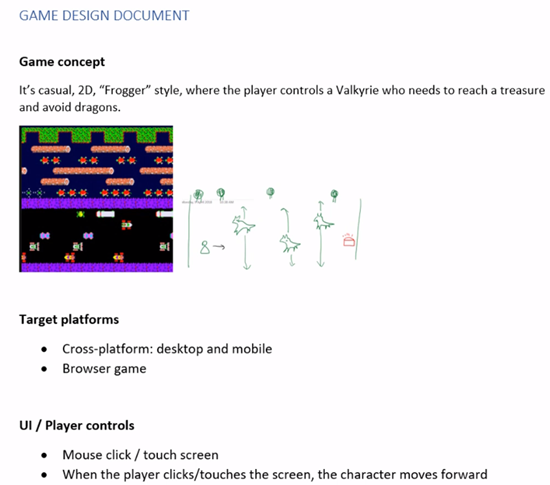
So, the concept of our game is the casual game, two dimensional and I’m going to use the analogy that it’s Frogger-style. Frogger is an old Atari game where the player controls a, sort of like a Valkyrie, who needs to reach a treasure and avoid dragons.
So, that is a very short description, it’s a very simple description of a game and what I want to do now is add some concept art and some ideas. So, I’m going to start by going into Google Images and finding a screen-shot of that Frogger game that I mentioned. I’m going to take a scren-shot of this and add it to my game design document and now what I’m going to do is make a quick sketch of what the game looks like. So, this already gives an idea of what the game does.
Now, what platforms is this game going to be made for? So, first of all this is going to be a cross-platform game, which will work on both desktop and mobile and it will be a browser game, so it is run on the web browser. In terms of user interface we don’t really have any proper user interface but we want to describe how the player interacts with the game so that is how you interact with this game. It’s really simple. Now, what about the game mechanics?
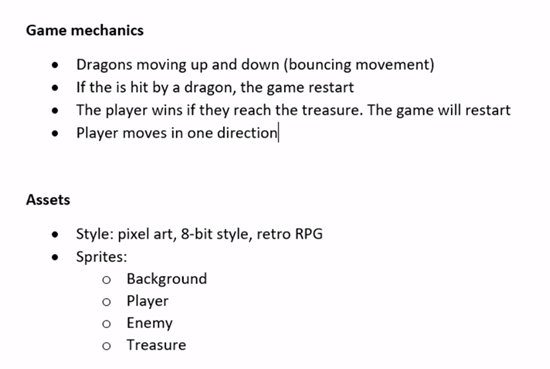
You’ve got dragons moving up and down if the player is hit by a dragon the game restarts. The player wins if they reach the treasure and the game will restart. Player moves in only one direction. Now, the assets. First of all, what is going to be the style of the game? I would describe this as pixel art, 8-bit style with a retro kind of feel, like a retro RPG sort of feel, like old Final Fantasy or Zelda games.
We are going to need Sprites, so we need a background for the game, we need a Sprite for the player and one for the enemy and for the treasure. So this game doesn’t need that many assets, these are all the assets that we need.
Interested in continuing? Check out the full Bite-Sized HTML5 Game Development course, which is part of our Bite-Sized Coding Academy.
