Introduction
In this tutorial series, you’ll learn how to develop a project that integrates Machine Learning algorithms for predictions and Augmented Reality for data visualization.
For this project we will use Unity 3D and EasyAR, we’ll build Machine Learning algorithms from the ground up in order to give you a better understanding of how Machine Learning works.
This tutorial will be split into three parts :
- How to load a dataset and write Machine Learning algorithms in Unity 3D
- Visualize data using Unity 3D
- Wrapping up – Connecting Machine Learning algorithm output with Augment Reality data visualizations using EasyAR
Part 1 Requirements
- Basic Unity 3D skills
- Basic Math and Statistical skills
- Unity 3D
- The dataset.csv file , (available on GitHub)
Tutorial Source Code
All of the Part 1 source code can be downloaded here.
Unity
Unity is a cross-platform game engine developed by Unity Technologies, that gives users the ability to create games in both 2D and 3D, and the engine offers a primary scripting API in C#, for both the Unity editor in the form of plugins and games themselves, as well as drag and drop functionality.
For this tutorial will use Unity 3D in order to create a 3D data visualization in AR, an introduction to this platform is available for free here Unity 101 – Game Development and C# Foundations on Zenva Academy.
Unity is the preferred development tool for the majority of XR creators. This platform supports the majority of the AR SDK, like ARCore, ARKit and EasyAR, allowing us to develop AR experiences for almost all devices. The majority of AR experiences around the world were created with Unity.
If you want to have a deeper knowledge of Unity 3D you can also check out the Unity Game Development Mini-Degree on Zenva Academy.
If you don’t have yet Unity 3D installed, you can download Unity Personal for free from the Unity website.
Machine Learning
Machine Learning (ML) is a subset of artificial intelligence that consists of the application of statistical techniques and algorithms, in order to make the machines able to learn from data and output predictions.
The possible applications of ML are almost endless. Depending on the situation that we want to deal with (for example, predicting if there is an anomaly in a data set, predicting sales growth of a good / service or recognizing and categorizing images), we can use different algorithms and processing techniques. If you want to learn more, take a look at the Machine Learning Mini-Degree on Zenva Academy.
In this tutorial, we’ll use ML to predict the number of future patients admitted to an imaginary hospital. For this purpose, we’ll use Linear Regression.
Linear Regression
Linear regression is a statistical method that allows us to study the relationship between two continuous variables. One is the dependent variable while one or more, are the explanatory variables. It is called linear regression because we assume that there is a linear relationship between the input variables (x) and the output variables (y). When the input variable is unique we talk about simple linear regression, when the input is more than the one we talk about multiple linear regression.
Set up your project
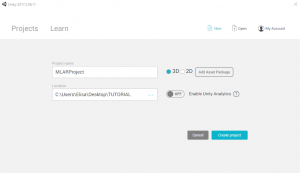
First of all, let’s open Unity and create your project, selecting 3D
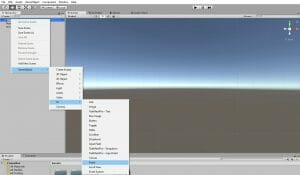
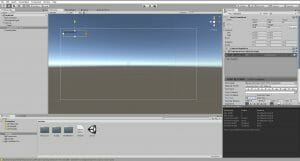
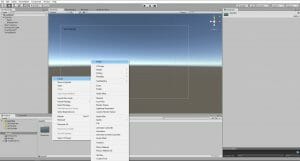
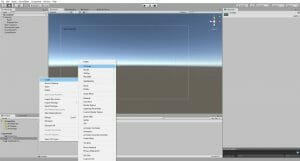
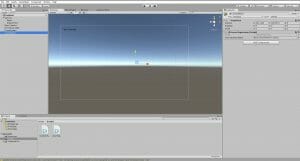
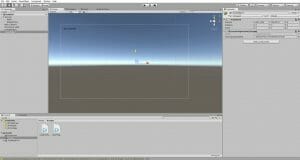
Let’s populate our scene, creating a new panel in order to build a UI, where we will add our texts, input and button.
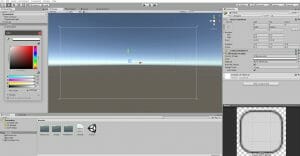
I changed the panel background to transparent, but feel free to chose the color that you prefer.
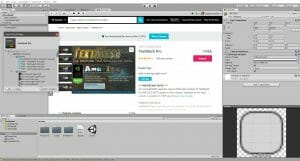
I will use TextMeshPro, a free asset for better-looking texts in the UI, you can find this asset on the Unity Asset Store, here.
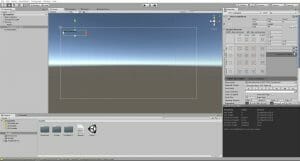
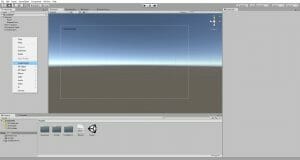
After importing the asset, add a TextMeshPro Text object into the panel, now you should see the new item in the UI menu. I customized the text and the size using the inspector. In my case, I chose the black color and 18 as a size but you can customize your text as you prefer. In order to change the text, you have simply to change the text in the input box and its properties in the related inspector section.
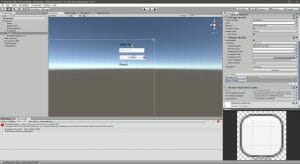
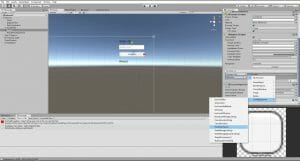
I anchored the text at the top left, so even with different screen sizes, the text will be always on the top left. This is important in order to make our UI responsive, because mobile devices have various range of screen sizes. In order to do that, we can use the anchor presets sections inside the inspector, just click on the anchor icon. You can see an example in the screenshot below.
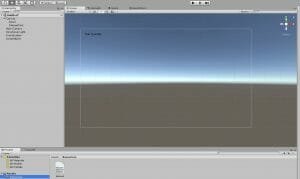
Then I renamed the text mesh to “DatasetText“, we’ll use this text later to visualize the Dataset content.
Let’s look at our dataset.csv file, it has two columns, year and quantity.
Each row contains both the year and the quantity of the orders received that year.
As we can see in the first row, we have 2000 as a year and 200 as a number of patients affluence in that year. As I wrote in the introduction, in this project we want to predict how many patients the hospital will receive in the future years.
We’ll use this text later to visualize the Linear Regression prediction output.
Create a new folder, called “Resources”, then download inside that folder the dataset.csv from this link.
After that, let’s create an empty game object where we’ll assign our script, I renamed the object “ScriptObject“.
Then, we create another folder for the scripts, called “Scripts“.
We can create a new script, right-clicking inside the folder and clicking on C# script.
First of all, let’s create a data interface for our dataset, creating a script called DataInterface.cs in the scripts folder.
An interface in C# has only the declaration of the methods, properties, and events, but not the implementation. The class will implement the interface by providing an implementation for all the members of the interface, making easy to maintain a program.
If you want to know more about interfaces in C# I suggest you this link.
using System.Collections;
using System.Collections.Generic;
using UnityEngine;

public class DataInterface
{
    public int year;
    public int quantity;

}
as you can see we’ve two variables, one for each column of the dataset.
Now, let’s create a new script, called LinearRegression.cs
using System;
using System.Collections;
using System.Collections.Generic;
using UnityEngine;
using UnityEngine.UI;
using TMPro;

public class LinearRegression : MonoBehaviour
{
    public TextMeshProUGUI textDatasetObject;
    List<double> yearValues = new List<double>();
    List<double> quantityValues = new List<double>();

    void Start()
    {
        TextAsset csvdata = Resources.Load<TextAsset>("dataset");

        string[] data = csvdata.text.Split(new char[] { '\n' });
        textDatasetObject.text = "Year Quantity";

        for (int i = 1; i < data.Length - 1; i++)
        {
            string[] row = data[i].Split(new char[] { ',' });

            if (row[1] != "")
            {
                DataInterface item = new DataInterface();

                int.TryParse(row[0], out item.year);
                int.TryParse(row[1], out item.quantity);

                yearValues.Add(item.year);
                quantityValues.Add(item.quantity);
                textDatasetObject.text += "\n" + item.year + " " + item.quantity;


            }
        }
    }
First of all, you can see that I wrote :
- using System in order to enable more features.
- using UnityEngine.UI for the UI elements
- using TMPro for the TextMeshPro elements
Next, I declared the TextMesh, later we’ll link it to a text object of the UI.
In the two lines below, I created two different lists, one will contain all the years and the other all the quantities.
I loaded the dataset in the Start function from the Text Assets Resources, and I extracted for each row of the dataset.csv the relative year and quantity.
I assigned a text header to the DatasetText object in order to avoid unexpected results, such as lines repetition.
I used Split to extract the rows from the file putting them in different rows using \n to break the lines. I wrote a for loop to cycle through the rows, extracting with TryParse the value of the year or the quantity from every single row.
I added these values to the relative lists and we populate the dataset text object with all the content from the two lists, using always \n to output every single line separately.
The Start function is a reserved function in Unity, this function will be executed instantly when the object with this script assigned is created. With this in mind, if we include an object from the beginning of a scene the script will be executed directly when the scene will start. That’s why we created an empty object with this script assigned, so the dataset will be loaded from the beginning.
Let’s visualize our dataset inside the UI panel. First, we assign the Linear Regression script to the ScriptObject, dragging the script inside the ScriptObject’s inspector.
Then, we drag the DatasetText Object inside the script text slot.
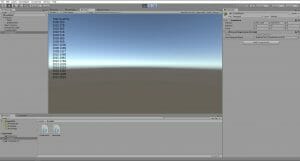
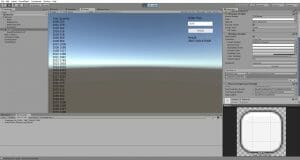
Now, we can see the dataset contents in the UI, clicking play on the Unity editor.
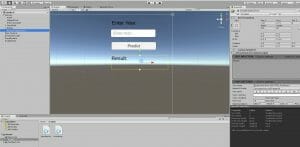
Let’s add another part of the UI, we’ll create from UI menu section:
- TextMeshPro, as the label for the input field, I renamed this object “EnterYearLabel“
- InputField, in order to enter the year of the prediction
- Button, in order to start our prediction, changing the button text to “Predict“
- TextMeshPro, in order to visualize the result of our prediction, I renamed this object “ResultPredictionText”
I anchored all these items in the top right corner of the screen.
Let’s create the function that will calculate the Linear Regression inside the LinearRegression.cs
public static void LinearRegressionCalc(
        double[] xValues,
        double[] yValues,
        out double yIntercept,
        out double slope)
    {
        if (xValues.Length != yValues.Length)
        {
            throw new Exception("Input values should be with the same length.");
        }

        double xSum = 0;
        double ySum = 0;
        double xSumSquared = 0;
        double ySumSquared = 0;
        double codeviatesSum = 0;

        for (var i = 0; i < xValues.Length; i++)
        {
            var x = xValues[i];
            var y = yValues[i];
            codeviatesSum += x * y;
            xSum += x;
            ySum += y;
            xSumSquared += x * x;
            ySumSquared += y * y;
        }

        var count = xValues.Length;
        var xSS = xSumSquared - ((xSum * xSum) / count);
        var ySS = ySumSquared - ((ySum * ySum) / count);

        var numeratorR = (count * codeviatesSum) - (xSum * ySum);
        var denomR = (count * xSumSquared - (xSum * xSum)) * (count * ySumSquared - (ySum * ySum));
        var coS = codeviatesSum - ((xSum * ySum) / count);

        var xMean = xSum / count;
        var yMean = ySum / count;

        yIntercept = yMean - ((coS / xSS) * xMean);
        slope = coS / xSS;
    }
This function is simply a conversion of the Linear Regression’s mathematical equation to C# code. As you can see in the code, I passed inside this function the values relative to the years and the values relative to the quantities. I passed the years list as xValues and the quantity list as yValues in order to predict the future quantities.
This function outputs the intercept and the slope of the Linear Regression, we’ll use these values to build our prediction in the next function.
If you want to know more about the Linear Regression or you just want to refresh your knowledge about it, this tutorial is a great place to start.
Now, let’s go deep into the project, wiring up the code that we wrote before!
Let’s add the references to the new UI elements:
using System;
using System.Collections;
using System.Collections.Generic;
using UnityEngine;
using UnityEngine.UI;
using TMPro;

public class LinearRegression : MonoBehaviour
{
    public TextMeshProUGUI textPredictionResult;
    public TextMeshProUGUI textDatasetObject;
    public InputField inputObject;
    List<double> yearValues = new List<double>();
    List<double> quantityValues = new List<double>();

    void Start()
    {
        TextAsset csvdata = Resources.Load<TextAsset>("dataset");

        string[] data = csvdata.text.Split(new char[] { '\n' });
        textDatasetObject.text = "Year Quantity";


        for (int i = 1; i < data.Length - 1; i++)
        {
            string[] row = data[i].Split(new char[] { ',' });

            if (row[1] != "")
            {
                DataInterface item = new DataInterface();

                int.TryParse(row[0], out item.year);
                int.TryParse(row[1], out item.quantity);

                yearValues.Add(item.year);
                quantityValues.Add(item.quantity);
                textDatasetObject.text += "\n" + item.year + " " + item.quantity;


            }
        }
    }
As you can see, in the first lines I included the references to the input field and the new prediction result text:
- public TextMeshProUGUI textPredictionResult, will be the slot in the script where we assign the text that will output the prediction
- public TextMeshProUGUI textDatasetObject, will be the slot in the script where we assign the text that will output the dataset
- public InputField inputObject, will be the slot in the script where we assign the input field where the user will insert the year of the prediction
Now, let’s create the functions that will output the prediction in our UI.
    public void PredictionTask()
    {

        double intercept, slope;
        LinearRegressionCalc(yearValues.ToArray(), quantityValues.ToArray(), out intercept, out slope);


        var predictedValue = (slope * int.Parse(inputObject.text)) + intercept;
        textPredictionResult.text = "Result: " + predictedValue;
        Debug.Log("Prediction for " + inputObject.text + " : " + predictedValue);

    }
In the PredictionTask function, first I convert to an array and pass the two lists as x and y values. After I get the LinearRegressionCalc function results and I calculate the prediction. I used the input text field value as the year in order to predict the quantity, multiplying its value with the slope of the function and adding the intercept. In the end, I output the prediction result in our UI prediction text object.
Now, we connect the scripts to the UI. Let’s drag the LinearRegression.cs to the button inspector.
After, we drag the input field, the prediction text and the dataset text into the script component inside the button inspector.
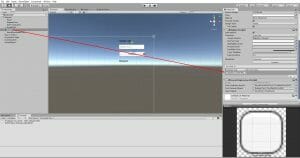
We drag the button inside the onClick section of the button itself, setting the onClick event to the PredictionTask function.
As you can see in the screenshot below, we set the PredictionTask from the LinearRegression script.
Finally, on our Unity Game window, clicking on play. We can see now, the result of our prediction entering a year into the input field and clicking on the predict button. Our hospital will have a prediction of how many patients it will have to take care of in the next years and act accordingly:
- Hire new doctors in advance
- Planning to build new areas of the hospital in order to be able to take care of a large number of patients
All those things will take time, so it’s better to act as early as possible, and prediction allows us exactly to do that. Something else to note is that in real-world applications, ideally multiple variables would be used to increase the accuracy of the prediction.
That’s all for this first part of the tutorial, I hope you have enjoyed it!
In the next part, we’ll create the 3D Data Visualizations. In the meantime, have fun with our model, trying to include other datasets and customize the UI! 🙂
See you soon!
