You can access the full course here: Bite-Sized HTML
Part 1
In this lesson we will be getting the development environment ready. We will be going step by step and will have a Hello World HTML project.
Prerequisite One
You will need a current web browser, I will be using Google Chrome throughout this course. Feel free to use Firefox or even Edge if you desire.
Prerequisite Two
You will need a proper code editor to complete this course.
You will not be able to use Microsoft Word, or the Notepad version that comes with Windows, you will NEED a proper code editor.
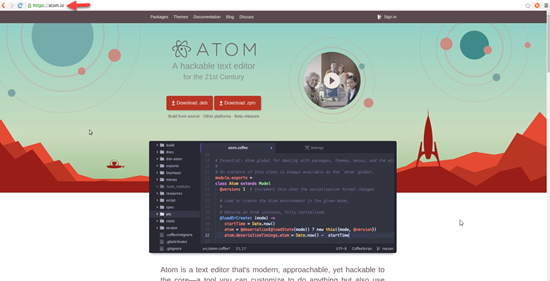
I will be using the code editor called “Atom” throughout this course, and it works on all platforms: Windows, Mac, and Linux. Atom is a free code editor and can be downloaded from the web.
The link to download Atom is here: https://atom.io/
There are other free versions out there, so feel free to use anyone of them that suits you the best, the other alternative code editors are listed below:
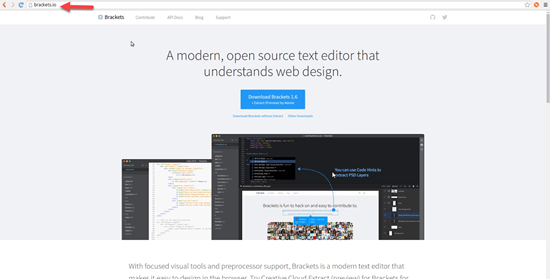
Another great option is Adobe Brackets.
The link to download Brackets is here: http://brackets.io/
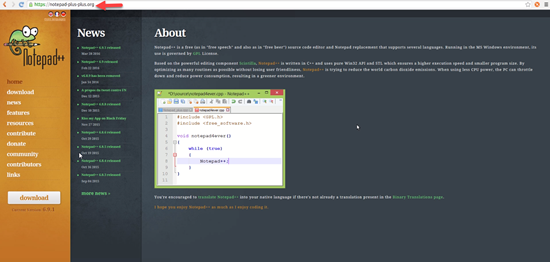
Notepad++ is a particularly simple code editor.
The link to download Notepad ++ is here: https://notepad-plus-plus.org/download/v7.6.2.html
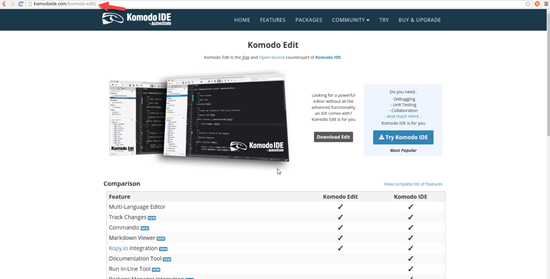
Komodo Edit.
The link to download Komodo Edit is here: https://www.activestate.com/products/komodo-ide/downloads/edit/
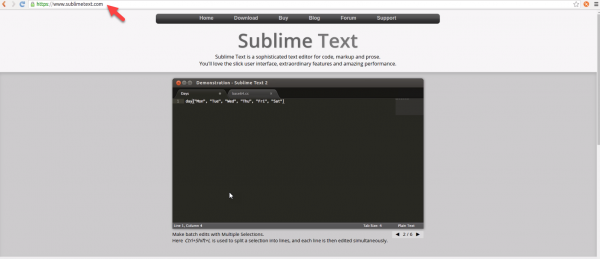
Sublime Text is a highly popular code editor and has a free evaluation version as well.
The link to download Sublime Text is here: https://www.sublimetext.com/3
Creating the Project Folder
Once you have downloaded and installed your chosen code editor that suits you best, you will need to create a project folder.
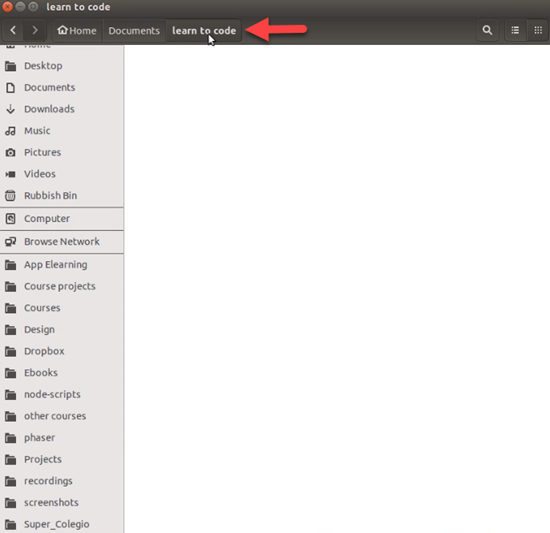
I will be saving mine in My Documents, and I have already created a folder called “Learn To Code.”
You don’t have to save your folder in My Documents, but be sure to put it somewhere where you won’t forget where its saved at.
Opening the File in the Code Editor
Next, open up the code editor you have installed.
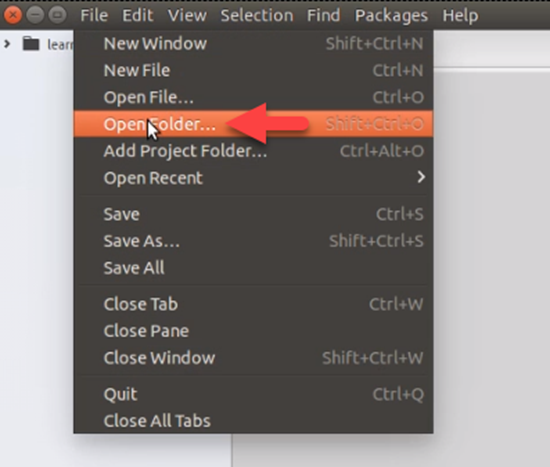
Navigate to File>Open Folder, and find the newly created folder you just created.
The Learn To Code folder is currently empty, but we will create out first HTML file.
Creating the First HTML File
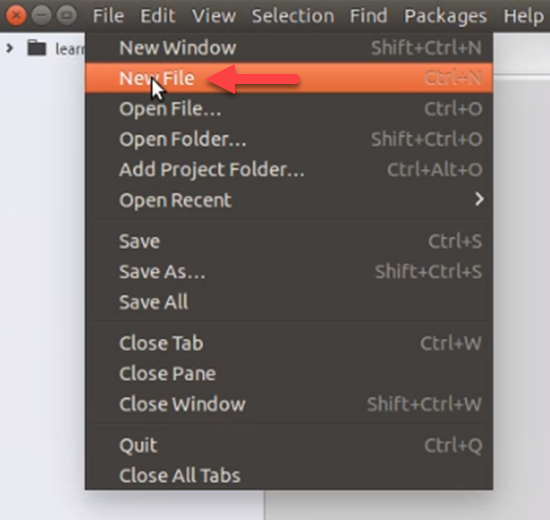
Navigate to File>New File.
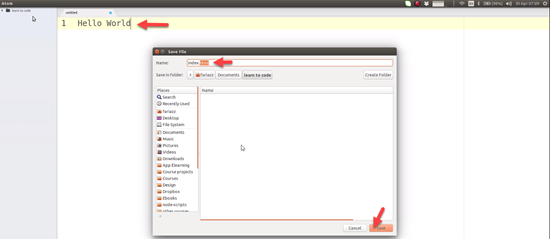
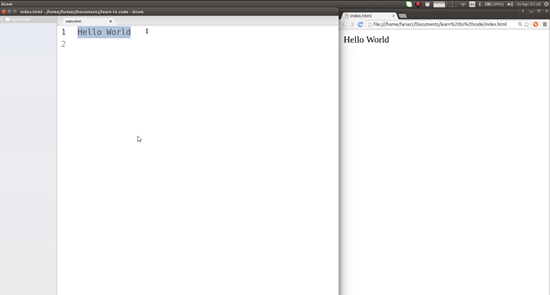
On line number one I will type “Hello World.”
Hello World
This is what we want to display in the browser.
Save the file, and name it “index.html” HTML files always have the HTML extension.
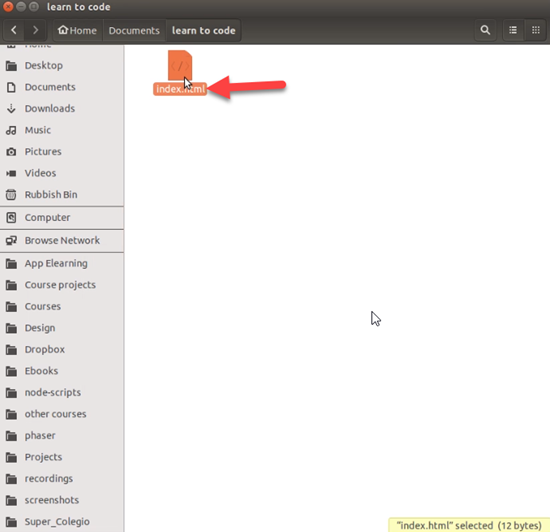
Now if you navigate back to your Learn To Code folder you will see the newly created file.
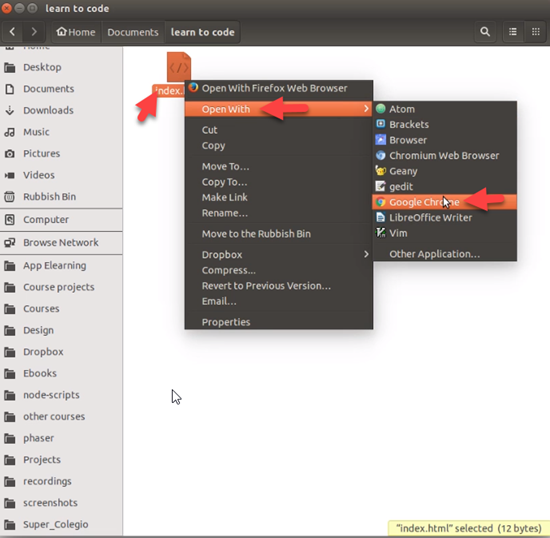
If you double click the file, it should show up in the web browser, but I am going be more specific and go to Open With>Google Chrome.
Navigate to the Chrome web browser and as you can see we have our Hello World up and running.
If you have followed along and reached this point, you have successfully setup your developer environment.
You are now ready to begin your coding journey.
See you in the next lesson!
Part 2
In this lesson you will create your very first HTML tags.
The role of HTML in a website is to specify the content you will see in the web browser.
Websites contain text, forms, tables, images, and many other things. So how do we tell the browser what it is we want to show?
This is where tags come into play. For example, I want to tell my browser that this “Hello World” is actually a main heading in my document.
In an ideal world, we would be able to just talk to the browser and have what I want displayed as the main heading. This doesn’t work for now, so we need to use tags.
The Main Heading Tag
The first tag we will be learning is the main heading tag.
Tags are a bit like a sandwich: a tag has an opening, tags have the filling, and tags have a closing. This example below using the heading sandwich shows the h1 tag, which is a main heading.
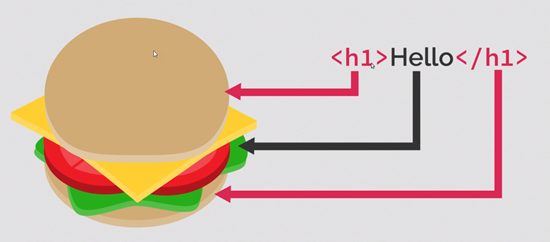
We will begin by adding the h1 tag to the Hello World code we already have:
<h1>Hello World</h1>
Make sure and save this.
If we look at Google Chrome and refresh the page, we now have the main heading displayed:
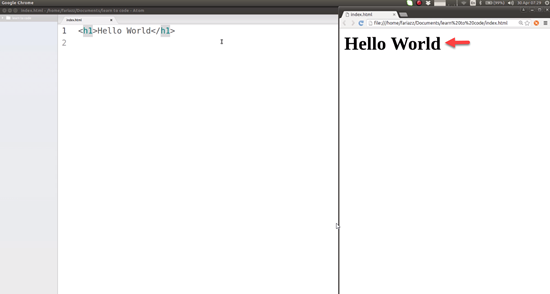
What if I want a secondary heading?
Secondary Heading
If I want a secondary heading I can use the h2 tag.
<h2>The sky is blue</h2>
Always make sure to close the tag, just like the sandwich, save, then refresh the page:
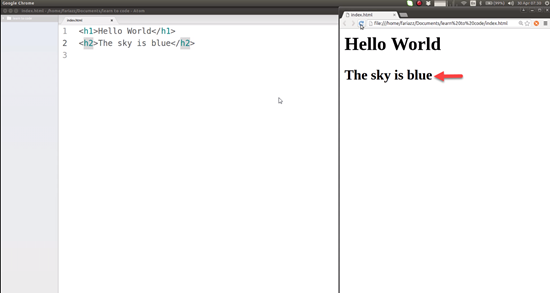
Now we have a secondary heading displayed.
How would i just add some other text?
Adding Text
You just type the text below the main and secondary headings:
The water is cold.
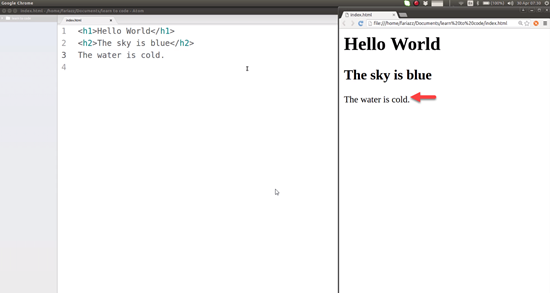
HTML tags are the way for us to tell the page how we want to display are content.
Part 3
In the lesson we will be talking about new lines and text paragraphs in HTML. We are seeing two different headings here:
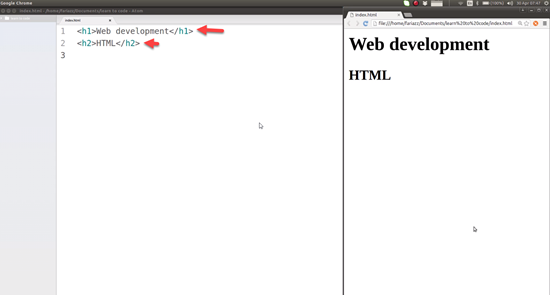
These headings show on different lines. This makes us think that because they are shown on different lines its because they are on different lines in our code.
The truth is the browser does not care about the amount of times you press the enter key in your code.
The amount of times you press the enter key in your code will not effect the line spacing in your browser.
Even if you put everything on the same line and then refresh the page, it will still show separated on different lines:
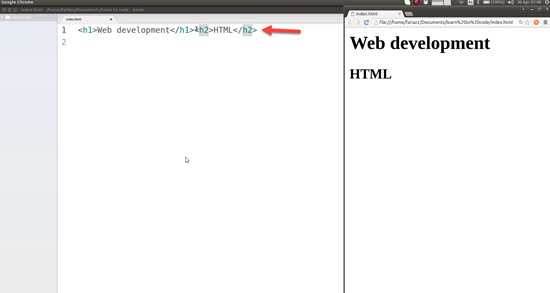
The reason why we want to separate the line is because we want to make it more readable for humans.
Showing Paragraphs
What if I wanted to show two different paragraphs of text? See the code example below:
<p>I want to learn coding</p>

<p>Find free resources on zenva.com</p>
The <p> tag is used to tell the browser we want a paragraph. These work just like the main and secondary headings. You must have an opening, the filling, and then the closing.
The <p> tag for the opening tells the browser we are starting a paragraph here, and then the </p> tag for closing tells the browser we have finished the paragraph, please skip a line.
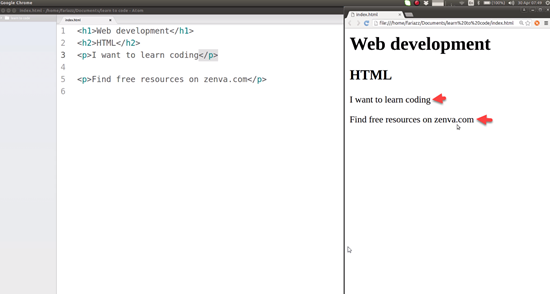
This is the basic of text paragraphs in HTML, and new lines in the browser.
Remember, it is the HTML tags that tell the browser how to display the content we want displayed in the browser, but when we learn CSS is when we will really have the capacity to modify these default behaviors. With CSS we will be able to make elements show the way want with regards to spacing, how much separation there will be between them, this is all handled by CSS.
For now, we are relying on a default style that the browser provides, and we are learning how to tell the browser what it is we want to show.
Transcript 1
Prerequisite number one is to install a current web browser.
Prerequisite number two is a proper code editor. The one I’ll be using is a free option called “Atom”. It works on all platforms; Windows, Mac, and Linux.
Another great option is Adobe Brackets, Notepad++, Komodo Edit, and Sublime Text is high popular editor and it has a free evaluation version as well. We need to create a folder for our project, so I’m gonna go to My Documents, and I’ve already created a folder called “learn to code”. Next, I’m gonna open up my newly installed code editor, and go to File, Open Folder, and find this newly created folder.
Our folder is empty for now, so let’s create our first HTML file. File, New File. I’m gonna type in this file, “Hello World”, which is what we wanna see in the browser, and I’m gonna save. I’m gonna call this file “index.html”. HTML files always have the .html extension. If you go back to your folder, you’ll see your newly created file. And if you double-click on it, it should probably show up on a web browser. You can also be more specific, and I’m gonna go to Open With, Google Chrome.
And, as you can see, we have our Hello World up and running. If you’ve followed along and reached this point, you have successfully set up your development environment, and you’re all ready to begin your coding journey. See you in the next lesson.
Transcript 2
In this lesson, you’ll create your very first HTML tags.
The first tag we’ll be learning will be the main heading tag. Tags are a bit like a sandwich, a tag has an opening, and then a lot of tags have a filling as well, and a closing. You begin by opening your tag, and just like a sandwich you always need to close it. For that, you type the same tag as well but you add the forward slash before the name of your tag. And then you save. If we look at Google Chrome and refresh the page, this is now a main heading.
What if I want a secondary heading? I can use the h2 tag and type something like the sky is blue. Save, refresh the page, we’ve got a second heading. The water is cold will be some other text that we’ll be adding. So HTML tags are the way for us to tell the browser to tell the page how we want to display our content.
Transcript 3
What if I wanna show two different paragraphs of text? For example, say I wanna have this in two different lines.
As you’ve probably guessed, it’s gonna show in a single line, even if I add as many enters as I want.
So the way for us to actually create paragraphs is by using the p tag, which is a HTML tag that stands for paragraph, and that allows you to tell the browser, hey, browser, we’re about to start a paragraph here. So, everything that comes after the p is a paragraph.
And when you close the paragraph, you’re basically telling the browser, hey, browser, we’ve finished our paragraph, now just please skip a new line. So, as you can see, that gives us two different paragraphs of text.
Interested in continuing? Check out the full Bite-Sized HTML course, which is part of our Bite-Sized Coding Academy.
