In Part 1 of this tutorial, we started building a Phaser project template that you can reuse and extend in any future project you work on. To begin with we:
- created the basic structure for our project
- created the boot scene
- created the preloader scene
In Part 2 of this tutorial, we are going to continue working on our template by adding in the Title, Options, and Credits scenes.
If you didn’t complete Part 1 and would like to continue from there, you can find the code for it here.
You can download all of the files associated with the source code for Part 2 here.
Let’s get started!
Loading Assets
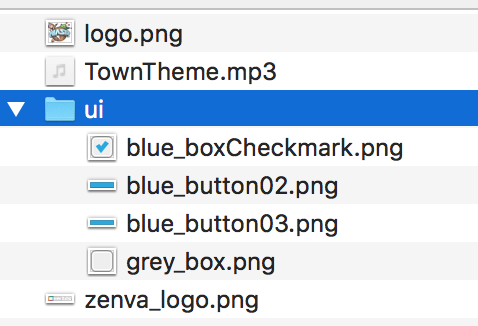
Before we start working on our title scene, we need to add the rest of the assets that we will be using in our template. You can download all of the assets for the game from here. After you have downloaded the assets, go ahead and unzip the zip folder and move all of the assets to the assets folder. Your assets folder should look like this:
With the assets added to our template, we just need to update our Preloader Scene to load in these assets. To do this, open PreloaderScene.js and add the following code to the bottom of the preload method:
this.load.image('phaserLogo', 'assets/logo.png');
this.load.image('box', 'assets/ui/grey_box.png');
this.load.image('checkedBox', 'assets/ui/blue_boxCheckmark.png');
this.load.audio('bgMusic', ['assets/TownTheme.mp3']);
Title Scene
For our title scene, we are going to create a simple UI that will display three different buttons. These buttons will allow the player to start the game, change the options, or view the credits in our game. To get started, open TitleScene.js and add the following code in the create function:
// Game
this.gameButton = this.add.sprite(100, 200, 'blueButton1').setInteractive();
this.centerButton(this.gameButton, 1);

this.gameText = this.add.text(0, 0, 'Play', { fontSize: '32px', fill: '#fff' });
this.centerButtonText(this.gameText, this.gameButton);

this.gameButton.on('pointerdown', function (pointer) {
  this.scene.start('Game');
}.bind(this));

this.input.on('pointerover', function (event, gameObjects) {
  gameObjects[0].setTexture('blueButton2');
});

this.input.on('pointerout', function (event, gameObjects) {
  gameObjects[0].setTexture('blueButton1');
});
Let’s review the code we just added:
- First, we created a new sprite using the
blueButton1image we loaded in our Preloader scene and we made it interactive. By making a sprite interactive, Phaser will fire different events when the player interacts with that object. Some of these events include when a player mouses over an object or when they click on it. - We then called a new function called,
centerButtonwhich will be used for centering our UI buttons in our game. We will add this function shortly. - Next, we created a new text game object. For this game object, we set the text to be
Playand we configured the font size and fill by passing an object with these settings when we created the game object. - Then, we called a new function called,
centerButtonTextwhich will be used for centering the text game object in the center of the UI button. We will add this function shortly. - We then listened for the
pointerdownevent on ourgameButtongame object, which will be fired when a player clicks on that game object. When this event is fired, it will trigger the callback function we provided and in this function, we started our Game scene. - Lastly, we listed for the
pointeroverandpointeroutevents on all our game objects. When these events are fired, we update the texture on our game object by calling thesetTexturemethod. The reason we are doing this is to give our UI buttons a hover effect.
Now, we will add the centerButtonText and centerButton functions. In TitleScene.js add the following code below the create function:
centerButton (gameObject, offset = 0) {
  Phaser.Display.Align.In.Center(
    gameObject,
    this.add.zone(config.width/2, config.height/2 - offset * 100, config.width, config.height)
  );
}

centerButtonText (gameText, gameButton) {
  Phaser.Display.Align.In.Center(
    gameText,
    gameButton
  );
}
In the code above, we did the following:
- Created a new function called
centerButton, which is used to center a game object in our scene. This function takes two arguments,gameObject, the game object we want to center andoffset, the amount we want to offset the game object vertically. - In this function, we use
Phaser.Display.Align.In.Centerto do the centering. This method will center the first object within the second one. For the second object, we create a new zone, which is a game object that does not render in our scene. - We then created another new function called
centerButtonText, which is used to center our text game objects within our UI game objects. This methods takes two arguments,gameText, a text game object andgameButton, a button game object. - In this function, we use
Phaser.Display.Align.In.Centerto do the centering again.
Before we test our new changes let’s make a minor change to our Preloader scene to make our game load faster. Open PreloaderScene.js, and at the top of the ready function add this line:
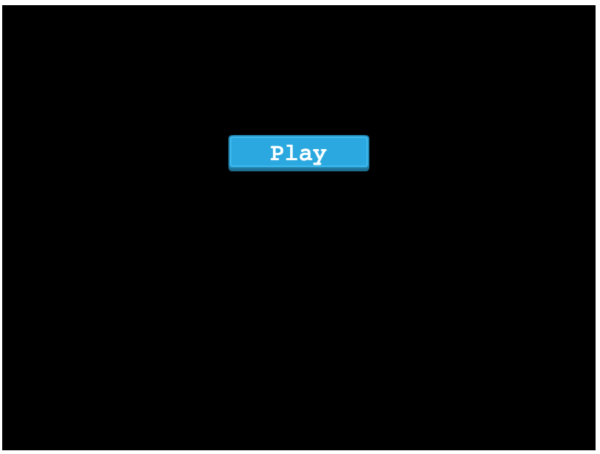
this.scene.start('Title');Now, save your changes and navigate to your project in the terminal. Once there, run the following command to start your local server: npm run start. Once the server starts, open your browser and navigate to the following URL: http://localhost:8000/. You should see our new button appear in our game, and when you hover over it you should see the texture change and if you click on it, the scene should switch to our Game scene.
Now that we have our first UI button working, let’s add the other two. In TitleScene.js, add the following code in the create function below our gameButton code:
// Options
this.optionsButton = this.add.sprite(300, 200, 'blueButton1').setInteractive();
this.centerButton(this.optionsButton);

this.optionsText = this.add.text(0, 0, 'Options', { fontSize: '32px', fill: '#fff' });
this.centerButtonText(this.optionsText, this.optionsButton);

this.optionsButton.on('pointerdown', function (pointer) {
  this.scene.start('Options');
}.bind(this));

// Credits
this.creditsButton = this.add.sprite(300, 200, 'blueButton1').setInteractive();
this.centerButton(this.creditsButton, -1);

this.creditsText = this.add.text(0, 0, 'Credits', { fontSize: '32px', fill: '#fff' });
this.centerButtonText(this.creditsText, this.creditsButton);

this.creditsButton.on('pointerdown', function (pointer) {
  this.scene.start('Credits');
}.bind(this));

this.input.on('pointerover', function (event, gameObjects) {
  gameObjects[0].setTexture('blueButton2');
});

this.input.on('pointerout', function (event, gameObjects) {
  gameObjects[0].setTexture('blueButton1');
});
The code we added above should look similar to the code we added before. We created two new buttons and two new text game objects, and we centered them but with different offsets than what we used for the first button.
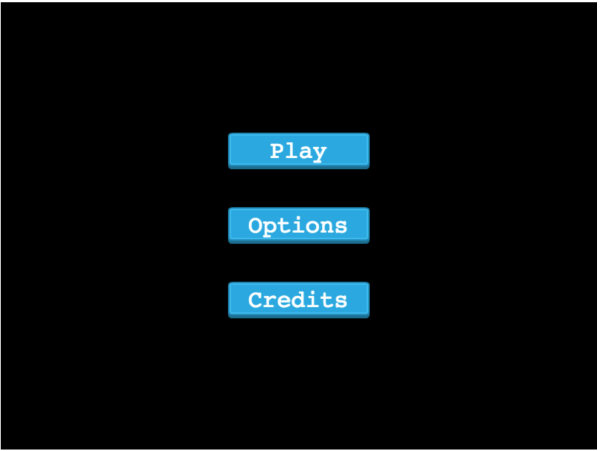
Now, if you save your code changes your game should update in your browser and you should see the two new buttons, and if you click them you should be taken to the appropriate scenes.
Lastly, you can remove the preload function from TitleScene.js.
Credits Scene
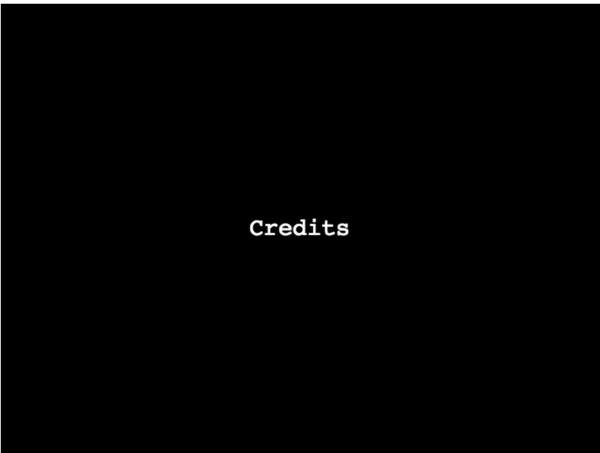
With our Title scene completed, we will now work on adding the Credits screen. For our Credits scene, we are going to create a few basic text game objects that will scroll across the screen. To do this, open up CreditsScene.js and add the following code inside the create function:
this.creditsText = this.add.text(0, 0, 'Credits', { fontSize: '32px', fill: '#fff' });
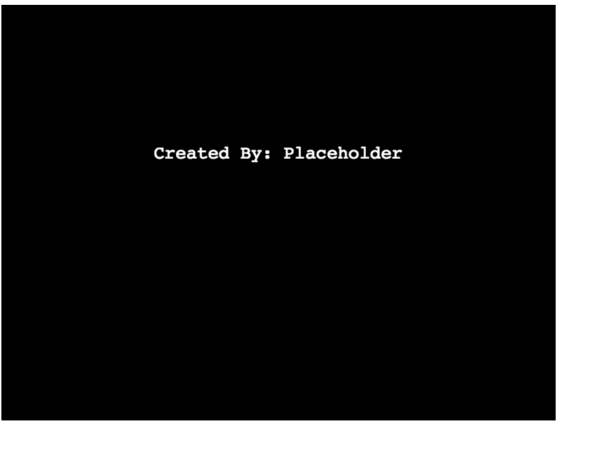
this.madeByText = this.add.text(0, 0, 'Created By: Placeholder', { fontSize: '26px', fill: '#fff' });
this.zone = this.add.zone(config.width/2, config.height/2, config.width, config.height);

Phaser.Display.Align.In.Center(
  this.creditsText,
  this.zone
);

Phaser.Display.Align.In.Center(
  this.madeByText,
  this.zone
);

this.madeByText.setY(1000);
Let’s review the code we just added:
- We created two new text game objects:
creditsTextandmadeByText. - We created a new zone game object.
- We then centered both of the text game objects inside the zone game object.
- Lastly, we changed the y position of the
madeByTextgame object by calling thesetYmethod. We moved themadeByTextgame object off the screen that way we can have that text scroll onto the screen once thecreditsTextgame object disappears off the screen.
To quickly test our changes, open up PreloaderScene.js and in the ready function update the this.scene.start('Title'); line to be:
this.scene.start('Credits');Now, save your code changes and in your browser, you should see the new credits text.
With the text displaying in our Credits scene, we will add a few tweens to have our text scroll off the screen. In the create function, add the following code below the this.madeByText.setY(1000); line:
this.creditsTween = this.tweens.add({
  targets: this.creditsText,
  y: -100,
  ease: 'Power1',
  duration: 3000,
  delay: 1000,
  onComplete: function () {
    this.destroy;
  }
});

this.madeByTween = this.tweens.add({
  targets: this.madeByText,
  y: -300,
  ease: 'Power1',
  duration: 8000,
  delay: 1000,
  onComplete: function () {
    this.madeByTween.destroy;
    this.scene.start('Title');
  }.bind(this)
});
In the code above, we did the following:
- We created a new tween,
creditsTweenthat is targeting ourcreditsTextgame object. For our tween, we specify the following options:y– the y position of our game object that we want it to end up at.ease– the ease function that this tween will use.duration– how long we would like the tween to last.delay– how long we want the tween to wait before it starts running.oncomplete– a callback function that will be called once the tween is complete. In this callback function, we destroy the tween.
- We then created another tween called
madeByTween. This tween is very similar to thecreditsTween. The main difference is when theonCompletecallback function is called, we start our Title scene.
Now, if you save your code changes and navigate to your Phaser game in the browser you should see the credits text scroll off the screen and you should see the placeholder text scroll onto the screen. Once this is done, the scene should switch to the Title scene.
Lastly, you can delete the preload function from the CreditsScene.js file since it won’t be used.
Options Scene
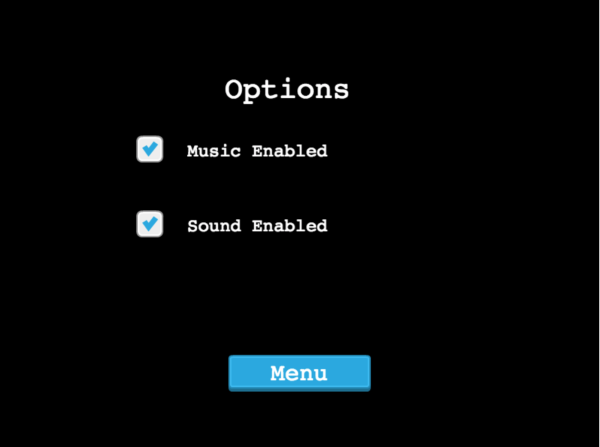
With our Credits scene completed, we will now work on our Options scene. For our Options scene, we are going to create a few UI checkbox buttons that can be used for enabling and disabling the music and sound in our game. To do this, open up OptionsScene.js and add the following code to the create function:
this.musicOn = true;
this.soundOn = true;

this.text = this.add.text(300, 100, 'Options', { fontSize: 40 });
this.musicButton = this.add.image(200, 200, 'checkedBox');
this.musicText = this.add.text(250, 190, 'Music Enabled', { fontSize: 24 });

this.soundButton = this.add.image(200, 300, 'checkedBox');
this.soundText = this.add.text(250, 290, 'Sound Enabled', { fontSize: 24 });

this.musicButton.setInteractive();
this.soundButton.setInteractive();

this.musicButton.on('pointerdown', function () {
  this.musicOn = !this.musicOn;
  this.updateAudio();
}.bind(this));

this.soundButton.on('pointerdown', function () {
  this.soundOn = !this.soundOn;
  this.updateAudio();
}.bind(this));

this.updateAudio();
Then, add the following code below the create function:
updateAudio() {
  if (this.musicOn === false) {
    this.musicButton.setTexture('box');
  } else {
    this.musicButton.setTexture('checkedBox');
  }

  if (this.soundOn === false) {
    this.soundButton.setTexture('box');
  } else {
    this.soundButton.setTexture('checkedBox');
  }
}
Let’s review the code we just added:
- First, we created two new variables:
musicOnandsoundOn. We are using these variables to keep track of the state of the our two new UI checkboxes that we added. By default, these are set totrueand once the player toggles the checkbox, we then set them tofalse. By keeping track of the state, it will allow us to use these values later when we add any audio to the game. - Next, we created a new text Game Object and we set its text value to
Options. - Then, we created two new image Game Objects and two new text Game Objects, one for enabling/disabling music and one for enabling/disabling sound.
- We then made both of image Game Objects interactive, and then we added listeners for the
pointerdownevent. When the player clicks on one of the checkboxes, we set the value of that state variable to the opposite of what it is currently set to, and then we call a new function calledupdateAudio. - Lastly, in the
updateAudiofunction, we check the state of themusicOnandsoundOnvariables, and if they are set to false we then update the texture of our checkbox to be an empty box, and if they are set to true we update the texture to use thecheckedBoximage.
To quickly test our changes, open up PreloaderScene.js and in the ready function update the this.scene.start('Credits'); line to be:
this.scene.start('Options');Now, save your code changes and in your browser, you should see the new options scene, and you should be able to toggle the two new UI elements.
Now that we have our UI elements done, we need to give the player a way to navigate back to the Title Scene. To do this, add the following code to the bottom of the create function:
this.menuButton = this.add.sprite(400, 500, 'blueButton1').setInteractive();
this.menuText = this.add.text(0, 0, 'Menu', { fontSize: '32px', fill: '#fff' });
Phaser.Display.Align.In.Center(this.menuText, this.menuButton);

this.menuButton.on('pointerdown', function (pointer) {
  this.scene.start('Title');
}.bind(this));
In the code above, we created a new button, made it interactive, and when the player clicks on it the scene will change to the Title scene. Now, if you save your code changes, you should see the new button and when you click on it, you should be taken to the Title Scene.
Lastly, you can remove the preload function from OptionsScene.js.
Conclusion
With the logic for our Options Scene in place, this brings Part 2 of our tutorial series to an end. In Part 3, we will wrap up things by:
- adding the logic for a global state.
- adding audio to our game.
- creating some reusable components.
I hope you enjoyed this tutorial and found it helpful. If you have any questions, or suggestions on what we should cover next, please let us know in the comments below.
