Phaser is a fantastic HTML5 game framework that works on both desktop and mobile web browsers. Not only this, it is constantly getting updates and new features. One of the newer features is native support for Facebook’s Instant Games. This feature was added in version 3.13 and it is great! With this new addition, it is very easy to take your existing Phaser game and turn it into a Facebook Instant Game.
If you are not familiar with Facebook Instant Games, they are a newer type of game that can be played across Facebook platforms. These types of games are HTML5 games that people can play directly in their news feed or in their Messenger conversations on both desktop and mobile devices. If you are interested, you can read more about it here: Facebook Developers – Instant Games.
In this tutorial, you will learn how to use the Facebook Instant Game Plugin for Phaser 3. We will show you how to access information about the player, how you can store data on Facebook, and how you can use other features like leaderboards.
You can download all of the files associated with the source code here.
Tutorial Requirements
One of the requirements for testing your html5 games with the Facebook Instant Games SDK is you either need to zip and upload your game to Facebook every time you make a change, or you can run a local SSL enabled server and you can embed the game in Facebook’s instant game player. For the purpose of this tutorial, we will be running the SSL enabled server locally.
Another requirement for this tutorial is you must be using at least Phaser 3.13. Earlier versions of Phaser do not support the Facebook Instant games plugin. You should be able to follow along with any version of Phaser after 3.13.
To create our server we will be using Node.js. We will also be using NPM to install the required packages we need for the server to be enabled for SSL. In order to follow along with this tutorial, you will need to have Node.js and NPM installed locally, or you will need access to an environment that already has them installed. We will also be using the Command Prompt (Windows) / Terminal (Mac) to install the required packages, and to start/stop our Node server.
Having a prior experience with these tools is a plus, but it is not required for this tutorial. We will not be covering how to install these tools as the focus of this tutorial is making a game with Phaser. The last thing you will need is an IDE or Text Editor for editing your code.
To install Node.js, click the link here: and choose the LTS version. You can download and use the current version with this tutorial, however, the LTS version is recommended for most users. When you install Node.js, NPM will also be installed on your computer. Once you have these tools installed, you can move on to the next part.
Creating a new Facebook App
The first thing we need to do when creating a new game for Facebook is we need to create an app in their developer portal. To do this, you will need to have a Facebook Developer account. You can access the Facebook Developer website here: Facebook Developers Website.
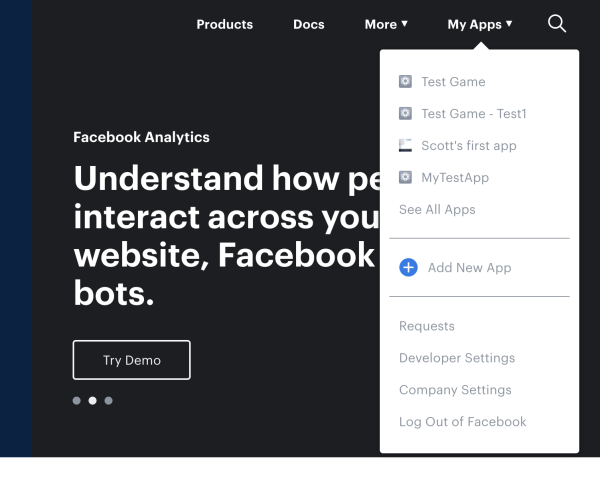
After you have logged into your account, go ahead and click on “My Apps” button from the drop-down menu and select the “Add new app” option.
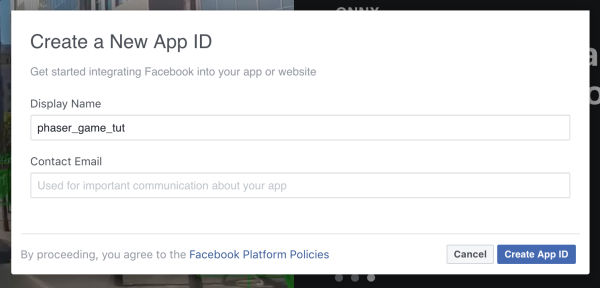
In the popup window that appears, enter your email address and a name for your app, and then click on the “Create App ID” button. You may get a new window asking you to complete a security check. If you do, just complete the reCAPTCHA and hit “submit”.
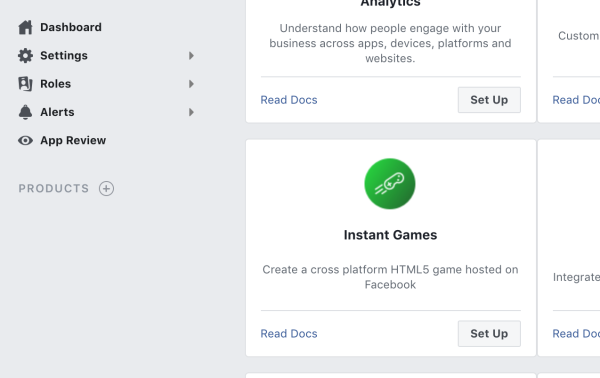
You should then be taken to the “Add A Product” screen, and from here you will need to “Set Up” button under the Instant Games section.
On the “Instant Games” page, you will want to make sure the “Use Instant Games” toggle is turned on. Next, you will need to fill out the “Tagline” and “Publisher” fields. Lastly, choose a “Category” for your game.
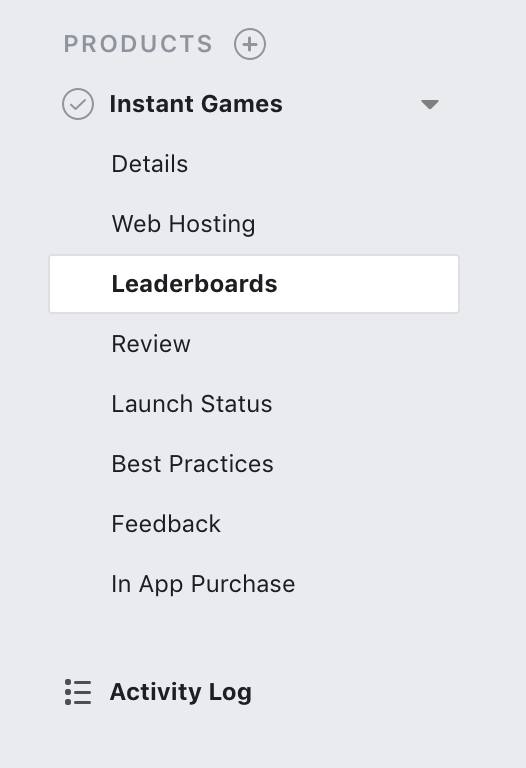
Once you have done this, go ahead and click on the “Save Changes” button at the bottom of the page. Next, we are going to add a “Leaderboard” to our app. To do this, click on the “Leaderboards” option on the left side of the page.
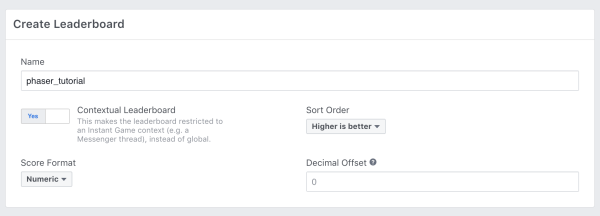
Then, in the “Create Leaderboard” section, enter a name for your leaderboard. For this tutorial, we will call ours phaser_tutorial_board. Next, go ahead and click on the “Save Changes” button to finish setting up your leaderboard.
Before you can publish your game, you will need to add some more information about your app and you will need to go through the Facebook App review process. We will come back to these steps later in the tutorial.
Phaser Template
For this tutorial, we will be using the Phaser 3 Webpack Project Template. To get a copy of this template, you can either download the project from the link above or if you have Git installed on your computer you run the following command to clone the repo:
git clone https://github.com/photonstorm/phaser3-project-template.git
You can also get a copy of the files here
Once you have a copy of the files, open your terminal/command prompt and navigate to the project directory and run the following command: npm install. This command will install all of the dependencies that are needed to use this template.
Now that you have the template, we are going to make a few adjustments to it. The first thing we are going to do is we are going to update the npm start command in our package.json file. First, we are going to update the port to point to 8080 instead of 8000. Then, we will add the --https flag to the command, which will tell the webpack dev server to generate it’s own certificates and to enabled SSL. The start command should now look like the following:
"start": "npm run build && webpack-dev-server --port=8080 --https"
Next, we need to tell webpack to load the Facebook Instant Games plugin. To do this, we just need to update the plugins section in our webpack.config.js file. In this file, add the following code to the existing plugins that are defined for Phaser:
'PLUGIN_FBINSTANT': JSON.stringify(true)
The plugins section should look like this:
plugins: [
        new webpack.DefinePlugin({
            'CANVAS_RENDERER': JSON.stringify(true),
            'WEBGL_RENDERER': JSON.stringify(true),
            'PLUGIN_FBINSTANT': JSON.stringify(true)
        })
    ]
Finally, we are going to split index.js file into a few different files. First, we will move the Phaser config object to its own file. In the src folder, create a new file called config.js, and add the following code to it:
import 'phaser';

export default {
  type: Phaser.AUTO,
  parent: 'phaser-example',
  width: window.innerWidth,
  height: window.innerHeight
};
In the code above, we did the following:
- Copied the
configvariable from theindex.jsfile. - Updated the
widthandheightvariables to use the browser’s width and height. - Added the
export defaultline in front of ourconfigobject. If you are not familar with webpack, theexport defaultline will allow us toimportour variable, class, or function inside another file. This is great since it allows us to separate our code into multiple files without losing any functionality. - Lastly, we added the
import 'phaser'line at the top of our file. The line allows us to referencephaserin our code even though this code is not present in our current file. When webpack runs, it will bundle all of our code toghether and resolve all of these imports.
Next, we are going to move the code for our Phaser Scene into a new file. In your src folder, create a new folder called scenes and in this folder create a new file called GameScene.js. In this file add the following code:
import 'phaser';

export default class GameScene extends Phaser.Scene {
  constructor() {
    super({ key: 'Game', active: false });
  }

  preload() {
    this.load.image('logo', 'assets/logo.png');
  }

  create() {
    const width = this.game.config.width;
    const height = this.game.config.height;
    this.add.image(width/2, height/2, 'logo');
  }
}
Let’s review the code we just added:
- We created a new class called
GameSceneand we had it extend thePhaser.Sceneclass. - Since our new class is extending an existing class, we are required to add a
constructormethod and have it callsuper()before anything else. Thesuper()method is used to call the Parent Class’sconstructormethod. - We added the
preloadandcreatemethod’s code from theindex.jsfile and we removed thetweenon the logo. - Lastly, we updated the position of the image by getting the width and height of our Phaser game, and we divided those by 2 to center our logo image.
Finally, we just need to update our index.js file. In this file, replace all of the existing code with the following:
import 'phaser';
import config from './config';
import GameScene from './scenes/GameScene';

class Game extends Phaser.Game {
  constructor() {
    super(config);
    this.scene.add('Game', GameScene);
    this.scene.start('Game');
  }
}

new Game();
In the code above we:
- Imported the
configobject and theGameSceneclass we just created. - We created a new class called
Gamethat extends thePhaser.Gameclass. - We added our existing scenes to our
Gameclass, and we instantiated our new class.
With those last few changes, we have finished setting up our template.
Running the local server
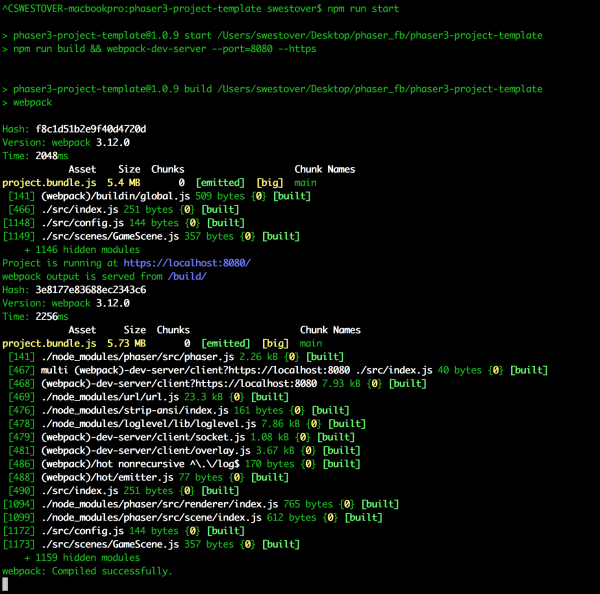
To start our server, switch back to your terminal and run the following command: npm run start
After a few seconds, you should see a message about webpack compiling successfully and that your project is running at https://localhost:8080/.
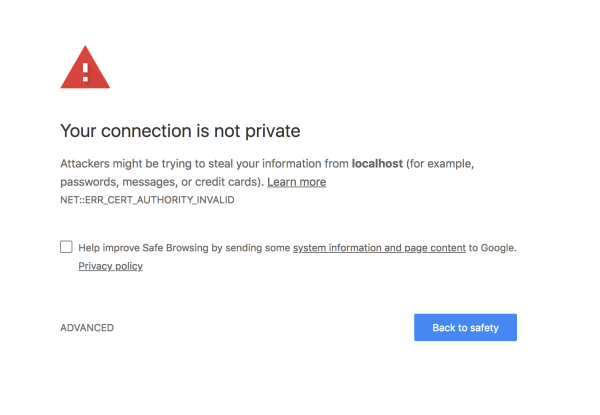
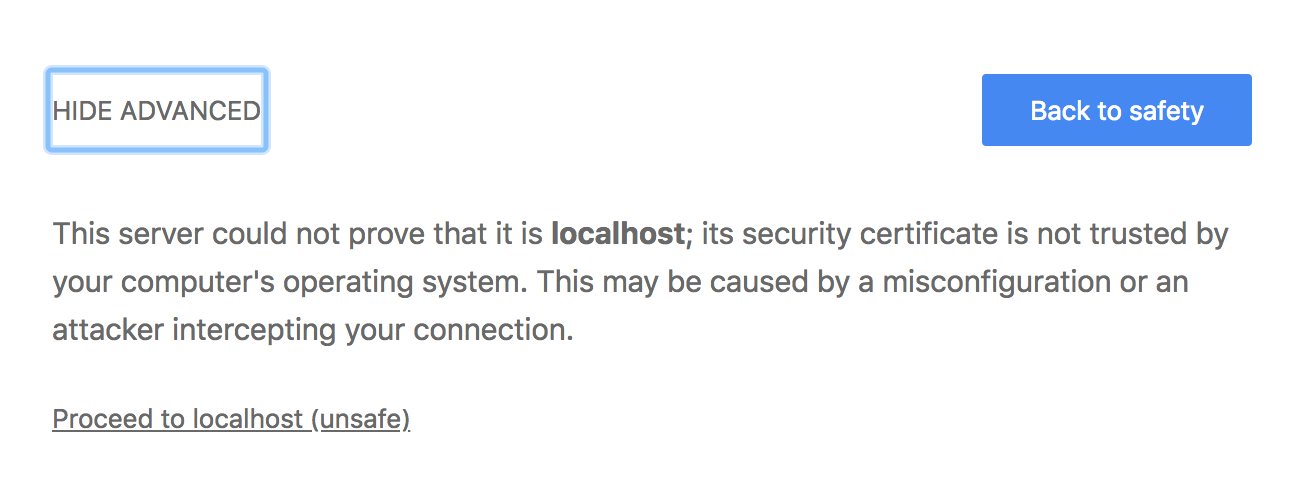
Once your server is started, navigate to https://localhost:8080/ in your browser. Since we are using self-signed certs, your browser will probably show a privacy error when you visit that page.
To get around this issue, click on the “Advanced” link, and then click on the “Proceed to localhost (unsafe)” link.
Now, when you view the link you should see a blank page and we can start using Facebook’s instant game player to test our game. To view your game, you will need to update the YOUR_GAME_ID text in the following URL with the id of your Facebook App:
https://www.facebook.com/embed/instantgames/YOUR_GAME_ID/player?game_url=https://localhost:8080
You can find your Facebook App Id in your Facebook Developer account at the top of the page when you are viewing your app.
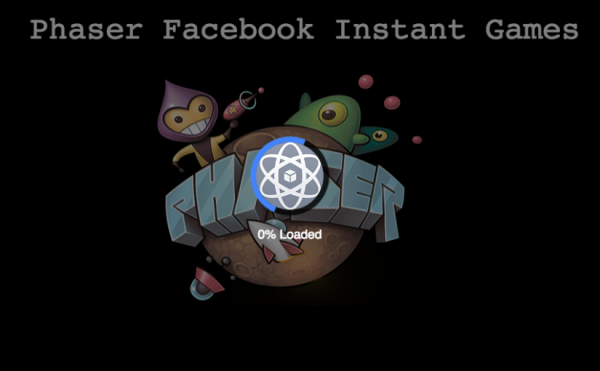
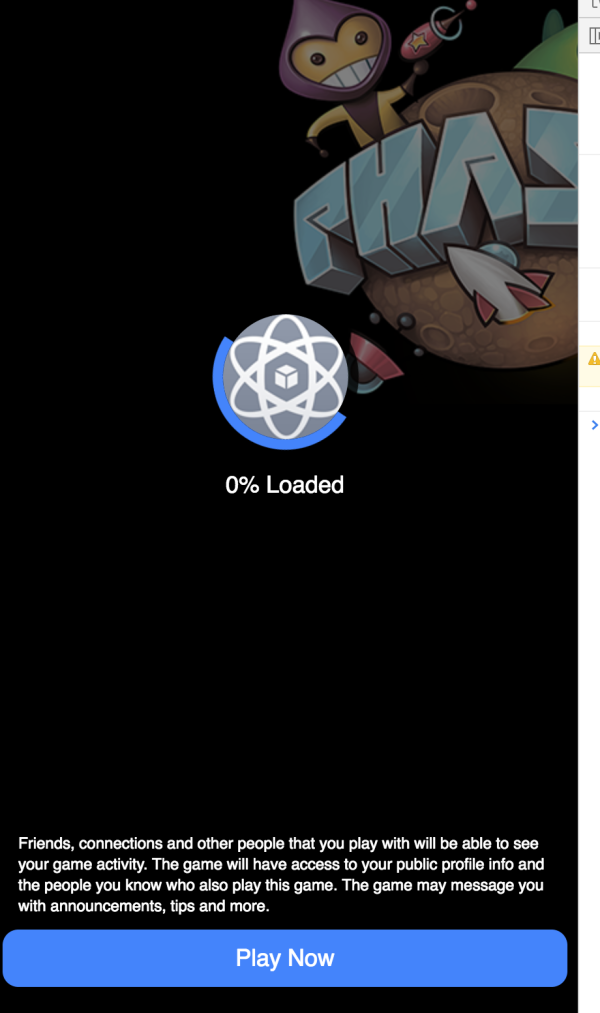
When you visit this URL, you should see a screen similar to this:
With our local server setup and the Facebook Instant Games player working, we will now start building our game.
Setting up Instant Games SDK
In order to fully use the Facebook Instant Games plugin, we need to import the Instant Games SDK in our index.html file. To do this, open index.html and add the following code to the <head> section of our code:
<script src="https://connect.facebook.net/en_US/fbinstant.6.2.js"></script>
While we are here, we will also add some additional code to the <head> section. First, we are going to add a few additional <meta> tags that will help make our a little more responsive. Add the following code below our existing <meta> tag:
<meta name="viewport" content="initial-scale=1.0, maximum-scale=1.0, minimum-scale=1.0, width=device-width, user-scalable=no, minimal-ui">
<meta name="apple-mobile-web-app-capable" content="yes" />
<meta name="full-screen" content="yes" />
<meta name="screen-orientation" content="portrait" />
Next, we will add some additional styling to remove the padding around our game. Add the following code below the code we just added:
<style>
  body {
    padding: 0px;
    margin: 0;
  }
</style>
Your index.html file should now look like this:
<!DOCTYPE html>
<html>
    <head>
        <meta charset="utf-8">
        <meta name="viewport" content="initial-scale=1.0, maximum-scale=1.0, minimum-scale=1.0, width=device-width, user-scalable=no, minimal-ui">
        <meta name="apple-mobile-web-app-capable" content="yes" />
        <meta name="full-screen" content="yes" />
        <meta name="screen-orientation" content="portrait" />
        <style>
            body {
                padding: 0px;
                margin: 0;
            }
        </style>
        <script src="https://connect.facebook.net/en_US/fbinstant.6.2.js"></script>
    </head>
    <body>
        <script src="build/project.bundle.js" charset="utf-8"></script>
    </body>
</html>
The last thing we need to do with the Facebook Instant Games SDK is we need to wait for the SDK to be initialized, and then we can start utilizing the SDK. To do this, the SDK offers a initializeAsync method which returns a Promise once the SDK has been initialized.
For our game, we just need to wrap this method around the code that instantiates our Game class. In index.js, update the new Game(); line of code with the following code:
FBInstant.initializeAsync().then(function() {
  new Game();
}).catch(function(error) {
  console.log(error.message);
});
In the code above, we are waiting for the initializeAsync method to return and once it does we create our Phaser game. In case the initializeAsync method throws an error, we added a catch method that will log the error message to our console.
Now, if you save your game and view it in the Facebook Instant Games player, you should just see the loading icon. If you still see the message with the button “Play Now”, go ahead and click on it.
Conclusion
That brings Part 1 of our tutorial to an end. In Part 2, we will cover the following topics:
- Adding a Preloader and connecting it to Facebook Instant Game’s preloader.
- Loading information about the player
- Loading and saving stats to the cloud storage of the associated player
- Saving and loading data from a leaderboard
- Publishing your game
I hoped you enjoyed Part 1 of this tutorial and found it helpful. If you have any questions, or suggestions on what we should cover next, please let us know in the comments below.
