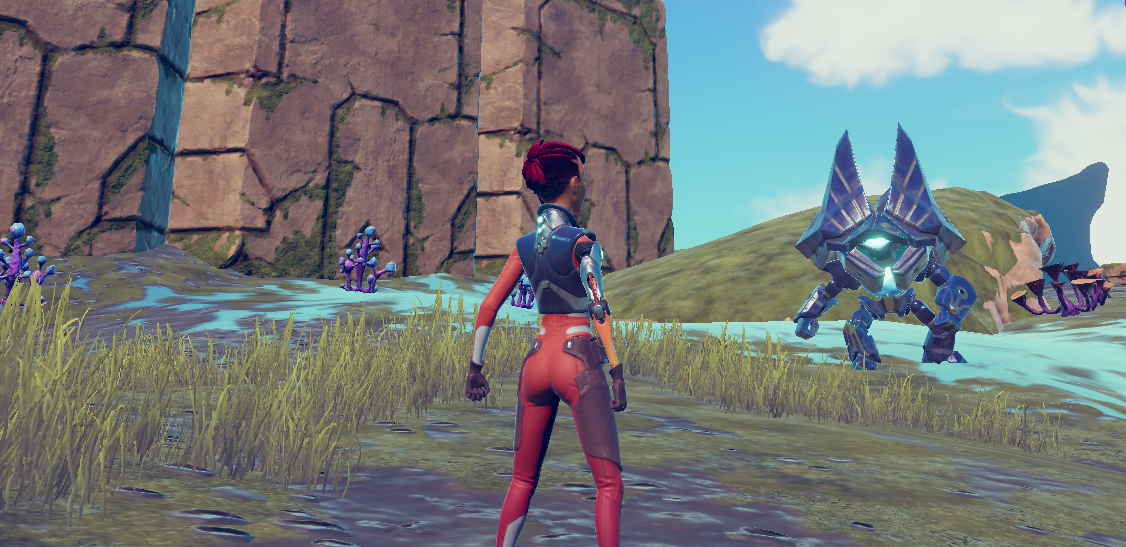
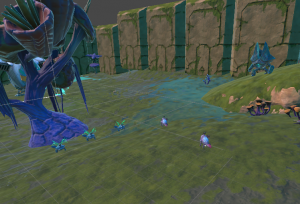
What if I told you that you could create intricate 3D games, complete with AAA graphics and a third-person character, all without writing a single line of code?
Well if you’re a Unity user and excited about that prospect, let us introduce you to the 3D Game Kit. Made with accessibility for artists, non-programmers, and prototyping in mind, this tool allows you to develop all kinds of games without touching a single bit of C# scripting.
In this tutorial series, we’re going to show you just how to use the 3D Game Kit to build a third-person, adventure RPG-inspired project using only the kit and Unity components.
If you’re ready to explore this no-code solution, let’s start learning.
Downloading the Kit
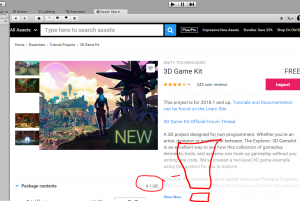
Open up Unity 2018.1 or later, create a new project (the kit cannot be imported into an existing project), and go to the asset store. This is where we will download the kit. Simply search 3D Game Kit and it should be one of the first suggestions.
Click on it and hit the download button. The entire kit is a couple of gigabytes so be prepared for a long download time (it took me a couple of tries because my internet was timing out).
Once it has been downloaded (hopefully it didn’t take too long), import the package. Now we are ready to have a look at what’s inside.
The Example Project
To get an idea of what this kit is capable of, go to the newly created folder called “3DGameKit” and open the folder marked “Scenes”.
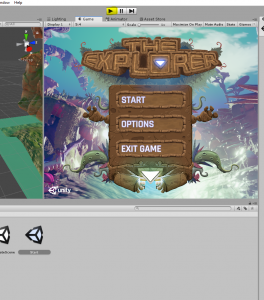
Double-click the scene named “Start”.
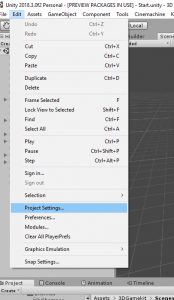
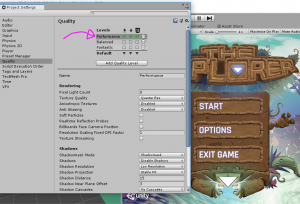
If we hit play we can look at what features this kit possess. It is worth noting first off that this example utilizes high-end graphics to deliver the final image. Because of this, I recommend using a computer with a dedicated graphics card if you want to enjoy what I think is a very slick looking example. For those of you who are using an integrated graphics card (like I was when I first used it), then you’re going to have to turn down the quality settings in order to get decent frame rates. Go to Settings -> Project Settings and choose “Quality”.
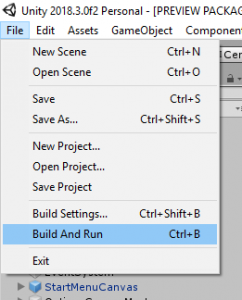
Just switch the Quality level from “Fantastic” to “Performance” and you’re good to go. I also recommend just going ahead and exporting the game since it’s a large example and it may take a while to complete. Go to file and hit “Build and Run”.
It’ll ask you for a location to store the demo and then it’ll start compiling. Once it’s done, boot it up and have a look at what can be created with this kit.
Environment creation
Creating a new scene
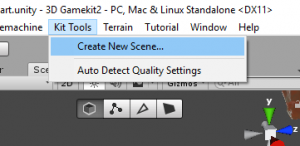
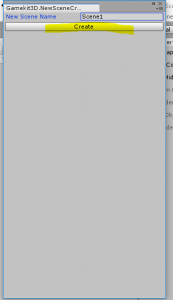
After you’ve thoroughly gone through the example project, let’s start actually using the kit. First things first, let’s create a new scene. Go to your toolbar and click on “Kit Tools” -> “Create New Scene”.
It’ll ask for a name so just give it a generic title like “Scene1”. Hit “Create” and that will create our new scene called “Scene1”.
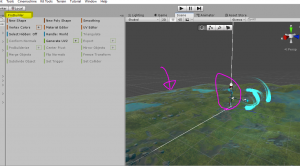
You’ll notice that the 3D Game Kit comes with ProBuilder which, if you don’t know what that is, check out this tutorial on the Game Dev Academy to learn more about it: Designing Assets in ProBuilder. We won’t be using ProBuilder much in this tutorial so just close the tab.
You’ll also notice that we have a character in our scene along with a ground. Something to note about this setup is that it comes with a couple of things that you should pay attention to. First, there is an object called “DeathVolume”.
This is simply a collider that will kill the player if it crosses into the collider. You can use this to set up an acid pit or to kill the player if it falls off the world. Its already set up to do the latter so just leave it that way for now. It is important to understand what this does, otherwise, your character might walk somewhere and just die without being attacked. The second important thing to note is the “Checkpoint” game object.
This is self-explanatory, it is just a checkpoint for the player. You can change the position if you want your character to respawn at a different place. Have a look at the ground that was placed here for us.
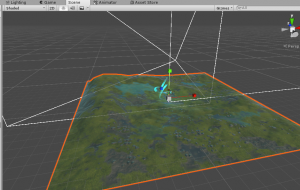
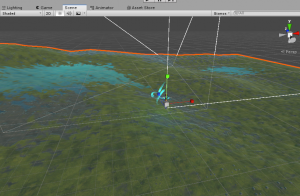
If you scale it in either direction, you’ll notice that it tiles nicely for us.
This is a very neat feature since it allows us to easily manipulate the size without making it look stretched. Go ahead and scale this plane up to be as big as you like and then we can start throwing some rocks and architecture into the scene.
Adding some organic and man-made objects
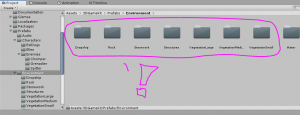
Go back to the 3D Game Kit folder and find the folder named “prefabs”. Open it up and double-click on the folder marked “Environment”. Here you’ll see all sorts of cool things to add to your scene. From plain ordinary rocks to complex structures, even vegetation is included!
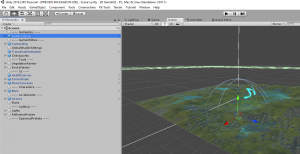
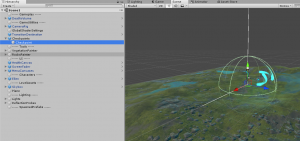
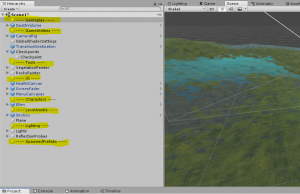
But before we start adding these things to our scene, have a look in the hierarchy and notice that game objects in the scene are under a label.
With things like the EventSystem and the UI canvas under the category “UI”, you can see that the developers have given us a way to organize our game objects. It would be best to utilize this organization technique since it will really speed things up down the road. With this in view, our environment prefabs go under “SceneAssets”. And that’s pretty much it! Now we can start populating our scene with these prefabs. Get creative and make your level. Once you’re done, let’s have a look at a tool that will help us lay down some plants.
The Instance painter
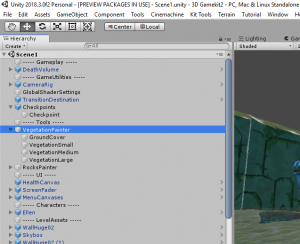
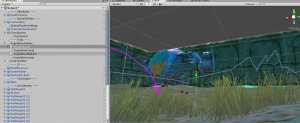
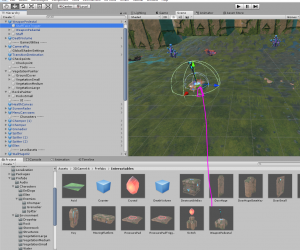
Chances are once you started to lay down some small objects like rocks and grass, you noticed that it quickly became cumbersome to duplicate and rotate each prefab. Well, there’s a tool that can do all this for us. Let’s just say that you want to lay down some vegetation. To do this quickly you could just find the “VegetationPainter” in your hierarchy (it’s under the “Tools” category”) and select one of the child objects (“VegetationSmall” for example).
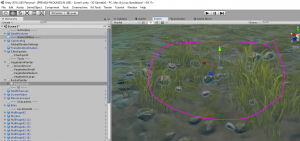
Now you can paint vegetation straight onto your terrain!
It works the same way for rocks. Find the object “RocksPainter” and select the child object to paint.
And all of the settings for the brush are in the inspector on this script called “Instance Painter”.
So if you don’t like how random the stones are looking, then just change the “Max Random Rotation”. Start laying down some rocks and foliage to complete your scene
Adding Enemies
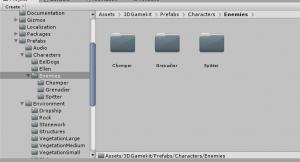
Now that our environment is completed, it’s time to start putting some non-static objects into our scene, specifically, enemies. In the prefabs folder, there is a folder called “Characters”. Open this up and you’ll notice there are three separate folders which contain the specific enemy’s prefab.
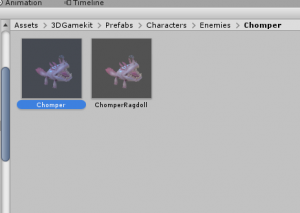
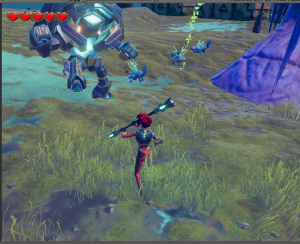
Have a look at each (Chomper, Grenadier, and Spitter). The “Chomper” enemy:
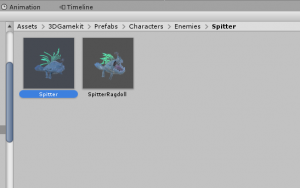
… will run up to the player and attack them. “Spitter”:
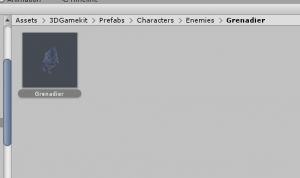
… will shoot acid at the player but run away when the player gets too close. And the “Grenadier” is like the “boss battle” enemy:
… it approaches and attacks the player while also shooting it the player; it can only be damaged when the player strikes it in the back. Go ahead and add whichever you’d like into your scene (Enemies go under the “Characters” category).
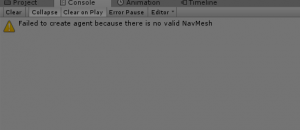
When you press play, you’ll see that the console will give you an error saying that you need a NavMesh in order to for the enemies to work.
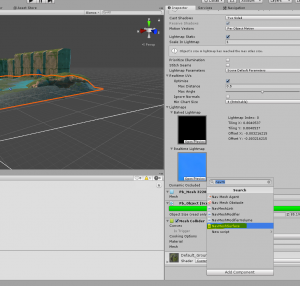
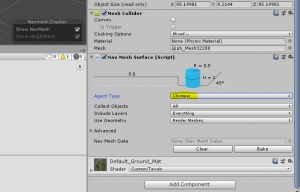
If you want to learn in detail about Unity’s navigation system, check out this tutorial on the Game Dev Academy: Navigation in Unity. To quickly create a NavMesh we can do one of two things, we can just go to the ground and add a “NavigationSurface” component:
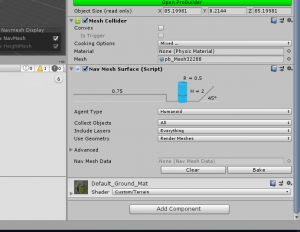
… and click “Bake” …
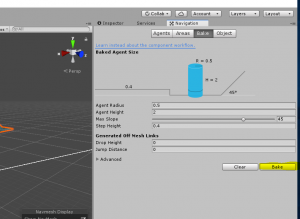
… or we can go to the Navigation tab and bake it there.
Either way works, it just depends on if you like your NavMesh as a component or as a separate entity. Just make sure that you set the agent type to “Chomper” and not “Humanoid”.
With your NavMesh created, hit play and you’ll see your enemies will work now and that you can attack with Left-Click.
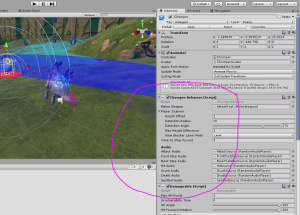
You also can customize the enemies (such as, make them see the player sooner or how much health they have) by tweaking the settings in the inspector. As you can see, you can change how wide the enemy’s sight is or how long they will pursue the player.
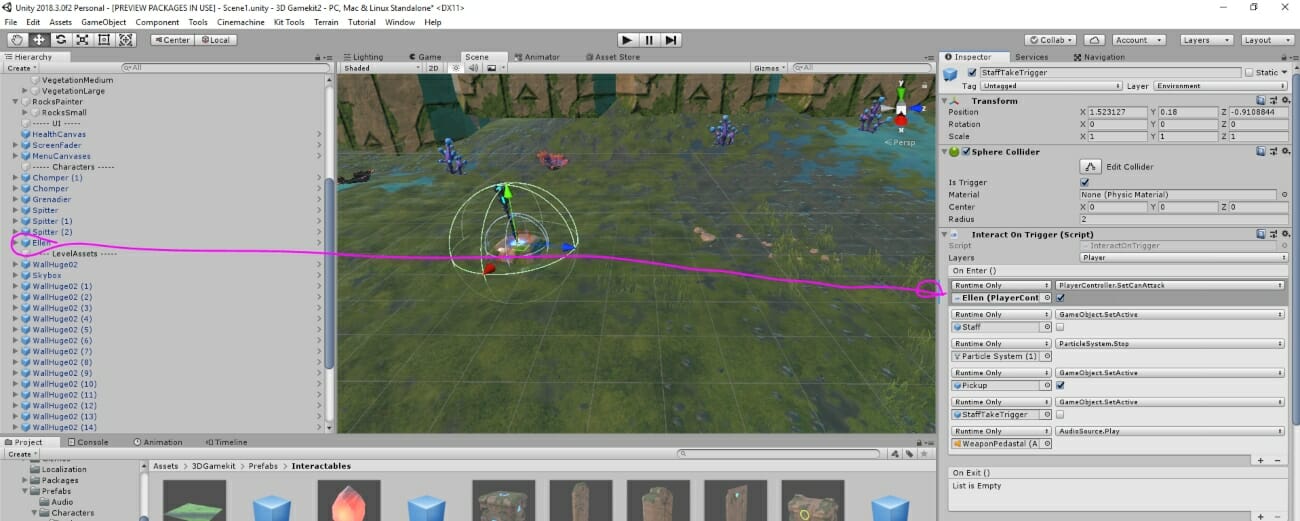
As an extra feature, you can make the weapon collectable by dragging in the “WeaponPedestal” prefab from the “Interactables” folder into the scene (it goes under the “Gameplay” category).
Select the child object “StaffTakeTrigger” and drag the “Ellen” character into the empty slot. Set the function to “PlayerCharacter.SetCanAttack” and make sure it is set to “true”.
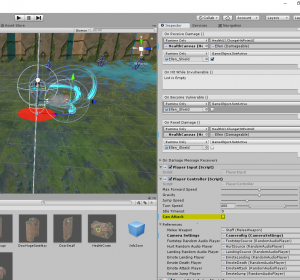
Then just disable “Can Attack” on the player character…
… and you are set to go! You now have enemies in your scene and also a way to attack them.
Interactables: Moving Platforms
If you go to your project folder and open the 3D Game kit folder, you’ll notice that there is a folder named “Interactables”. Open this up and let’s have a look.
When I first had a look at what was inside, I felt like a five-year-old at Christmas! There are so many fun things here! The prefab we are first going to use is the “MovingPlatform” prefab. The title is pretty self-explanatory so let’s just throw it into our scene to see what it does (it goes under the “Gameplay” category).
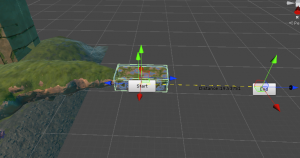
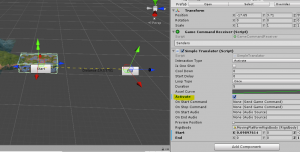
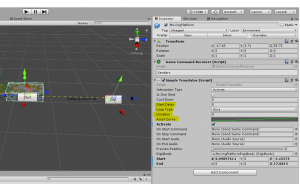
As you can see, it gives us two gizmos that tell us the start and end position of the platform. Go ahead and place these transforms in the position that you’d like. Now, if you hit play, you’ll notice that it doesn’t go anywhere. The reason is that we need to make sure that the boolean “Activate” is set to true.
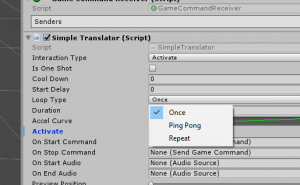
Once it is, we can hit play and watch our platform start off at the “Start” transform and then interpolate to the “End” position. But you’ll notice that it only does this once. If you’d like to have it loop through this action or bounce back and forth between transforms, we can do that by changing the “Loop Type”.
With this set to “Ping Pong,” the platform will bounce back and forth between the start and end position. “Repeat” will see the platform translate to the end position and then reset to the start when it reaches the transform. I’m sure you can think of when you’d need to use either setting so just utilize it to serve your purposes. And you can obviously customize how the platform translates by changing the “Duration”, “Start Delay”, and even the way in which it accelerates by editing the curve.
Conclusion
So as I said we would in the beginning, we’ve gone through level creation and how to implement an interactable game object. We’ve also covered how to add enemies into your level (I guess those could count as an “interactable” too). Just from doing those things, you probably already know that we have only covered the tip of the iceberg when it comes to the 3D Game Kit. I suggest that you investigate for yourself the other things that this kit can do. You could do that, or, you could read the second part of this tutorial. Whatever you chose to do, just:
Keep making great games!
