While hand-crafted 2D maps for games are amazing, they can take a lot of time to make. Plus, once your game is published, the only way to add more maps is to update the game – which in itself is a tedious process.
This is where procedural generation comes in, as it allows our code to generate maps for us and takes out much of the grunt work!
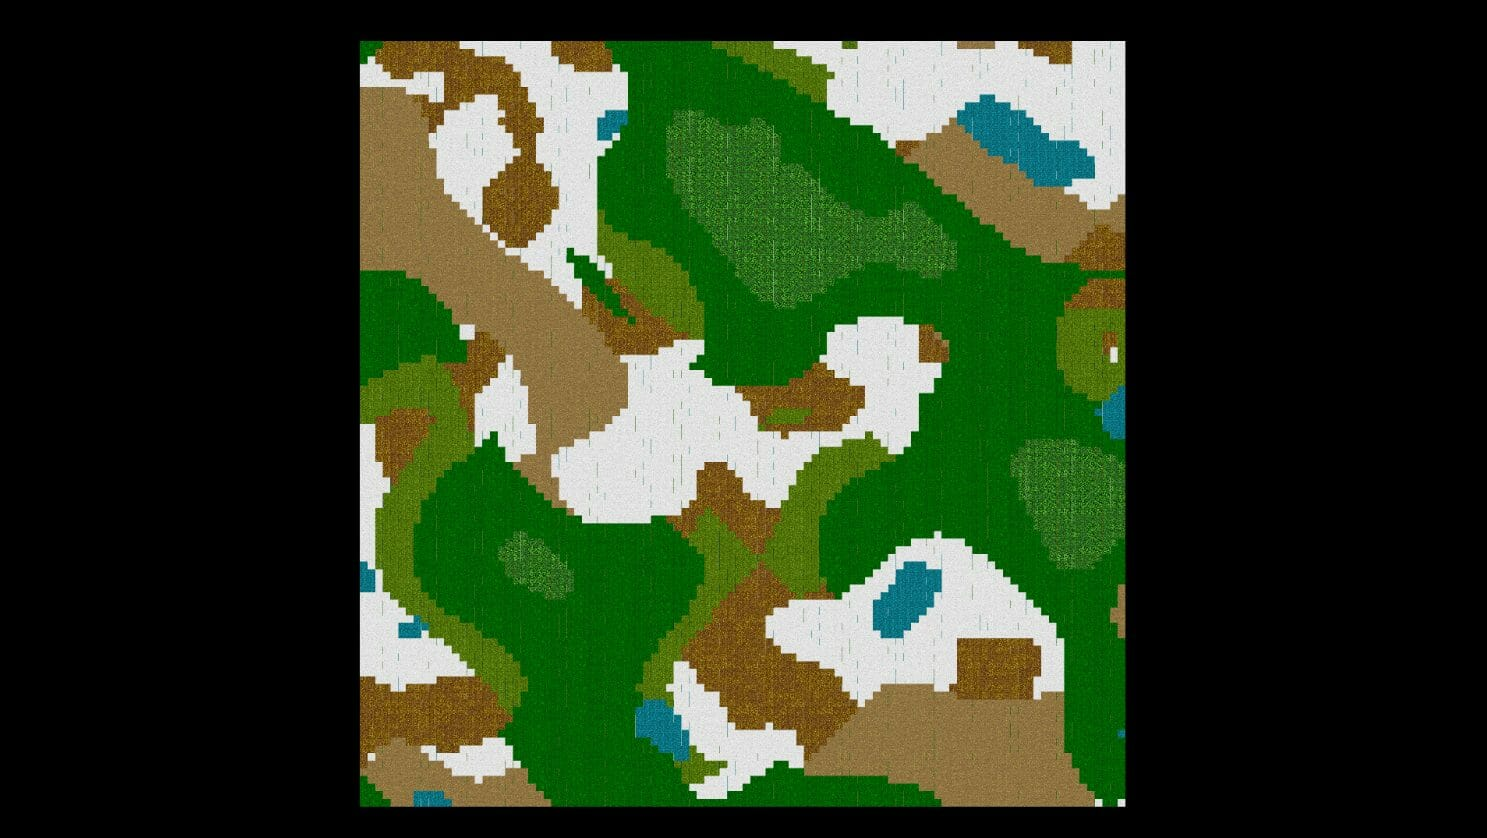
In this tutorial, we’ll be creating a 2D map that is procedurally generated with many different types of terrain(forest, snow, desert, etc). We’ll accomplish this by using procedural noise maps and generating one for the height, moisture, and heat. Combining these together will give us a specific biome for each tile, and result in a pretty nifty map generation handled entirely by our backend!
Let’s get started!
Project Files & Requirements
In this tutorial, we’ll be using an edited public domain sprite sheet for the different biome tiles (from OpenGameArt.org).
Additionally, before getting started, be aware that this tutorial assumes you have some of the basics of Unity under your belt. If not, we recommend starting with some of our other Unity tutorials first, or visiting the Unity Game Development Mini-Degree for an entire curriculum on Unity skills.
Teachers can also try out Zenva Schools – a platform designed specifically for teaching students in the classroom. Along with Unity courses, the platform offers other features such as classroom management tools, reporting, and much, much more.
Creating the Project
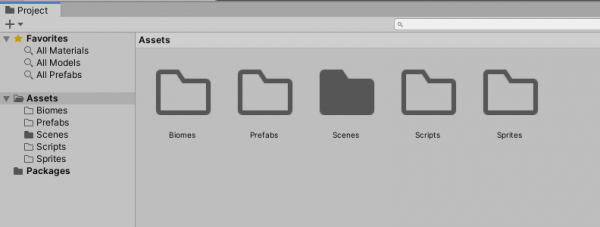
To begin with our procedural map generation, let’s create a new Unity project with the 2D template selected. In our new project, we want to create 4 new folders.
- Biomes – where we’ll store the scriptable objects representing each biome
- Prefabs – where we’ll store the tile prefab and player prefab
- Scripts – where we’ll be storing our C# scripts
- Sprites – where we’ll be storing our sprite sheet
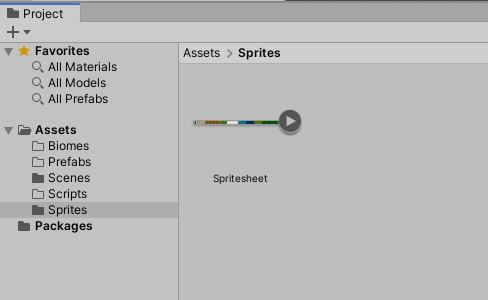
Inside of the Sprites folder, drag in the sprite sheet.
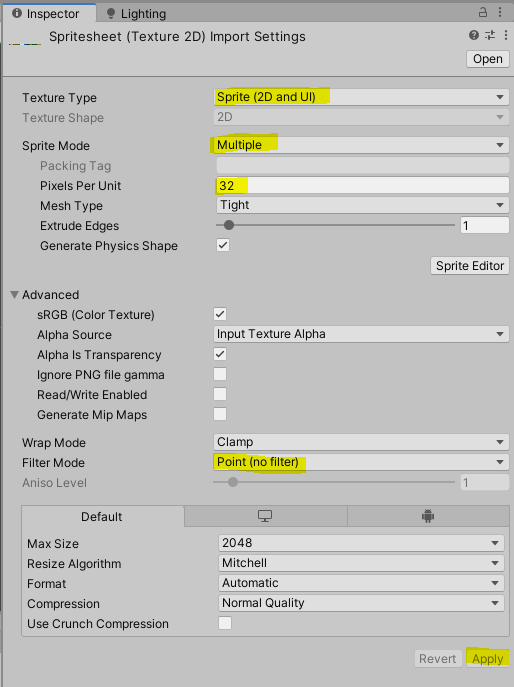
Selecting the sprite sheet, let’s change some settings over in the Inspector.
- Set the Texture Type to Sprite (2D and UI)
- Set the Sprite Mode to Multiple
- Set the Pixels Per Unit to 32
- Set the Filter Mode to Point (no filter)
- Click Apply to apply the changes
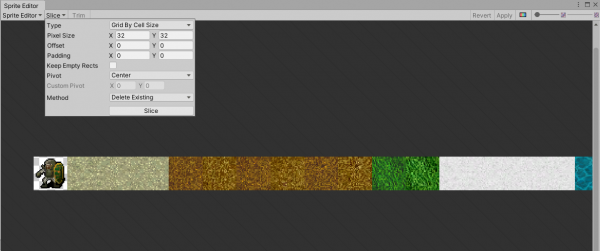
Now we need to divide our sprite sheet into individual sprites. In the Inspector, click on the Sprite Editor button to open up the Sprite Editor window.
- Click on the Slice dropdown
- Set the Type to Grid By Cell Size
- Set the X and Y Pixel Size to 32
- Click Slice
- After that’s done, click on the Apply button and exit the Sprite Editor
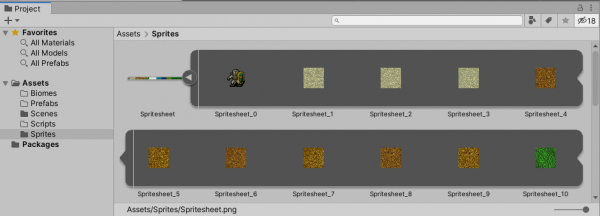
In the Project browser, you should now be able to open up the sprite sheet to see all of the individual sprites.
What is Noise?
How are we going to procedurally generate our map? With noise. You give the algorithm an X and Y value and it will return to you a value between 0 and 1. Below is an example of Perlin Noise – this is what Unity uses.
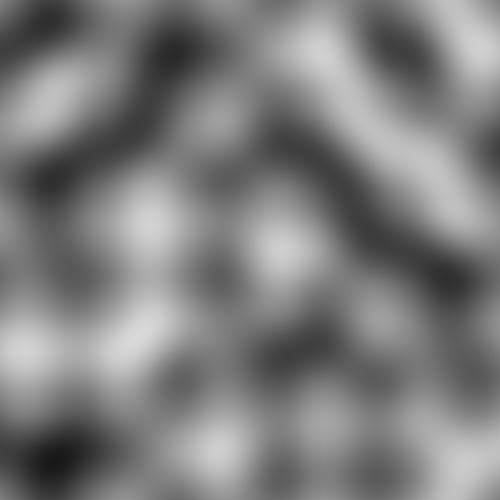
Noise is used for a large number of things and pretty much every game with procedurally generated terrain uses it. Now, this doesn’t look very natural as the transition between 0 and 1 is very uniform across the noise map. To combat this, we can stack multiple noise maps on top of each other to get more varied and custom outputs.
These are known as waves and have a few properties that we can modify.
- Seed – this is the amount we are offsetting the noise so that we’re not sampling the same area for everything
- Frequency – this is the scale of the noise map we’ll be sampling, a higher frequency will result in a more bumpy and noisy output, while a lower frequency will result in something more like the image above
- Amplitude – this defines the size or intensity of the output
Here’s a visual look at frequency:

Here’s a visual look at amplitude:

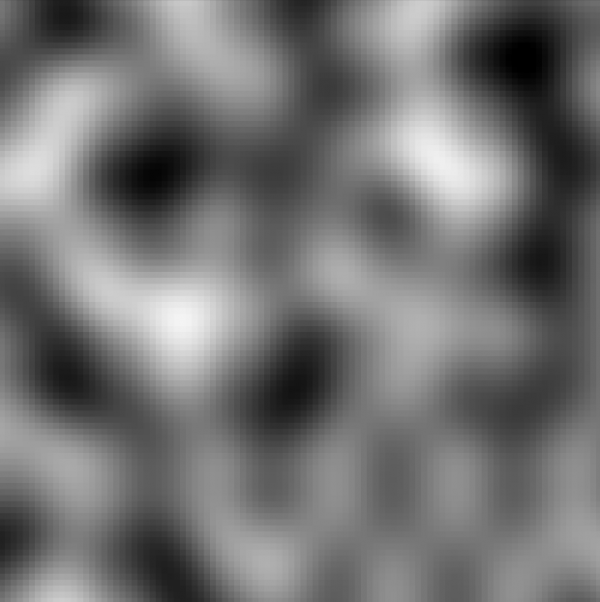
Here’s what a noise map would look like with just 1 wave. It looks quite uniform and not that natural.
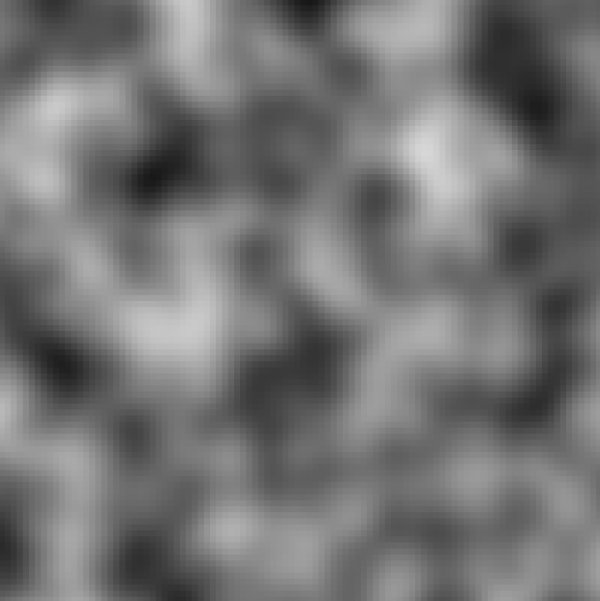
Here’s a noise map with 2 waves. It looks a lot more natural as the transitions between 0 and 1 are less consistent.
Noise Generator
Let’s now create a new C# script and call it NoiseGenerator. This script is only going to have one function – generate noise. Before we do that though, at the bottom of the script (outside of the NoiseGenerator class) let’s create a new class so that we can have waves.
[System.Serializable]
public class Wave
{
    public float seed;
    public float frequency;
    public float amplitude;
}
Now back in the main NoiseGenerator class, let’s create the Generate function.
public static float[,] Generate (int width, int height, float scale, Wave[] waves, Vector2 offset)
{

}
Here’s what each of the parameters do:
- width – width of the noise map
- height – height of the noise map
- scale – overall scale so we can zoom in or out if needed
- waves – array of different waves to generate the noise map
- offset – horizontal and vertical offset if needed
The function also returns a float[,] – a 2D float array. Think of this as a spreadsheet with columns and rows. Each element will be a number between 0 and 1.
So inside of this function, we want to create a 2D float array for our noise map and then loop through each of those elements with 2 for loops.
float[,] noiseMap = new float[width, height];

for(int x = 0; x < width; ++x)
{
    for(int y = 0; y < height; ++y)
    {

    }
}

return noiseMap;
Inside of the second for loop, let’s first get the sample position for the X and Y values.
float samplePosX = (float)x * scale + offset.x;
float samplePosY = (float)y * scale + offset.y;
Then we can look through each wave and sample the noise – taking into consideration the frequency and amplitude.
float normalization = 0.0f;

foreach(Wave wave in waves)
{
    noiseMap[x, y] += wave.amplitude * Mathf.PerlinNoise(samplePosX * wave.frequency + wave.seed, samplePosY * wave.frequency + wave.seed);
    normalization += wave.amplitude;
}

noiseMap[x, y] /= normalization;
And that’s it! Here’s a look at the final function.
public static float[,] Generate (int width, int height, float scale, Wave[] waves, Vector2 offset)
{
    // create the noise map
    float[,] noiseMap = new float[width, height];

    // loop through each element in the noise map
    for(int x = 0; x < width; ++x)
    {
        for(int y = 0; y < height; ++y)
        {
            // calculate the sample positions
            float samplePosX = (float)x * scale + offset.x;
            float samplePosY = (float)y * scale + offset.y;

            float normalization = 0.0f;

            // loop through each wave
            foreach(Wave wave in waves)
            {
                // sample the perlin noise taking into consideration amplitude and frequency
                noiseMap[x, y] += wave.amplitude * Mathf.PerlinNoise(samplePosX * wave.frequency + wave.seed, samplePosY * wave.frequency + wave.seed);
                normalization += wave.amplitude;
            }

            // normalize the value
            noiseMap[x, y] /= normalization;
        }
    }

    return noiseMap;
}
Biome Preset
In order to define our biomes, we’re going to use scriptable objects. These are basically files we can create which hold properties. Let’s create a new C# script called BiomePreset.
- First, we need to be using the UnityEditor namespace.
- Then we need to add the CreateAssetMenu attribute.
using System.Collections;
using System.Collections.Generic;
using UnityEngine;
using UnityEditor;

[CreateAssetMenu(fileName = "Biome Preset", menuName = "New Biome Preset")]
public class BiomePreset : ScriptableObject
{
...
Inside of the class, we can now define our properties.
- We have the sprites in an array for variation.
public Sprite[] tiles;
public float minHeight;
public float minMoisture;
public float minHeat;
Underneath our properties, we’re going to create two functions. GetTileSprite returns a random sprite from the tiles array.
public Sprite GetTleSprite ()
{
    return tiles[Random.Range(0, tiles.Length)];
}
MatchCondition checks to see if this biome matches the given height, moisture, and heat values. A biome can be viable if the given values for that tile are greater than or equal to the biome’s minimum values.
public bool MatchCondition (float height, float moisture, float heat)
{
    return height >= minHeight && moisture >= minMoisture && heat >= minHeat;
}
Back in the editor, let’s go over to our Biomes folder and create some biomes. Right-click and select Create > New Biome Preset. Give it a name. Go ahead and create 7 biome assets. Desert, Forest, Grassland, Jungle, Mountains, Ocean, and Tundra.

Then for each biome, we want to select it, go over to the Inspector, and fill in the properties.
- Desert
- Min Height = 0.2
- Min Moisture = 0
- Min Heat = 0.5
- Forest
- Min Height = 0.2
- Min Moisture = 0.4
- Min Heat = 0.4
- Grassland
- Min Height = 0.2
- Min Moisture = 0.5
- Min Heat = 0.3
- Jungle
- Min Height = 0.3
- Min Moisture = 0.5
- Min Heat = 0.62
- Mountains
- Min Height = 0.5
- Min Moisture = 0
- Min Heat = 0
- Ocean
- Min Height = 0
- Min Moisture = 0
- Min Heat = 0
- Tundra
- Min Height = 0.2
- Min Moisture = 0
- Min Heat = 0
Also, make sure to fill in the tiles array with each biome’s respective sprites from the sprite sheet.
Creating the Map
Now we can create a new C# script called Map and attach it to a new empty GameObject called _Map. This script is in charge of generating our 2D map. First, let’s start with some properties.
An array to store all of our biomes and the prefab for each tile.
public BiomePreset[] biomes;
public GameObject tilePrefab;
The dimensions of the map, scale and offset.
[Header("Dimensions")]
public int width = 50;
public int height = 50;
public float scale = 1.0f;
public Vector2 offset;
We’re going to be generating 3 maps. A height, moisture and heat map. These each need their own waves and output array.
[Header("Height Map")]
public Wave[] heightWaves;
public float[,] heightMap;

[Header("Moisture Map")]
public Wave[] moistureWaves;
private float[,] moistureMap;

[Header("Heat Map")]
public Wave[] heatWaves;
private float[,] heatMap;
Now we can create our main function called GenerateMap. This will get a noise map for the height, moisture and heat, then spawn in the tiles and give them each a biome.
void GenerateMap ()
{
    // height map
    heightMap = NoiseGenerator.Generate(width, height, scale, heightWaves, offset);

    // moisture map
    moistureMap = NoiseGenerator.Generate(width, height, scale, moistureWaves, offset);

    // heat map
    heatMap = NoiseGenerator.Generate(width, height, scale, heatWaves, offset);

    for(int x = 0; x < width; ++x)
    {
        for(int y = 0; y < height; ++y)
        {
            GameObject tile = Instantiate(tilePrefab, new Vector3(x, y, 0), Quaternion.identity);
            tile.GetComponent<SpriteRenderer>().sprite = GetBiome(heightMap[x, y], moistureMap[x, y], heatMap[x, y]).GetTleSprite();
        }
    }
}
We can then call this function in the Start function.
void Start ()
{
    GenerateMap();
}
You’ll see we’re calling a function called GetBiome. This is in charge of deciding which biome to select based on the given values for height, moisture and heat. Let’s create it now.
BiomePreset GetBiome (float height, float moisture, float heat)
{

}
Before we fill in the function though, there’s something we need to create. It’s a new class called BiomeTempData. Because this is how we’re going to calculate which biome to choose:
- First, we’ll loop through each biome and see if the height, moisture and heat are equal to or greater than the biome’s minimum values.
- If so, we’ll add that biome to a list (because multiple biomes may meet those conditions and we need to choose one).
- Then we’ll loop through that list and for each biome calculate its difference value. This is basically the difference between the height and its min height, the moisture and its min moisture and the heat and its min heat added together to give us a number.
- We want to find the biome with the lowest difference value as that means it’s the closest to the target conditions.
Here’s what the BiomeTempData class looks like:
public class BiomeTempData
{
    public BiomePreset biome;

    public BiomeTempData (BiomePreset preset)
    {
        biome = preset;
    }

    public float GetDiffValue (float height, float moisture, float heat)
    {
        return (height - biome.minHeight) + (moisture - biome.minMoisture) + (heat - biome.minHeat);
    }
}
Now inside of our GetBiome function, let’s first get a list of all the biomes which match the given height, moisture and heat.
List<BiomeTempData> biomeTemp = new List<BiomeTempData>();

foreach(BiomePreset biome in biomes)
{
    if(biome.MatchCondition(height, moisture, heat))
    {
        biomeTemp.Add(new BiomeTempData(biome));
    }
}
Once we have the list of possible biomes, we need to find the one with the lowest difference value.
float curVal = 0.0f;

foreach(BiomeTempData biome in biomeTemp)
{
    if(biomeToReturn == null)
    {
        biomeToReturn = biome.biome;
        curVal = biome.GetDiffValue(height, moisture, heat);
    }
    else
    {
        if(biome.GetDiffValue(height, moisture, heat) < curVal)
        {
            biomeToReturn = biome.biome;
            curVal = biome.GetDiffValue(height, moisture, heat);
        }
    }
}

if(biomeToReturn == null)
    biomeToReturn = biomes[0];

return biomeToReturn;
Back in the Unity editor now, we can fill in the properties. First, drag in all the biome assets into the biomes array.

- Set the Width to 100
- Set the Height to 100
- Set the Scale to 1
Then, create two elements inside of the height waves array and make them like so:

For the moisture waves I only have 1, although you can have as many as you wish.

Then finally, the heat waves:

Tile Prefab
Let’s now create the tile prefab. In the Hierarchy, right click and create a new 2D Object > Sprite. Call it TilePrefab. Drag it into the Prefabs folder to save it as a prefab.
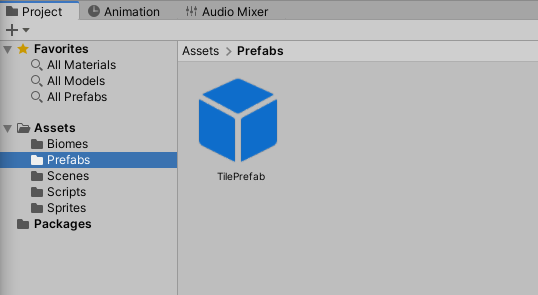
Select the _Map object and drag the tile prefab into the corresponding property field.

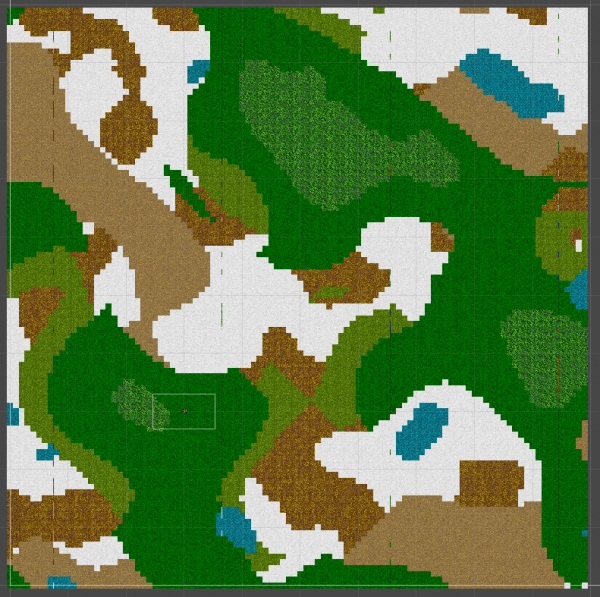
Press play and you should see the generated map!
Conclusion
Congratulations! We just created a procedurally generated 2D map inside of Unity!
As you’ve seen, with procedural generation, we can easily add a lot of variety to our games. This has a ton of implications on the replayability value of them, as well as how much development time will be needed to set them up.
Of course, you can extend map generation far beyond this. Perhaps you want to expand your biomes more and make unique ones for an alien planet. Or maybe you want to tweak the settings and create more of an ocean world. The sky is essentially the limit here, but with randomized maps, you’ll have a whole new world to explore each time the game is played.
Keep in mind as well that this can be useful for tons of different genres. So as you explore RPGs, strategy games, and more through Unity courses, tutorials, or school environments, you can adapt these techniques.
We hope you’ve gotten a lot out of this tutorial, and we wish you the best of luck with your future games!


