You can access the full course here: Create Your First 3D Game in Unity
Camera Follow Script
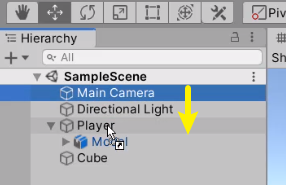
The simplest way to make a camera follow an object is to set it as a child. You can click on the camera and drag it into the Player object:
Now the camera is set as a child of the Player.
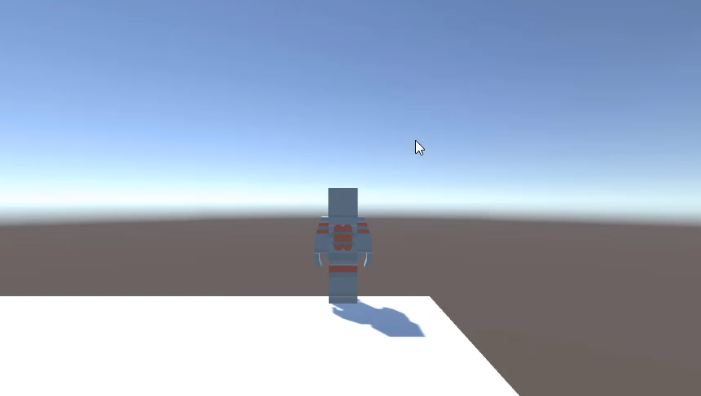
If we press play, we can see the camera follows our Player.
However, the camera not only follows our Player’s position, but it also follows its rotation.
For example, if you are facing right and hit the left key, the camera is also turned 180 degrees, and this is not ideal.
Creating A CameraFollow Script
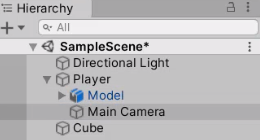
First, we’re going to unparent the camera from the Player. (Drop it into where the blue line appears above the Player):

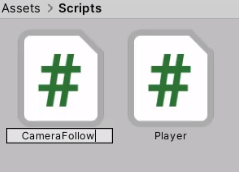
And we’re going to create a new script called “CameraFollow” inside Assets/Scripts.
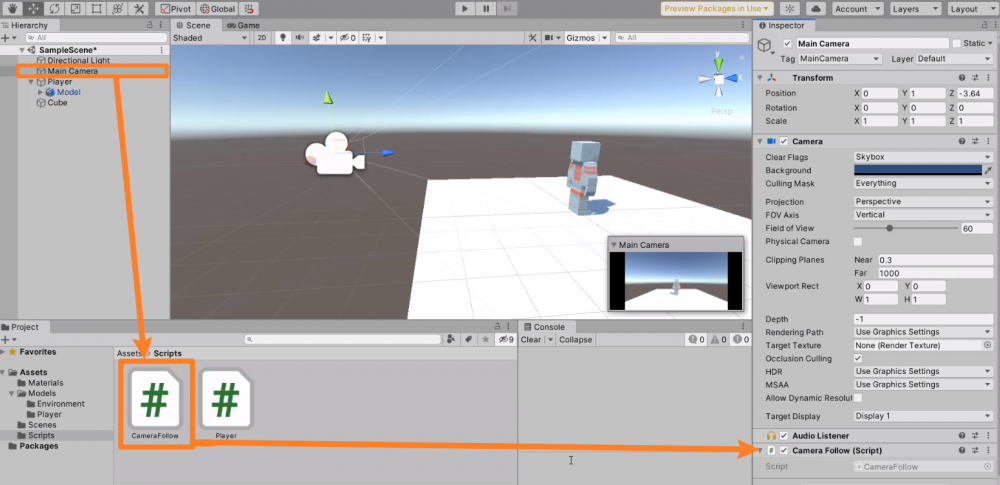
We’re going to attach this script to the camera by dragging it into the Inspector.
We can then double-click the script and open it up in Visual Studio. Here, we’re going to create two new variables:
public Transform target;
public Vecor3 offset;
The target will be used to reference a Transform component to follow, and the offset will be used to maintain a certain distance away from the player.
Inside the Update function, we’re going to update our camera’s position so that it follows the target’s position, but with some offset so that our camera doesn’t sit inside the player.
//Update is called once per frame.
void Update()
{
   transform.position = target.position + offset;
}
Let’s hit save and return to our editor.
Setting Up Camera
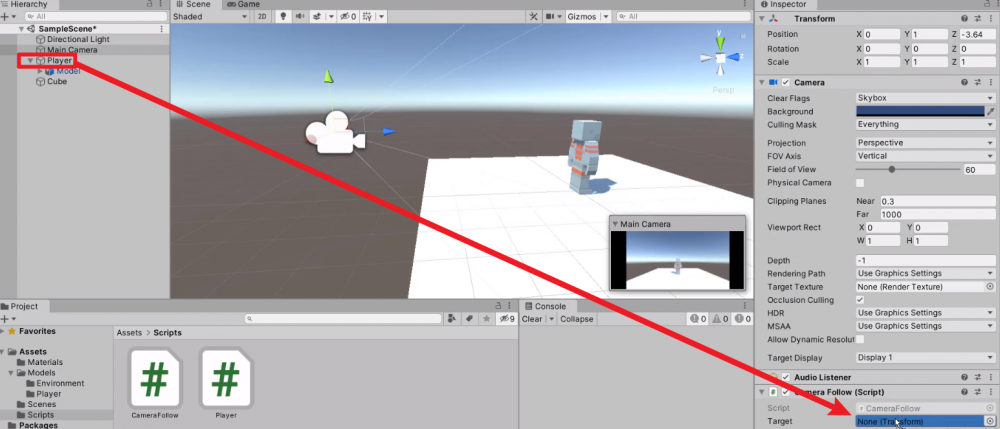
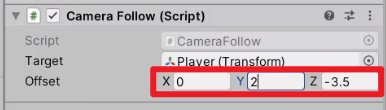
Now we’re going to drag in the Player into the Target slot.
We’re going to set the offset as (0, 2, -3.5):
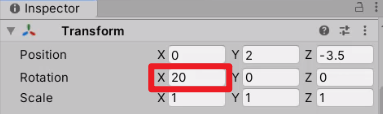
We’re also going to set the x-rotation of our camera to be 20, so we’re looking down slightly on the player.
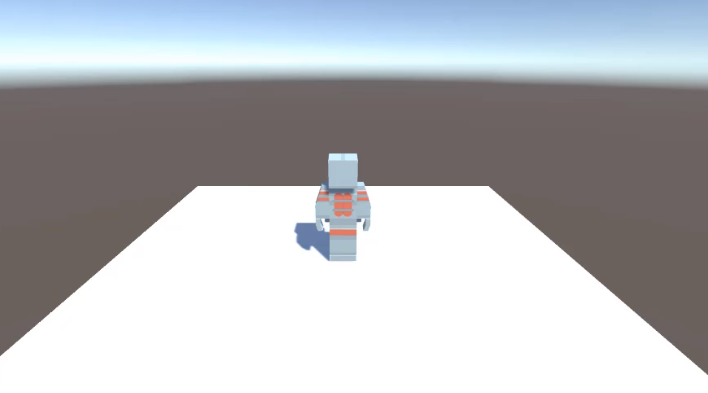
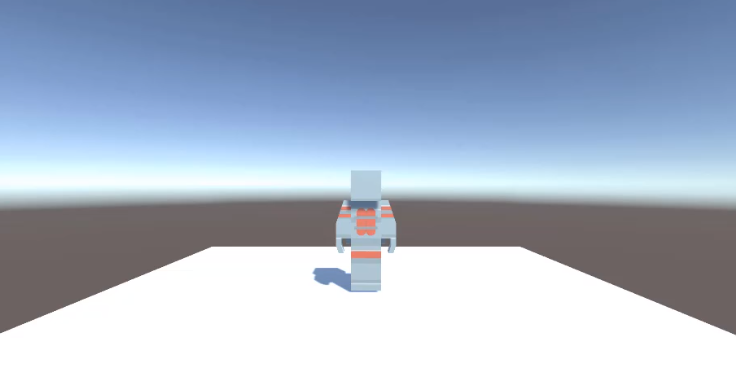
If we hit Play now, you should see that the camera is following our player, while always maintaining the offset (0, 2, -3.5) away from the player’s position.
Transcript
Welcome back everyone in this lesson, we are going to be setting up Camera Follow. And this basically means that we have our camera following our player around, so no matter where we go, we can always have our player in the center of our screen.
So here in Unity, what we want to do first of all, is figure out how we’re actually going to do this. Now, first of all, you may think we can just parent the camera to the player. So that whenever it moves, the camera moves as well. Okay well, let’s try that out and see if it works. So I’m gonna get our camera and I’m gonna drag that into the player object as a child. Okay, so the camera is now a child, and if we press play, we should be able to move our player around, right?
Well, let’s try it now. And you’ll see that when we move, our camera rotates as well with our player. And that is not what we want. We don’t want to pretty much be statically attached to our player like this, where you rotate and move with it. We only want to move with our player.
So to unparent an objects, we can select it, click and drag. And if we move it above player, you’ll see there’s this blue line that appears. Okay, we can just let go. And it is now outside of the player.
So, what we need to do is create a new script. Down here on my scripts folder, inside with project browser. I’m gonna right click create a new C# script called Camera Follow. Okay, Camera Follow right there. I’m gonna select the main camera. And I’m gonna drag this script into the Inspector to attach it as a component.
We can then double click on Camera Follow, to open it up inside of the, Visual Studio here. I’m gonna delete the start function since we don’t need, the Start function for this. We only need update and we are gonna be creating two variables. First of all, we need to give this camera a target.
Okay, what object do we want to be following? So I’m gonna to create and a new public, and then we can enter in Transform here. So a Transform component. We can be referencing a Transform component to follow, and I’m just gonna call this variable target. And also we need a another variable, a public Vector three, and this is going to be for the offset.
Now, when we have the camera following the player, we don’t want to be setting the camera’s position to be directly the exact same as the player’s. Because what that will do is make it so that the camera is inside the player. And we of course do not want that. So we need an offset, which is going to be applied to that position, so that we have maintained a certain distance away from the player.
So, down here on update. What we want to do is set our position. So we go, transform dot position, equals our targets position, plus the offset. So here we can go target dot position plus offset. Okay, and that is it. Just one line of code inside the update function. We are setting out position right here to be equal to the targets position plus the offset vector apply to that. Okay. And off of semi-colon save that script or turn to the editor.
And now what we can do is select our main camera. You’ll see down the bottom here in the Inspector, we have a target and an offset property. Target, we can drag in a transform. And offset, we can enter in a new vector, very similar to how we have up here our position, rotation and scale . So for the target, I’m gonna click and drag our player game object into the target property. So now it is referencing our player’s Transform component and fully offset.
Let’s just say the offset is zero on the X. We’ll make it one on the Y and we’ll make it something such as a negative three point five on the Z. So if we go up to our camera here and set it to zero, one, negative three point five, this is more or less what we’re going to be getting. Okay. let’s maybe also add a bit of a rotation to the camera.
So we’re looking down slightly on the player. So I’m gonna to set the X rotation here to be about 15. No, we could probably make that about 20 and I’m gonna set the Y position up to be about a two. So there we go. We can then change that down here in the offset to two. So zero to negative three point five.
If we press play now, you should see that the camera is now following our player. When we move around luxor. Okay, we can jump. We can move. And the camera is always going to maintain this offset away from the player’s position.
So there we go. That is how we can do a quick and easy, Camera Follow script inside of Unity. So thanks for watching and I’ll see you all in the next lesson.
Interested in continuing? Check out the full Create Your First 3D Game in Unity course, which is part of our Unity Game Development Mini-Degree.