You can access the full course here: JavaScript Mini-Projects – Language Learning Game
Also available for school usage via the Zenva Schools platform which offers online courses, classroom management tools, reporting, pre-made course plans, and more for teachers.
Showing a Question
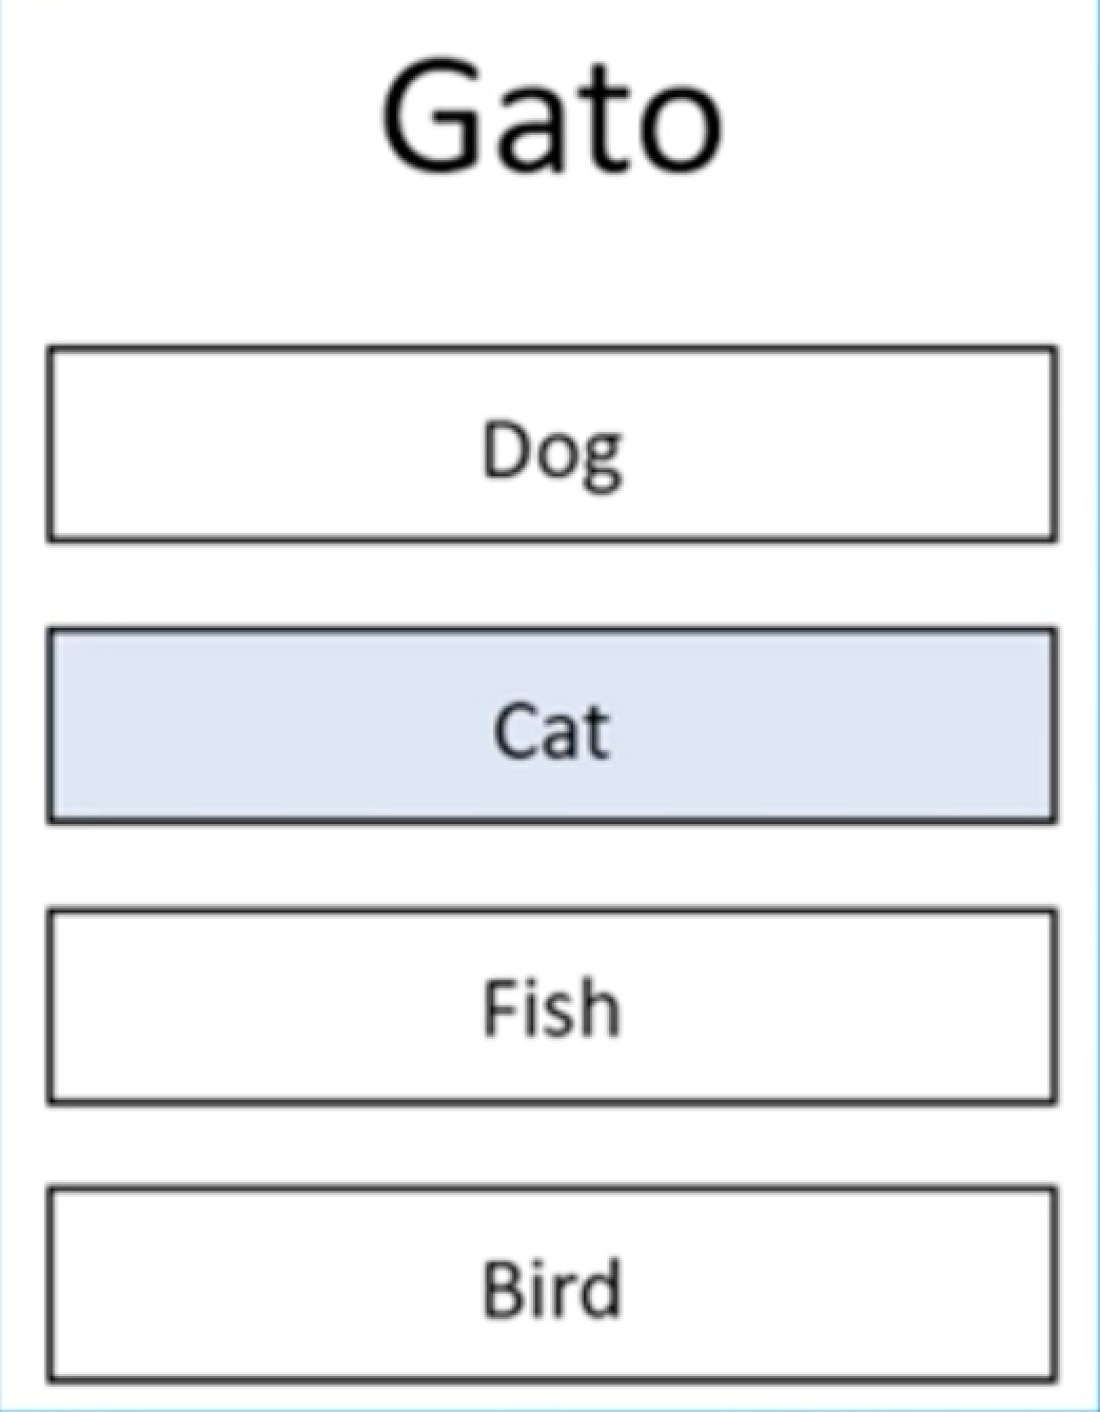
In this lesson we will start by simply showing a single question on the web page. To do this we will represent the question in a JavaScript variable, then display the question in HTML.
Project Setup
Like any web development project we need two key tools: code editor and browser. You can use your favorite code editor or an online development environment together with Google Chrome, Firefox or any modern web browser. In this course we use the free and popular Visual Studio Code ( https://code.visualstudio.com/ ). In your code editor, create two files.
| Code File | Description |
| index.html | Our website HTML code for structuring and displaying our app in a web page |
| script.js | Our JavaScript code for app logic and functionality |
Question – HTML Web Page
Let’s starting by setting up the structure of our web page to display our question and alternatives. Inside index.html add the following HTML DOM (Document Object Model) elements as well as a reference to our JavaScript code file, script.js
<div id="title"></div>
<ul>
    <li class="alternative"></li>
    <li class="alternative"></li>
    <li class="alternative"></li>
    <li class="alternative"></li>
</ul>

<script src="script.js"></script>| HTML Code | Description |
| <div id=”title”></div> | The <div> tag is a generic HTML element. We provide an id so we can uniquely reference this HTML element from within our JavaScript code and CSS styling |
| <ul></ul> | An Unordered List ( <ul> tag ) is a HTML element used to wrap HTML List Item elements ( <li> tags ) |
| <li class=”alternative”></li> | Add four List Items ( <li> tags ) to hold the four alternatives we show the user to select from. We provide each List Item with a CSS class of alternative so we can reference them from within our JavaScript code and CSS styling |
| <script src=”script.js”></script> | At the bottom of our index.html file we add a reference to our JavaScript code file, named script.js, which will be loaded by the browser when this HTML web page loads |
Question – JavaScript Object
Let’s start coding inside script.js, setting up our question as a JavaScript Object.
// define the object for the question entity
let question = {
  title: 'gato',
  alternatives: ['dog', 'cat', 'bird', 'fish'],
  correctAnswer: 1
};| JavaScript Code | Description |
| let question = { properties: values }; | Using the JavaScript let keyword and the curly braces ( {…} ), we set the variable question to be equal to a JavaScript Object which can contain any number of property:value combinations. To complete the syntax, follow the curly braces with a colon |
| title: ‘gato’, alternatives: [‘dog’, ‘cat’, ‘bird’, ‘fish’], correctAnswer: 1 | Using the JavaScript Object Property:Value syntax (property and value separated by a colon and each combination separated by a comma). Here we assign our question variable three properties: title (String), alternatives (Array) and the array index of the correctAnswer (Number) |
Question – showQuestion() Function
To keep our code organized and flexible we will create a JavaScript Function to show the question ( showQuestion ). This will enable us to execute the function by calling it, passing in the question object.
// define the object for the question entity
let question = {
  title: 'gato',
  alternatives: ['dog', 'cat', 'bird', 'fish'],
  correctAnswer: 1
};

// function for showing the question
function showQuestion(q) {
  // code
}

// call the function
showQuestion(question);| JavaScript Code | Description |
| function showQuestion(q) { // function code } | Function Definition. We define a function named showQuestion and set it up to receive a parameter named q, which will represent the question inside the function block |
| showQuestion(question); | Execute Function. We call the function named showQuestion passing it the question object previously defined as an argument |
Working with the DOM
The DOM connects the web page to our JavaScript code. Inside script.js, we use DOM Methods on the Document (Object representing the currently loaded web page) to select DOM Elements. Working with the DOM from JavaScript is a two step process. First, we select the DOM Element then we modify the DOM element.
Question – Show on Web Page
In our case, the question word (Spanish word) is stored in the question Object under a String property called title. In the HTML we represented the question word as a <div> with an id of title. Inside the showQuestion function, add logic to select and modify this DOM element.
// existing code
let question = {
  title: 'gato',
  alternatives: ['dog', 'cat', 'bird', 'fish'],
  correctAnswer: 1
};

// modified code
function showQuestion(q) {
  // new code
  let titleDiv = document.getElementById('title');
  titleDiv.textContent = q.title;
}

// existing code
showQuestion(question);| JavaScript Code | Description |
| let titleDiv = document.getElementById(‘title’); | Using the DOM method getElementById(), passing it the id as a String (in our index.html file we set this id to be title), we select the element storing a reference to it in a variable ( titleDiv ) |
| titleDiv.textContent = q.title; | With a reference to the DOM element stored in a variable (previous step), we can now modify it. To do this, we set the textContent property of the DOM element ( <div> with an id of title ) to be the title property stored in our question variable (received as parameter q inside our function) |
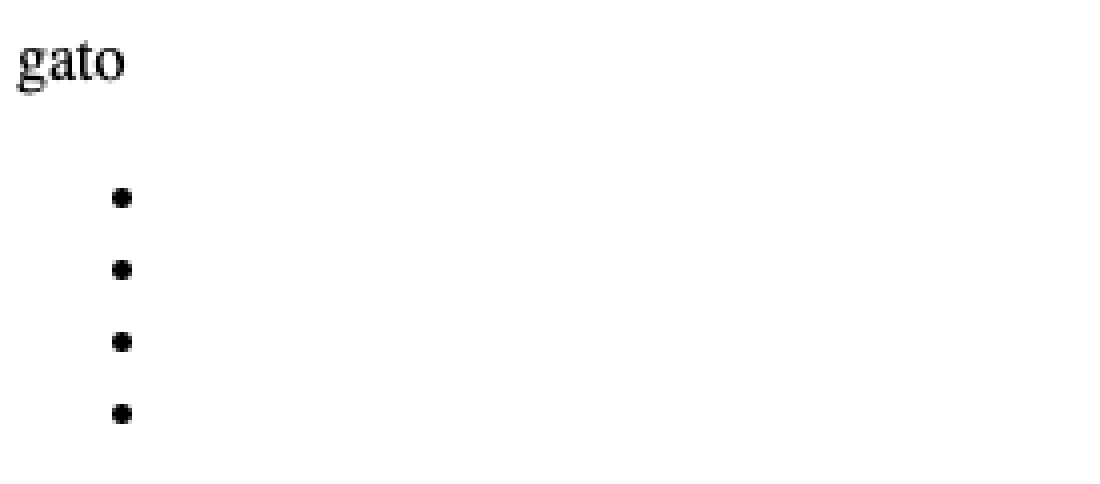
The web page now shows our question followed by an empty Unordered List ( represented by default with bullet points ) which will hold our alternatives.
Alternatives – Show on Web Page
In our case, the alternatives (English words) are stored in a question Object under an Array property called alternatives. In the HTML we represented the alternatives as an Unordered List ( <ul> ) containing List Items ( <li> with a class of alternative ). Inside the showQuestion function, add logic to select and modify these DOM elements.
// existing code
let question = {
  title: 'gato',
  alternatives: ['dog', 'cat', 'bird', 'fish'],
  correctAnswer: 1
};

// modified code
function showQuestion(q) {
  // existing code
  let titleDiv = document.getElementById('title');
  titleDiv.textContent = q.title;

  // new code
  let alts = document.querySelectorAll('.alternative');
  console.log(alts);
  alts.forEach(function(element, index){
    element.textContent = q.alternatives[index];
  });
}

// existing code
showQuestion(question);| JavaScript Code | Description |
| let alts = document.querySelectorAll(‘.alternative’); | Since we are selecting DOM elements by class (multiple DOM elements returned) rather than by id (one unique element returned) as we did above, we use the DOM method querySelectorAll(), passing it a CSS Selector (in this case, class name preceded by a period – ‘.alternative’). A list of matching elements is returned and we store a reference to these elements in a variable ( alts ) |
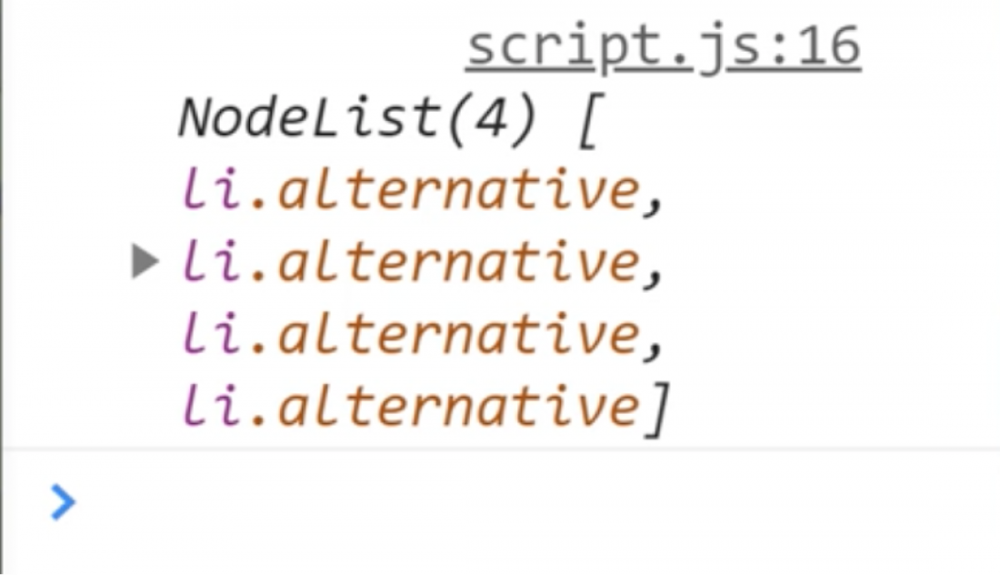
| console.log(alts); | Log the variable alts to the console (see image below). Notice that alts contains each List Item element ( <li> with class of alternative ) in an array-like ordered list called a NodeList |
| alts.forEach(function(element, index) { element.textContent = q.alternatives[index]; }); | We can now modify each element to contain one element from our question variable alternatives array property. To do this, we set the textContent property using the JavaScript forEach method which loops over each element in the alts variable |
Console shows a list of DOM elements which will contain our question alternatives (<li> with class of alternative ).
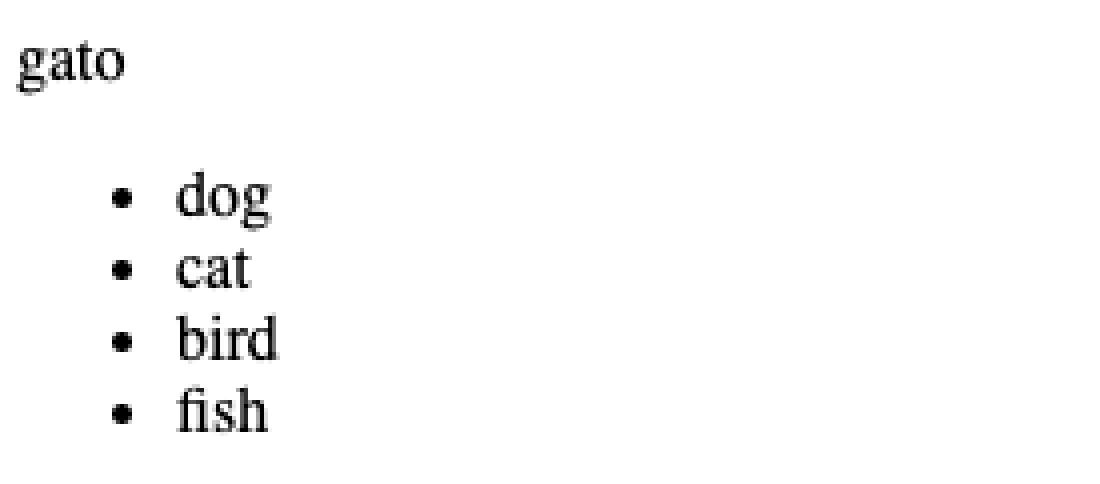
The web page now shows our question followed by our list of alternatives.
Handling User Input
In this lesson we introduce the concept of handling user input. We will do this by adding an event listener to the alternatives List Items so we can check if the user picks the correct answer.
Event Listeners – Simple Button Click
Before we add the functionality for our user to choose the answer they believe is correct, let’s start with a simple example of using an event listener to know when a user has clicked a button. When the user clicks the button, we log the message Clicked! to the console. Starting with the code from the last lesson, add the following code below the showQuestion(question) function call.
// existing code
let question = {
  title: 'gato',
  alternatives: ['dog', 'cat', 'bird', 'fish'],
  correctAnswer: 1
};

// existing code
function showQuestion(q) {
}

// existing code
showQuestion(question);

// new code
let btn = document.getElementById('btn');
btn.addEventListener('click', function() {
  console.log('Clicked!');
});| JavaScript Code | Description |
| let btn = document.getElementById(‘btn’); | Select Button Element. Using the DOM method getElementById(), passing it the id as a String (in our index.html file we set this id to be btn), we select the Button element storing a reference to it in a variable ( btn ) |
| btn.addEventListener(‘click’, function() { console.log(‘Clicked!’); }); | Add Click Event Handler. With a reference to the Button element ( btn ) which is known as the Event Target, we can now attach an event handler by calling the method addEventListener(), passing it a function with two arguments: a case-sensitive String representing the event type we are listening for ( ‘click’ ) and a function to call when the event occurs. When the event occurs, we run the code inside the function which in this case logs the word Clicked! to the console |
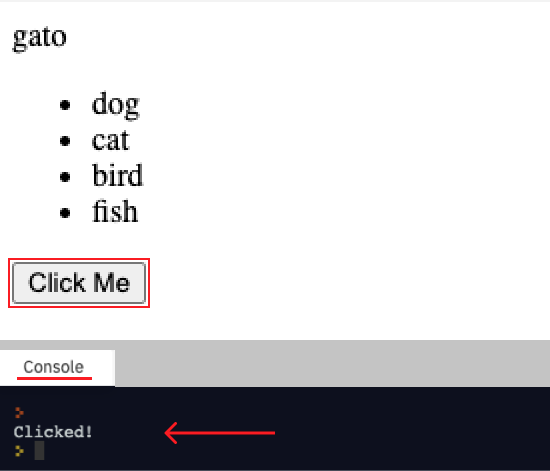
Note: you can optionally remove the code we just wrote as an example before continuing with the next section.
Event Listeners – Alternatives List
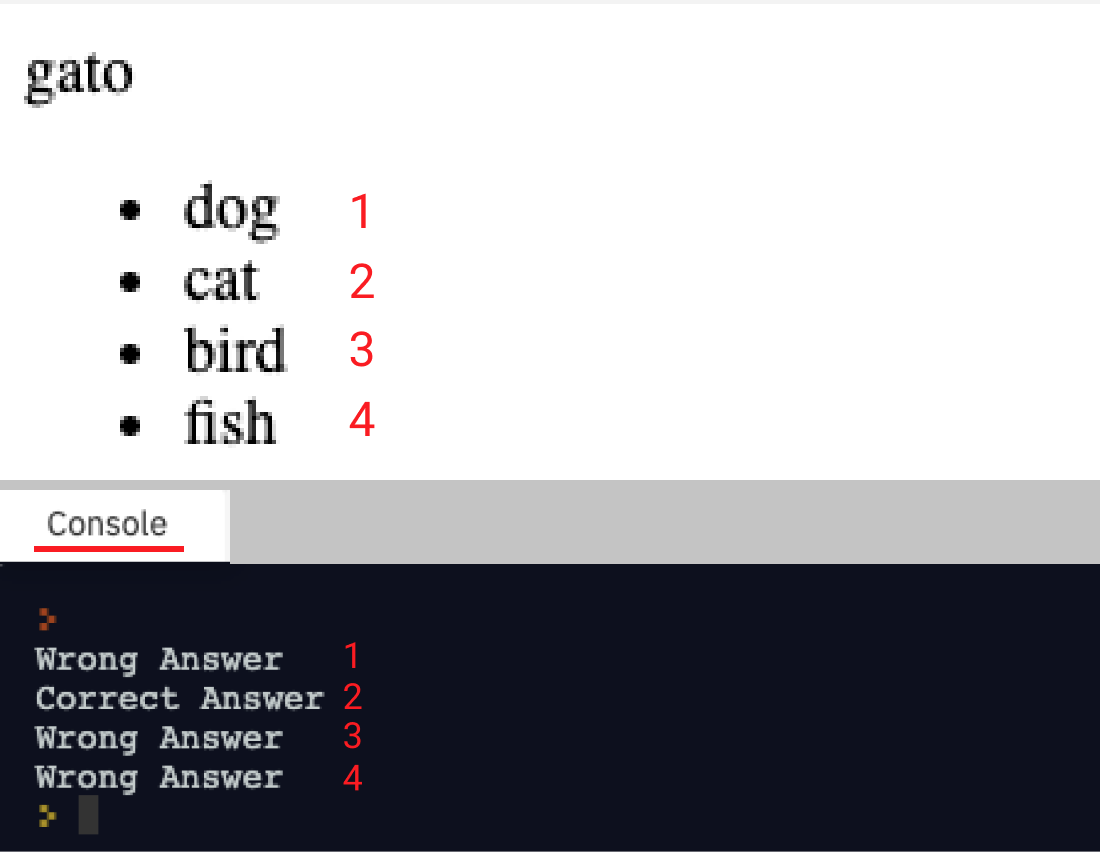
Next, let’s add event listeners to each List Item element ( <li> with a class of alternative ). As we did in the above Button example, we could assign each element an id, then select and add the event listeners one by one. However, since we already have a reference to this list from our last lesson (stored in the variable alts ), we can add the event listeners to each List Item element ( <li> with a class of alternative ) inside the existing alts.forEach() method. Recall that the function passed to the alts.forEach() method has two parameters, element and index. We can use the element parameter ( each alternative ) as our Event Target to attach the event handler to on each iteration of forEach. We can then use the second parameter, index, to check against our question’s correctAnswer property. If this comparison is true then we log Correct Answer! to the console else we log Wrong Answer!
// existing code
let question = {
  title: 'gato',
  alternatives: ['dog', 'cat', 'bird', 'fish'],
  correctAnswer: 1
};

// existing code
function showQuestion(q) {
  // existing code
  let titleDiv = document.getElementById("title");
  titleDiv.textContent = q.title;

  // existing code
  let alts = document.querySelectorAll('.alternative');

  // modified code
  alts.forEach(function(element, index){
    // existing code
    element.textContent = q.alternatives[index];
    // new code
    element.addEventListener('click', function(){
      if (q.correctAnswer == index) {
        console.log('Correct Answer!');
      } else {
        console.log('Wrong Answer!');
      }
    });
  });
}

showQuestion(question);
Click each alternative one at a time and notice the result in the console. The only one that returns true is in fact the correct answer! ( gato is Spanish for cat ).
Transcript
Showing a Question
In this lesson, we are gonna get started with creating our project. And we’ll concentrate on something simple, just showing one question on the screen. In particular, we’re gonna be looking at how to represent a question as a variable in JavaScript. And we’ll be showing a question which is composed of a question title, as well as the possible alternatives, possible answers on the HTML document.
Let’s head over to our code editor and get started. I’ve created a new project, which includes index of HTML as well as an empty script file. To represent the question in JavaScript, we’ll be using an object, as that allows us to store an entity with different properties in a variable.
Let’s create our variable, it’s going to be called question. We know that questions have a title, which is the word in Spanish. Let’s create a sample question here. The title will be Gato, which means cat. Then we’re gonna be showing to the user a list of possible solutions. And those we’re gonna call alternatives. The alternatives the user will see, let’s say that they will be dog, cat, bird, and fish.
We know that the correct solution here is cat, which is in position. If we start here, this is position zero, this is position one. And so we want to store the correct answer here, just so that we can check later on. And that’s going to be in position one. Optionally, you can store the actual word as the correct answer. And I do have to say that for everything that I do here, there are many other alternative solutions. So feel free to explore other architectures, if you want to get a bit deeper into the language.
Next, in order to show my question to the user, I’m gonna have to create some containers where the different information will be displayed. So let’s go to HTML, and add our code above the script inclusion. Normally, you always add your script inclusion at the bottom of your document right before the closing of the body tag. I’m gonna add a div for the question title, I’m gonna give it the ID of title. Let’s type in some sample code for now.
So I should be seeing in the browser, that word up here. Next, for the alternatives, we’re gonna be using a list, an unordered list, and each one of the list items will show a different possible response. We wanna duplicate this line many times. And to do so in Visual Studio, you can press Ctrl C, Ctrl V, or Command C, Command V on the Mac, like so. And that will show what this is looking like.
What we want to do now is of course, replace this data by our own data. So I’m actually going to delete this because I just want to show you what that was going to look like. We’re going to give our list items a class, which is going to be called alternatives, alternative like so. Great, so let’s now go to JavaScript and start by adding the title here of the word that we want to show, at the moment it’s all empty.
The first step here will be to select the DOM element that we want to modify. And we’re gonna store that in a variable. I’m going to call my variable title div. And we’re gonna select this by doing document dot get element by ID, and then enter the ID, which is title. Going to zoom out a little bit, there we go. So now that we’ve selected it, now we can modify it. Title div dot text content, will be equal to question dot title. And that should be enough to show that title there, great.
To keep my code organized, I’m gonna place all of these in a function so that then we can call that function multiple times. Start by typing function. The name here will be show question. And the parameter will be that question that we need to pass in. So let’s call this question Q. And let’s move all of this code inside of our function. And make sure to add some indentation just for readability. And instead of question the title, we’re going to do q dot title, as that will be gathered from here.
And then we if we want to call this function, we can just do show function, and we can pass in our question. So if I run this code, it should be the exact same result.
Great, well, now let’s address the last part, which is the alternatives part. If you’re wanting to select every one of these, one at a time, you could go and add a certain ID to each one of them. But since they all behave in the same way there is a different way of doing this, which is to select it all by the class, in this case alternative, and then work on an iteration and change all of them.
Let’s go and select them all. In this case, we’re gonna be selecting them by class. In CSS, when you select by class, you type dot alternative, or name of the class, and then you add certain CSS rules. That’s how CSS works. Well, the good thing about the DOM API is that there’s a way to select everything by using the same type of queries that you’ll use in CSS. So in this case, we’re going to be selecting by a query.
And for that, we are going to be using document dot query selector all. This will go and select all of the elements that satisfy a certain CSS query. In this case, it will be dot alternative. That is the same query that you would use in CSS. We definitely want to put this in a variable. So let’s call this alternatives like that, just an average of an average deviation.
So after we’ve selected this, it’s always a good idea to check in the console, to be sure that it’s working as expected. And you can see here that we have four Li nodes selected. So four list items. To go over each one of them, we’re gonna be using the for each method, which is part of the result that you get from when doing these queries. For each takes a function as a parameter. And we can pass in different parameters here, one of them is the element itself and the other one is the index the position of the element.
Let’s open the function body. And in the function body, if we call this element variable here, this will give us access to each one of these as the iteration progresses. So we can go and change their values. Let’s type element dot text content. And we could change the value to let’s say, a. You can see that they’re all being modified to a. But we don’t wanna modify them to a, we wanna modify them to the corresponding alternative. For that we can access our q variable, which contains the question we’re passing in and typing q dot alternatives.
And now what position is this going to be? Well, the good thing here is that we have that index parameter. So that will start from zero and increase in each iteration. So if we do that, we can actually get all of these one at a time. Let’s save and check to see if it works.
And there we go. Well, that is all for this lesson. As you can see, we’ve created the basic HTML template that we’re gonna be using in our app. And we created a method that receives a question as a parameter. And inside of that method, you can modify the title that you’re gonna show as well as showing each one of the alternatives. For the alternatives, we selected them all using query selector all and then we iterate through each one of them and change their corresponding values. Thank you for watching, I will see you in the next lesson.
Handling User Input
In this lesson, I’m going to start with the code of the previous lesson. We are going to be taking that approach going forward, so that we can build up our app. The way user interaction will work here, is that the user will be able to click on any of the alternatives, and will check whether that’s the correct answer. But to keep things simple, at first, let’s go and try a simple example of using click events.
I’m going to add a new element here in my index.html file. It will be a button. It’s going to have a certain ID. And it will just say Click Me. We want to be able to listen to these clicks and show something in the console. For that, we’re going to start by selecting our button, document.getElementById, and the ID here it needs to be entered, and this will grab our button, and let’s refresh here so that we can see the button.
To listen to click events, type the name of your variable, and then .addEventListener. This is a method that allows us to pass what’s called an event listener. That basically means we are going to specify what event we want to listen for in this case, we want to be listening to a click event. And whenever there is a click event, something needs to happen, and that will be represented as a function here. This function will be executed every time that there is a click on the button. I can go and I can type console.log, and this will say, clicked, save, reload your index.HTML file, and if you click now, you’re going to see that every time you click, you are running these functions. So that’s really how they work.
Next, we want to be listening to events for all of these list items. You could go and give them all a separate ID, and you could select them individually and check that, but since we’re already selecting them all using query selector all, and we are iterating through them, for now, we are going to be adding our event listening here, and check that the answer is correct.
I say for now because there will be some changes made to this architecture later in the course. So for now, we’re going to type in our element, which is this list item. And we’re going to add that same event listener, add event listener. We are listening to click events, and let’s create our function here. In the body of the function, I’m going to access my element again and change the text content, just so that we can be sure that this is working.
If I refresh and I click on this list items, you can see that their content is being changed. And that means that our click listening is working.
And now we can get rid of these, and instead check for the correct answer. Now we need to get the answer that the user entered, which would be the position index. So let’s check the correct answer. And for now we’re going to list inside of here, later on we’re going to move it to a separate place.
How do we know if the answer that was submitted is the correct one? Well, we need to use an if statement to check, first of all, what’s the correct answer? The correct answer would be q.correctAnswer. So q.correctAnswer needs to be equal to whatever the user clicked on. And that would be in our case, the position of the current alternative, starting from zero, so that is index that we have already used to show the text. We’re also going to use that to check for correctness. So if this is equal, then we’re going to show in the console, correct answer.
Let’s go and save and refresh, and let’s check that, see if it’s working. I’m going to click on dog and nothing is happening. If I click in cat, then I see correct answer. If I click on bird and fish, nothing happens. We can add an else statement here to also show when something is not the correct answer, in the console. So let’s go and save, and you can see that’s the wrong answer, that is the correct answer. That’s the wrong answer. And that is the wrong answer.
Great, so we have a basic click functionality. This button that we added, we can definitely get rid off. So I’m going to leave that up to you. I’m going to keep that in this file, but in the next lesson, that is not going to be around. Well, that is all for this lesson. You have learned something really useful which is how to detect for clicks, basics of user interaction. Now your applications on projects can have a whole new layer of interactivity to them. Thank you for watching this lesson. I look forward to seeing you in the next one.
Interested in continuing? Check out the full JavaScript Mini-Projects – Language Learning Game course, which is part of our Full-Stack Web Development Mini-Degree.
For teachers, you can also try Zenva Schools which offers online learning suitable for K12 school environments and offers a wide array of topics including JavaScript, Python, Unity, and more.


