Levels and level design make up a huge portion of game development – even when it comes to 2D levels.
In this tutorial, we’re going to cover Unity’s Tilemap Editor: the quickest way to construct 2D levels for your games. This editor easily lets you “paint” your levels using a grid-based system and sprites, speeding up your production time.
If you’re ready to expand your Unity 2D skills for level creation, let’s get into it.
Introduction
In October of 2017, Unity Technologies released Unity 2017.2. This version released a new tool called the Tilemap Editor, which not only allows the user to create vast and complex grid-based layouts in a matter of minutes, but also eliminates the need for a third party program (such as Tiled) to create a similar result. According to Rus Scammel (Project Manager of Unity for 2D), the Tilemap Editor will allow users to “…literally paint directly in Unity”, and that is exactly what it does. In this tutorial, we will look at the Tilemap Editor and the tools that go with it. Through this relatively simple project, you will learn skills that can be applied to complex levels in your future projects.
Importing the Assets
You can download the 2D assets we are going to be using here. These are from the Kenney asset website and are free to be used in any project, commercial or private. Check out their website here.
Setting up our project
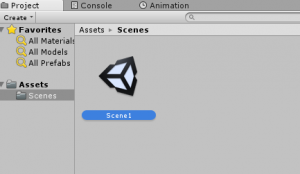
Create a new project. Create a new folder called “Scenes”.
Create a new scene in that folder called “Scene1” and the open Scene1.
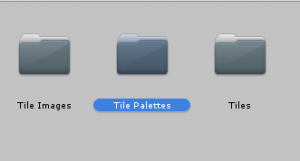
Now, create a new folder called “Tiles”. This is where we will be storing all our tiles for the Tilemap Editor. Then create two folders, one called “Tile Palettes” and another called “Tile Images”.
The use of these folders will become apparent as you move through this tutorial. Next, import the asset pack you downloaded and drag its contents into the “Tile Images” folder.
Now we need to head to Github. This is where Unity Technologies stores the extra tools that we will be using. Click this link: it will take you to the download page. Once it has finished downloading, unzip the package and drag it into the “Assets” folder of our project.
We will be looking at the specifics of what is in this package later in the tutorial. Once you have completed all of this you can head to the next paragraph!
Tilemaps and Grids
If you have a look at the assets provided, you’ll notice there are a several environment types to choose from, including “Cake”, “Castle”, “Choco”, “Dirt”, “Grass”, “Metal”, “Purple”, “Sand”, “Snow”, and “Tundra”.
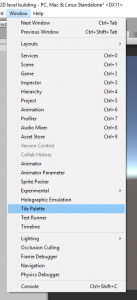
Look through each of these and pick the one that you like best. This will determine what kinds of tiles we need to put in the Tilemap Editor. Once you have a tileset picked out, navigate to Window -> Tile Palette.
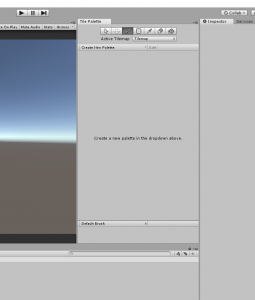
Chose an appropriate place to put this on your workspace (I prefer the right side of the scene view).
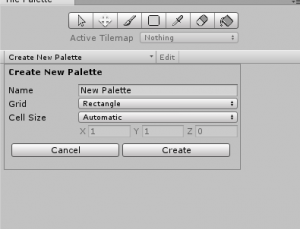
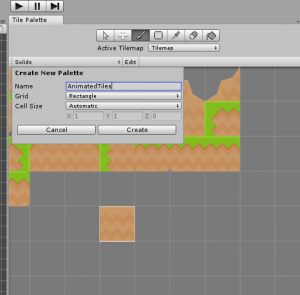
Next, click “Create New Palette”. A Palette is a set of images that we use to “paint” with. The name Palette is very appropriate since it resembles the palettes used by painters. The settings here are pretty self-explanatory, we don’t need to change them so just leave them set to default.
Call this one “Solids” since this palette is going to house the tiles that players are not allowed to pass through, such as the ground and the walls. Save “Solids” in the “Tile Palettes” folder. Now, drag all of your selected environment images into the Tile Palette window.
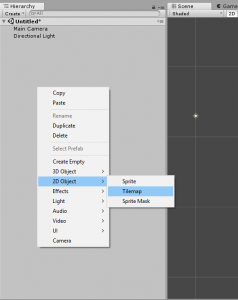
You may have to drag them in one by one. Save each tile in the “Tiles” folder. Before we start painting we need to create something called a “Tilemap” in our scene. Right-click in the hierarchy and go to 2D Object -> Tilemap.
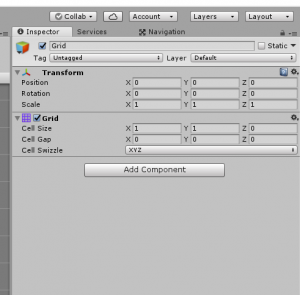
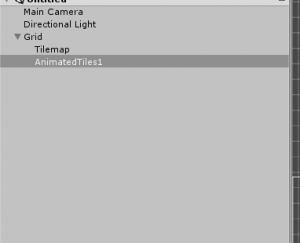
This has created two things: a “Grid” and a “Tilemap”. This is how the Tilemap Editor works, there is only one Grid in the scene, but there can be several Tilemaps. The Grid creates the Grid that the Tilemap rests on. If you select the Grid you will notice a “Grid” component attached to it.
There are three things that we can change with this component: “Cell Size”, “Cell Gap”, and “Cell Swizzle”. “Cell Size” is the size of each square on the Tilemap. Only change this value if it is absolutely necessary, as the Cell Size applies to all Tilemaps within the Grid. “Cell Gap” determines how much distance there is between each square in the Grid. Once again, this should be changed with caution since this also applies to all of the tilemaps. “Cell Swizzle” is the direction that the Grid is facing. You can experiment with this value if you choose, but for this tutorial leave it set to “XYZ”. Now that we’re familiar with the Grid game object, what about the Tilemaps? Let’s take a look…
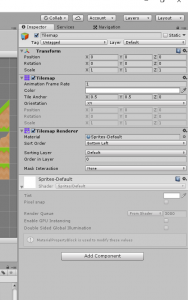
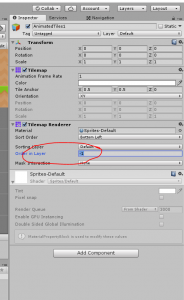
There are two components, “Tilemap” and “Tilemap Renderer”. Most of the settings in the “Tilemap” component should be pretty self-explanatory and, at first glance, there are a lot of things that we can control. “Animation Frame Rate” is for animated Tiles. If this Tilemap contained any animated Tiles, we could change the speed of the animation with this value. We don’t have any animated tiles (but we will soon!) so just leave this set to 1. “Color”, as the name suggests, is the color of the Tiles in this Tilemap. With this, we can also set alpha or transparency values for things like water or clouds. “Tile Anchor” is, well, the Tile’s Anchor! Right now it is set to the center of each tile which is a where I need it to be. “Orientation” is the direction the tiles will be facing. I would only change this if I was doing a 3D game since, at times, it isn’t even in 2D space. Feel free to experiment with this value, but I’ll just leave it set to “XY”. In “Tilemap Renderer” we can change the material that each tile is rendered with, which we are going to leave set to the default. The rest of the settings deal with what order the tiles are rendered in. The ones that we are going to be paying attention to are the “Sorting Layer” and the “Order In Layer”. “Sorting Layer” defines what lay this Tilemaps rests in. We are going to be changing this value as we move on. “Order In Layer” is used if there is more than one object in a Sorting Layer. This is another value that should be changed with caution since it can get kind of confusing if there are several Tilemaps, with their own Order In Layer value, to determine which is rendered first. So, that is how Tilemaps and the Grid works! Let’s look at the Tile Palette now!
The Tile Palette
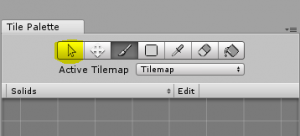
There are a couple of tools in the Tile Palette that we need to look at.
This one is called the “Selection Tool” and allows you to select a tile in the Tile Palette window in order to see it’s settings.
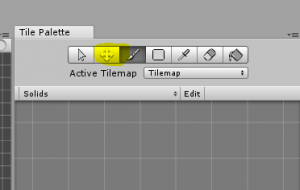
This one is known as the “Move Tool” and allows you to move tiles around in the scene view.
This is the “Brush Tool” and allows you to paint in the scene view, with the tile that you selected in the Tile Palette window.
This is called the “Fill Selection Tool” and it allows you to select a certain area to fill with the selected tile.
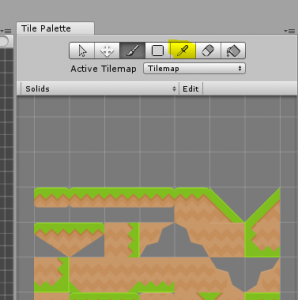
This is the “Tile Sampler” works just like a color picker in an image manipulation program like Photoshop or Gimp.
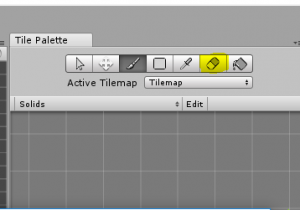
This is the “Eraser” and erases the tiles in the scene view, a shortcut to this is Shift-Click.
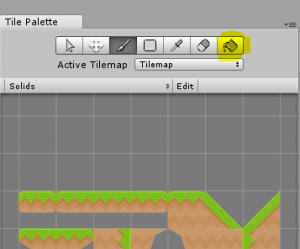
Finally, the “Fill Tool” and will fill an area with the selected tile without having to first select the area to fill. This one should be used for areas that are bounded by other tiles, otherwise, you can fill the entire scene view with the selected tile which is taxing on the RAM and the GPU. So those are the tools you can use to start painting your scene! The last important thing to look at is this button right here:
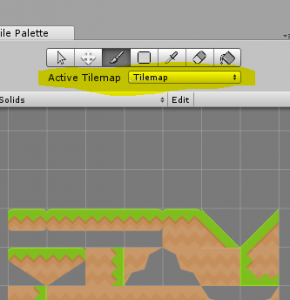
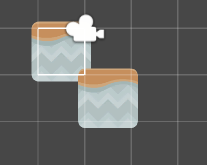
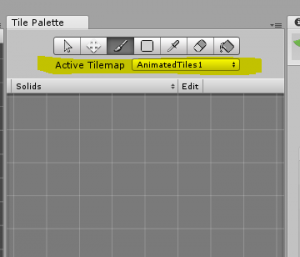
This determines which tilemap you are painting on. If you have multiple tilemaps in your Grid, then you need to set this to the tilemap that you want to paint on. This is something to watch out for. If you ever encounter a problem, whether it is overlapping tiles or tiles that are not animating, check this first. The last important thing to look at here is the tile images themselves. If you were to try and start painting now you would notice one thing about your tiles, they are overlapping!
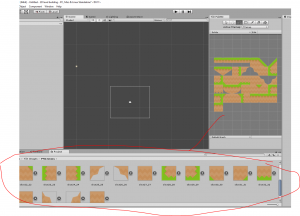
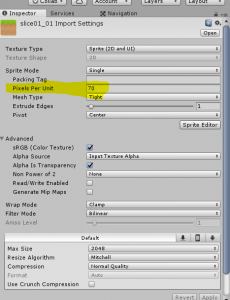
To fix this, we have to find the tile images in our project window and change the import settings.
The value we need to look at is the “pixels per unit” value. A larger value decreases the size of our image and, conversely, a smaller value increases the size. We have to employ some trial and error here in order to find the correct value. Fortunately, I have found a value that corrects this problem fairly well.
Select all of the tile images that you used, change the “pixel per unit” value, and then click “apply”. Now they shouldn’t be overlapping!
If you are ever importing different tiles then you might have to do some experimentation in order to find the correct value.
Brushes and Rule Tiles
Let’s look at a few more tools before we start creating our environment. Near the bottom of our Tile Palette window, you will find a button that says “Default Brush”. If you click on it, it will show you a couple of different brushes.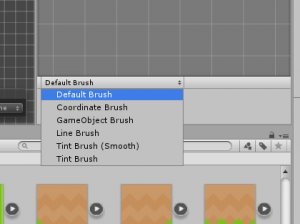
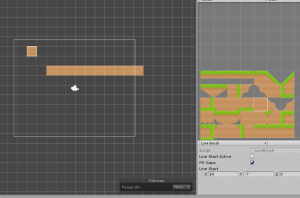
We aren’t going to be using many of these brushes in this tutorial, but I encourage you to experiment with them in order to become familiar with them. The one that we are going to be using is the “Line Brush”. If you select this one you can click once to start the line, then click again and it will have the selected tile painted in a line between the two points.
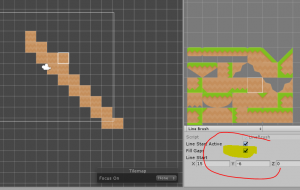
Also, if you check “Fill Gaps”, the brush will try and make a diagonal line smoother by “filling the gaps” in the line.
So that’s how we can use different kinds of brushes!
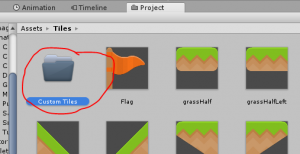
The final tool that we will be using is known as “Rule Tiles”. Imagine that you are designing a 2D platformer. You start to make your levels using the Tilemap Editor only to find out that you are slowed down by having to trace the shape of the land, place the edge tiles in their proper places, and then fill in the middle space by using either the Fill Tool or the Fill Selection Tool. (This example may not be relevant to you but it certainly was to me when I was making my 2D platformer). Fortunately, the the Tilemap Editor has a solution to this! That’s right: Rule Tiles. Go to your “Tiles” folder and create a new folder called “Custom Tiles”.
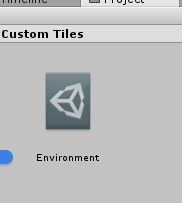
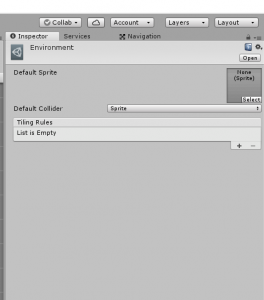
In this folder, right-click and select Create -> Rule Tile and name it “Environment”.
A Rule Tile is a specific set of tile images that we can give custom instructions to in regards to their placement or appearance.
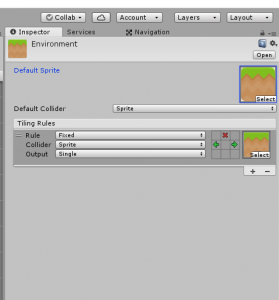
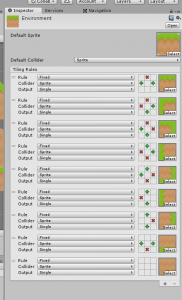
It doesn’t matter what the Default Sprite is set to, but it is best to set it to a tile that is in your selected environment tile images. “Default Collider” specifies to how the tiles will have physics interactions. Leave it set to “Sprite”. Now, create as many “Tile Rules” as there are images in your selected set of environment tiles. If you aren’t going to use all of the images then just exclude those from the number of Tile Rules. Now, drag each tile image into their respective positions on the Tile Rules’ list. Now if you click on any of the squares you will notice that it creates an arrow, if you click again you will notice it creates a red X, and if you click again it leaves it blank.
An arrow signifies that the tile is continuing from the direction the arrow is pointing. And an X means that the tile “stops” or has an edge at this point. With this knowledge, let’s go through and assign arrows and Xs to each image. This can be kind of tricky to get used to so take a look at my final Rule Tile:
All we need to do now is drag the Environment rule tile into our Tile Palette and start painting.
You’ll see that it changes the image based on the tile’s position. This really speeds creation time up. The next part of Rule Tiles that we are going to explore is the animated aspect. Create a new Tile Palette and Tilemap called “Animated Tile”.
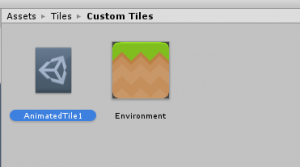
Now, create a new Rule Tile called “AnimatedTile1”.
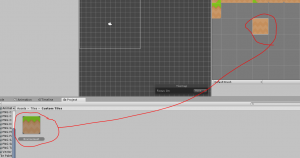
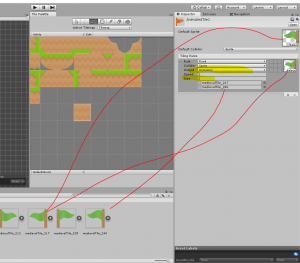
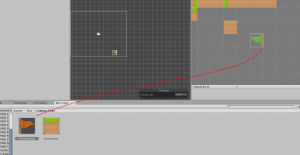
Now go to the “Animations” folder in the asset pack and pick a set of animated tiles. Set the default sprite to one of these, then create a new tile rule. Change the “output” type to be “Animation”. Set the “Size” to be the number of sprites in your animation and then drag the animated sprites into their respective positions. Now create a new tilemap called “AnimatedTiles”. This screenshot sums up the whole process.
Drag “AnimatedTile1” into the Tile Palette
and set the active Tilemap to “AnimatedTiles”.
Now start painting! Before we hit play, let’s go to the “AnimatedTiles” tilemap and change the “Order In Layer” value to -1.
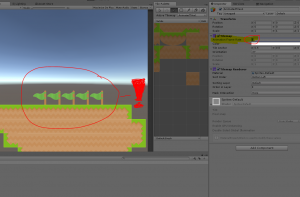
This makes the animated tiles rendered before the “Solids” tiles. If you hit play you’ll notice that our tiles are now animating!
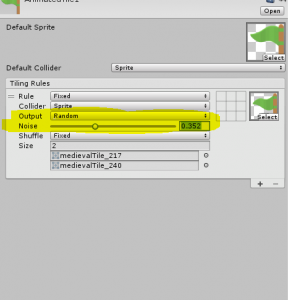
The last part of a rule tile is the “Random” output. With “output” set to random, you can have it chose randomly between a set of tile images.
I didn’t use this part of a Rule Tile but feel free to try it if you would like.
Tile Colliders
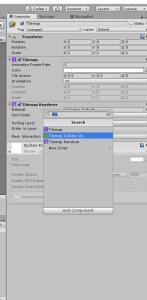
The very last part of this tutorial is about Tile Colliders. On any tilemap, click Add Component and search TilemapCollider.
Find the component and assign it. Now our tiles will actually prevent an object from passing through them! Fantastic!
Outro
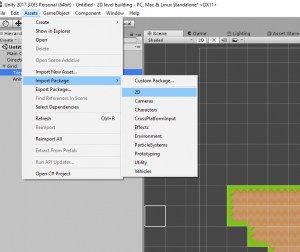
Whew! The last part! Now you can start creating your scene ’till your heart’s content! Once you’re done, you can test it out by importing Unity’s 2D assets by going to Assets -> Import Package -> 2D. They already have a 2D character controller which you can use to break-in your new level!
All this being said, don’t be afraid to experiment and expand what you’ve created here. For example, you can learn about procedural generation to expand your tilemaps or, if you’re up to it, code your own 2D character controller. No matter where you go with your skills, though…
Keep making great games!

